Guía de elaboración · 4 illustrated sections
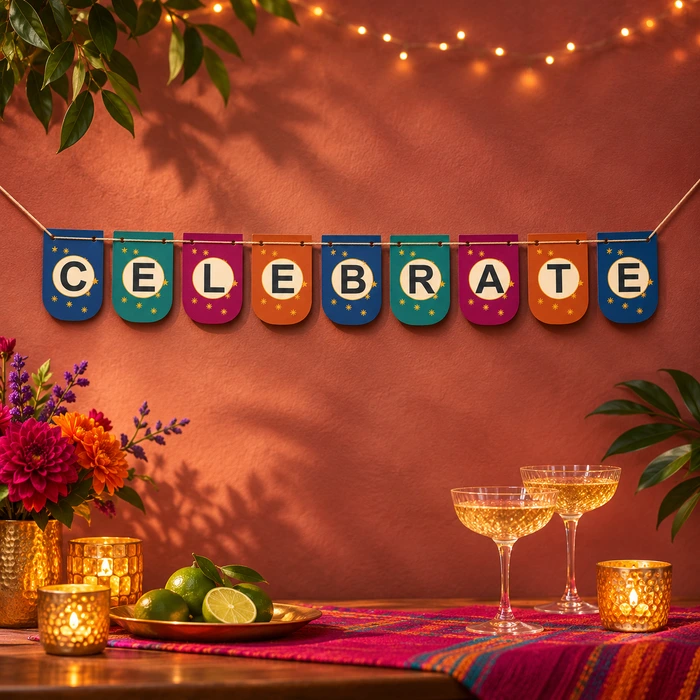
Starburst CELEBRATE Garland
Cut and thread CELEBRATE letter tags for a refined welcome, wedding or celebration display. Follow 4 illustrated sections. Download the complete making guide and matching paper.
Hojas imprimibles para manualidades
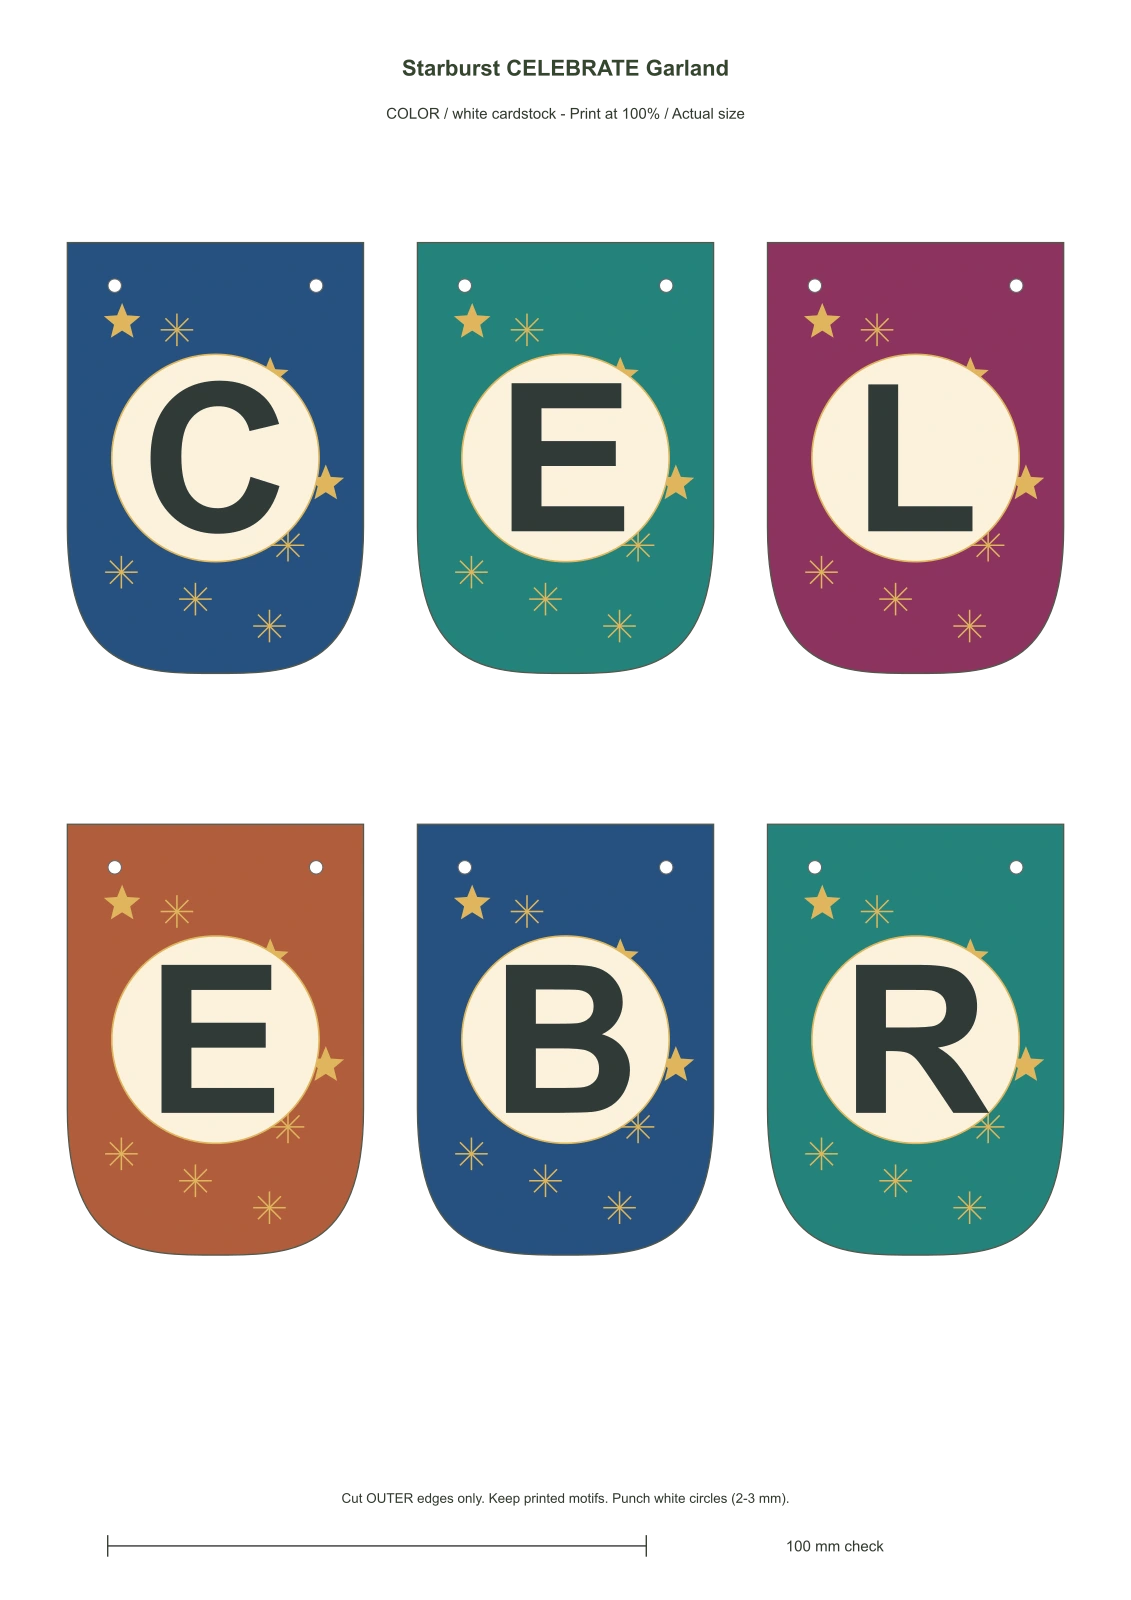
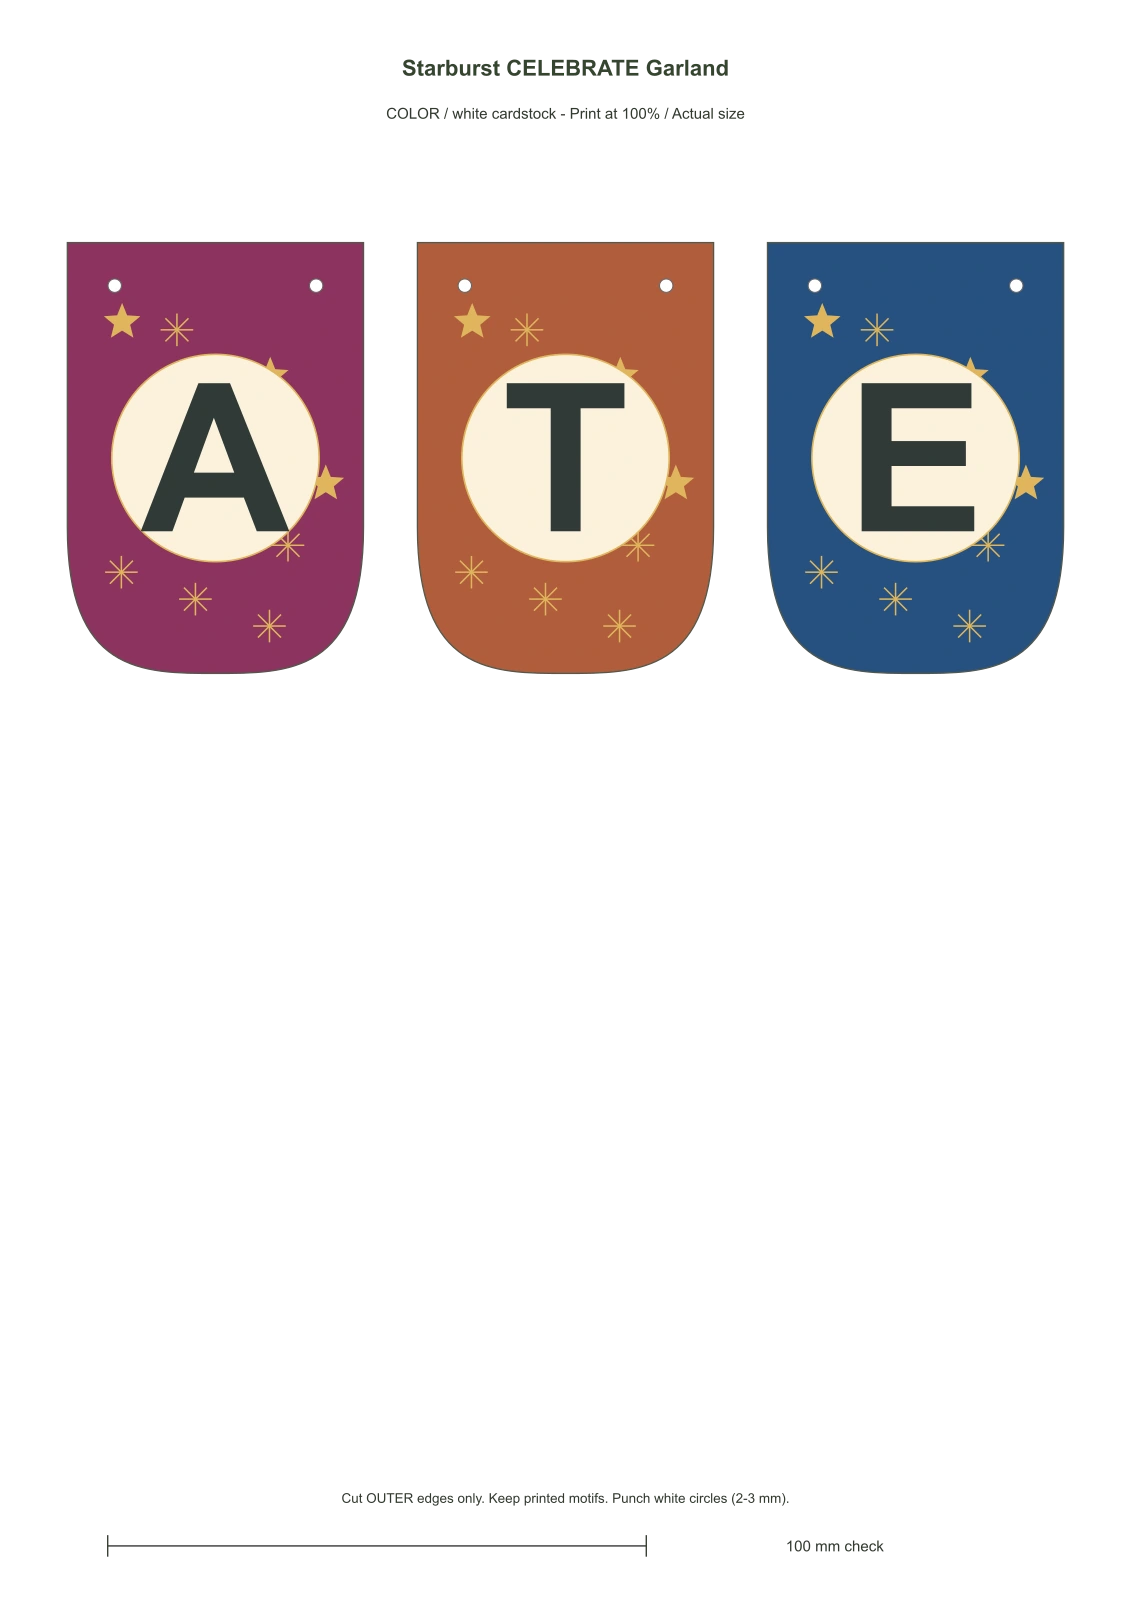
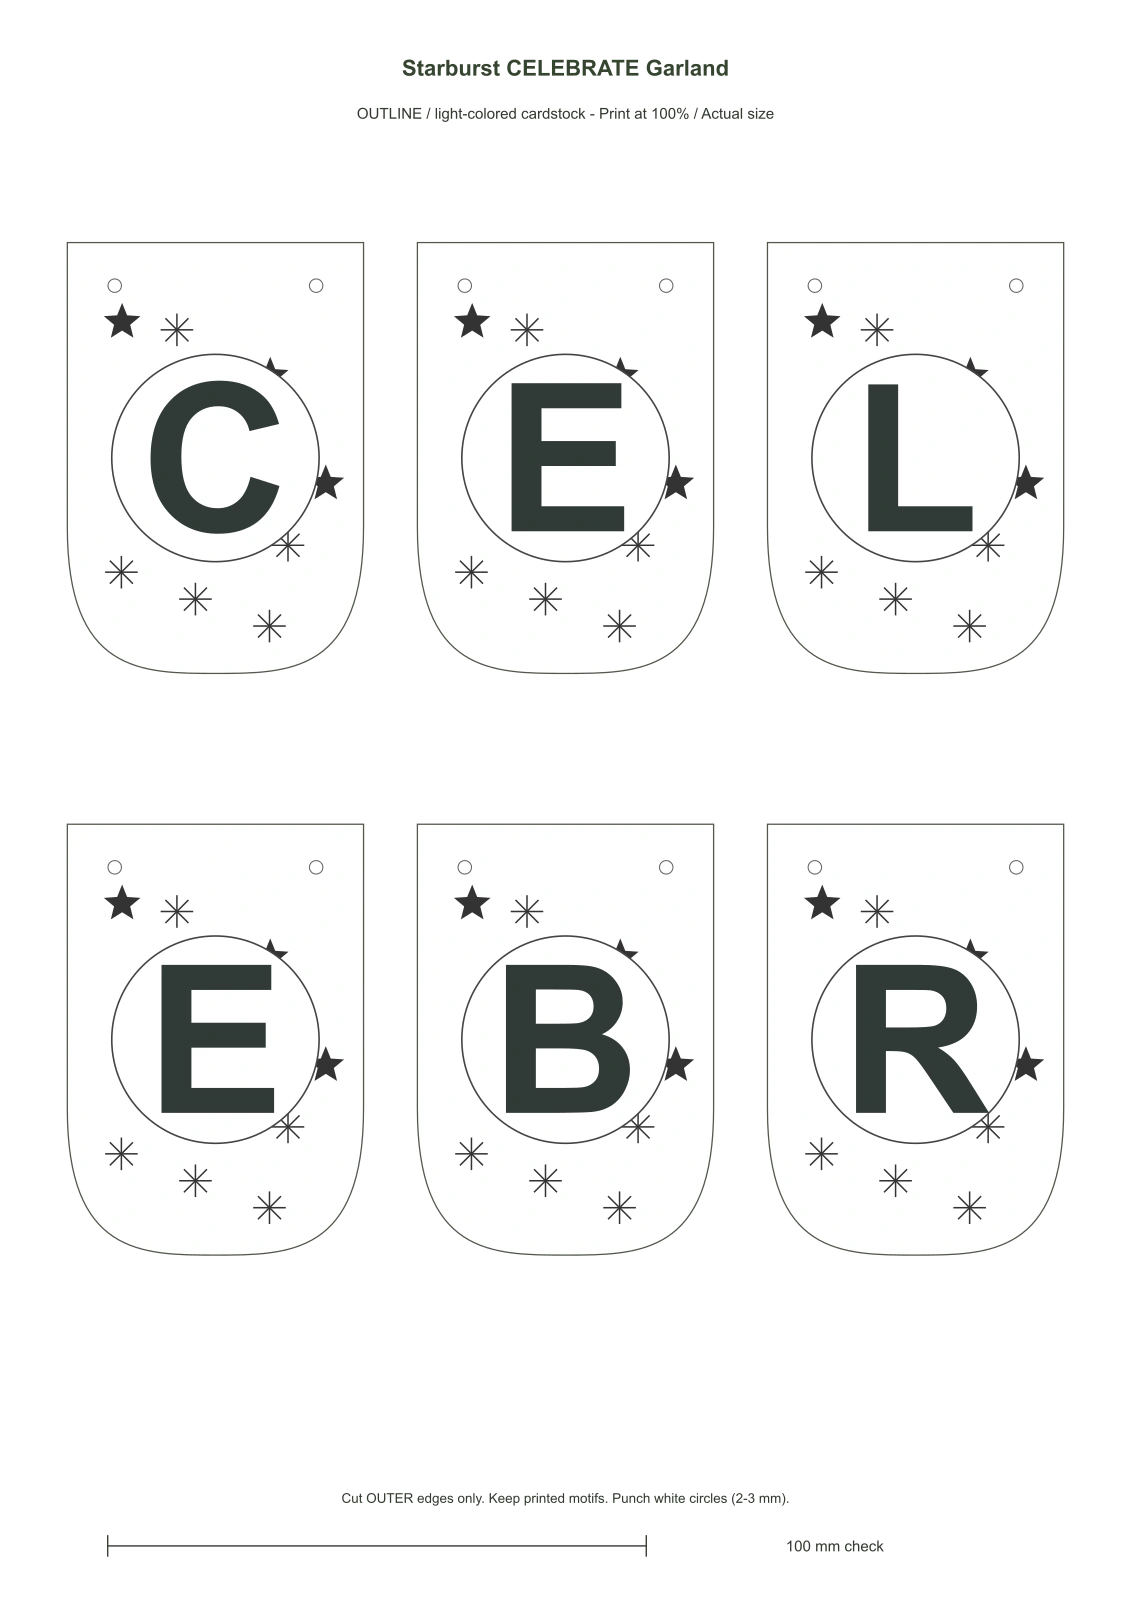
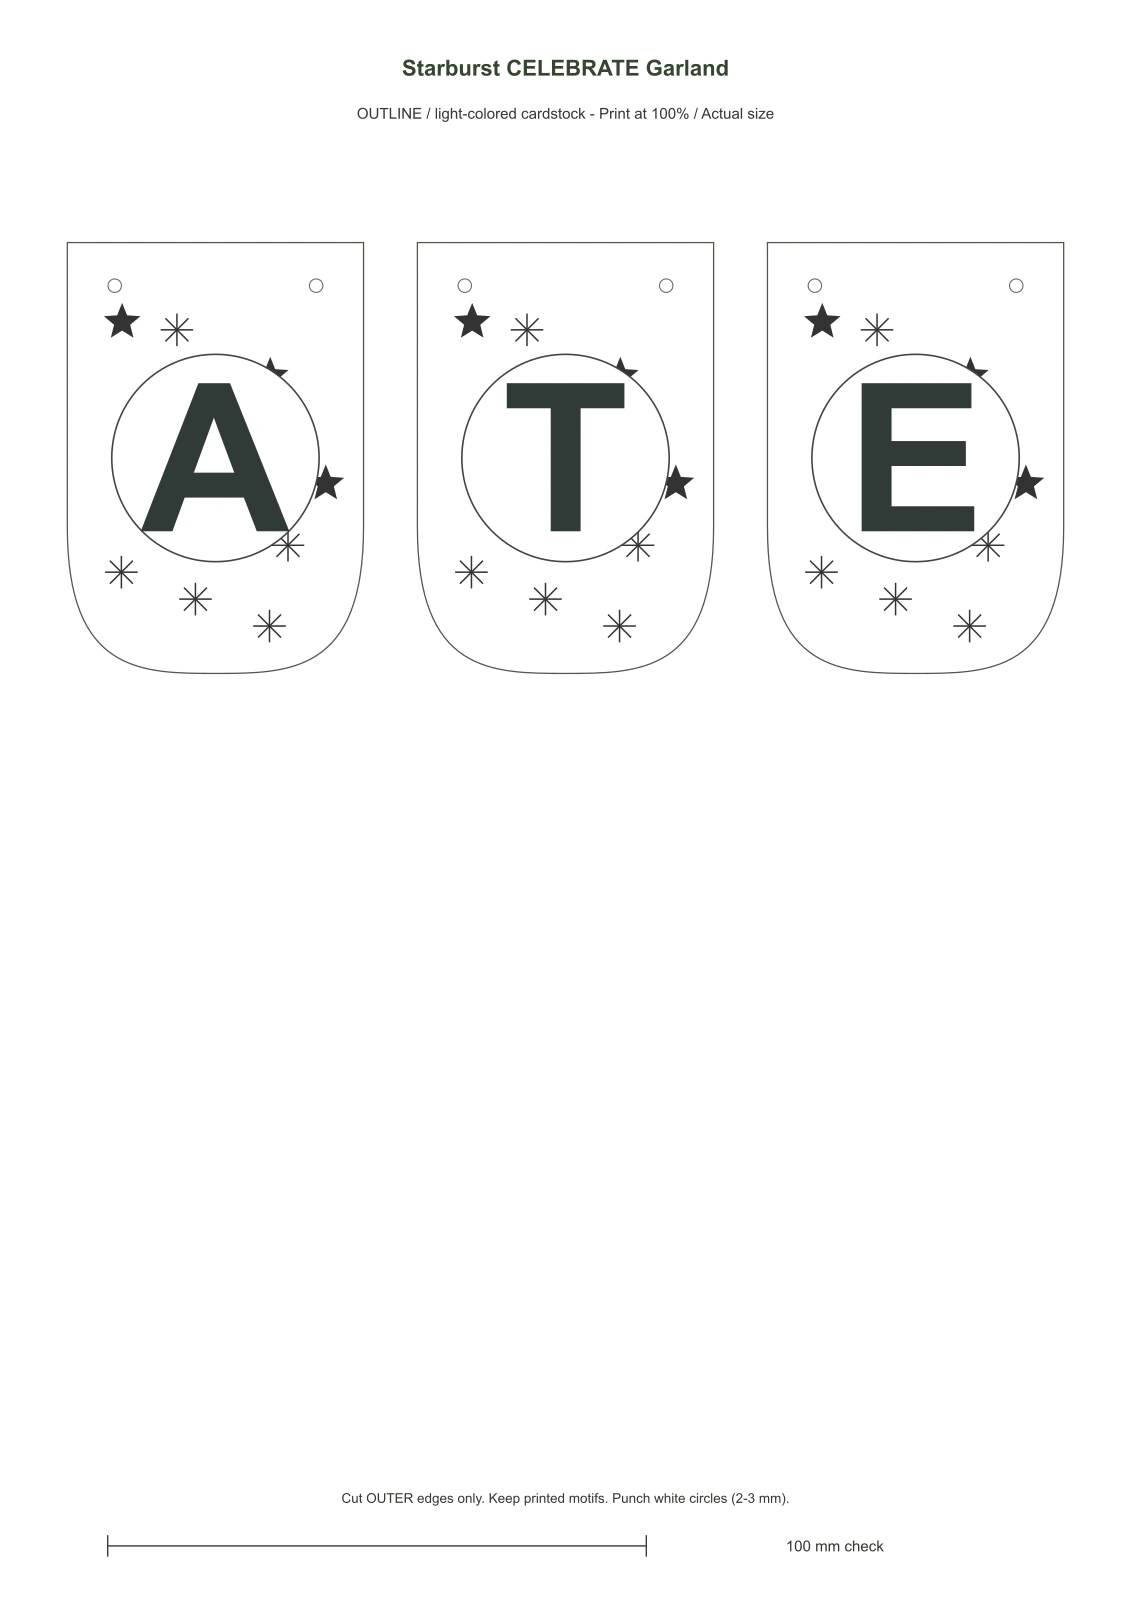
Imprime las piezas a color en cartulina blanca, o los contornos en papel de color claro. Recorta estas piezas para realizar el proyecto.
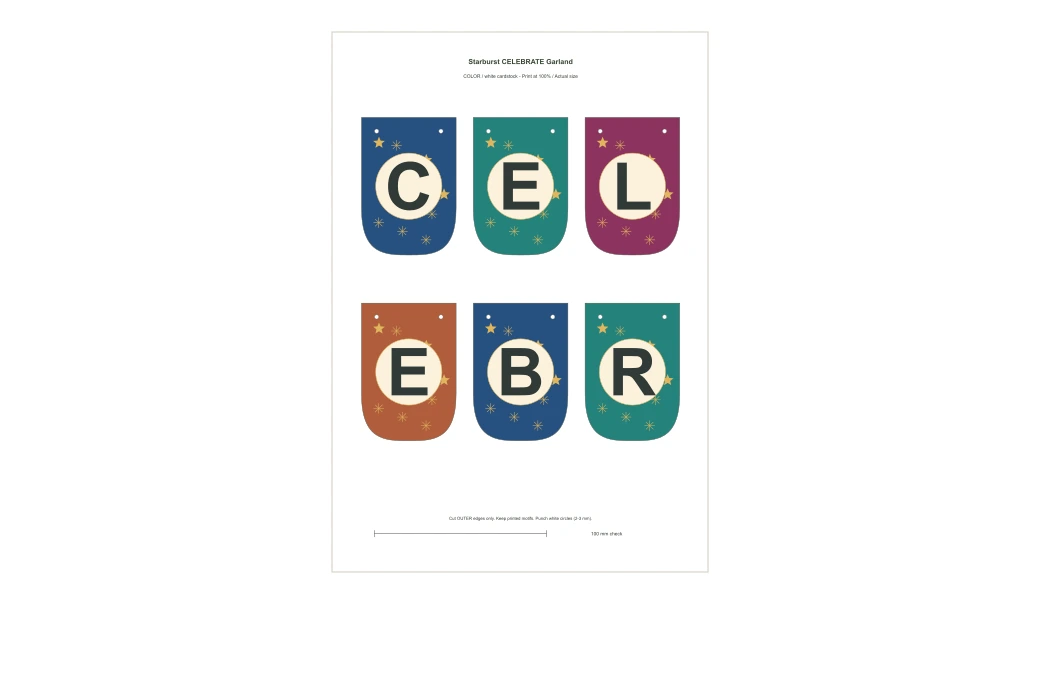
Printable parts - 2 color + 2 outline pages
Print at 100% / Actual size, with Fit to page disabled. Check the 100 mm bar. Use white cardstock for color pages, or light-colored cardstock for outline pages. For dark palettes, use the color version on white cardstock. Print only the version and pages needed.
Ver todas las hojas (4 páginas)
Pasos ilustrados
 1
Print the 2 color page(s), or the outline version on light-colored cardstock, at 100%. Check the 100 mm scale before cutting.
 2
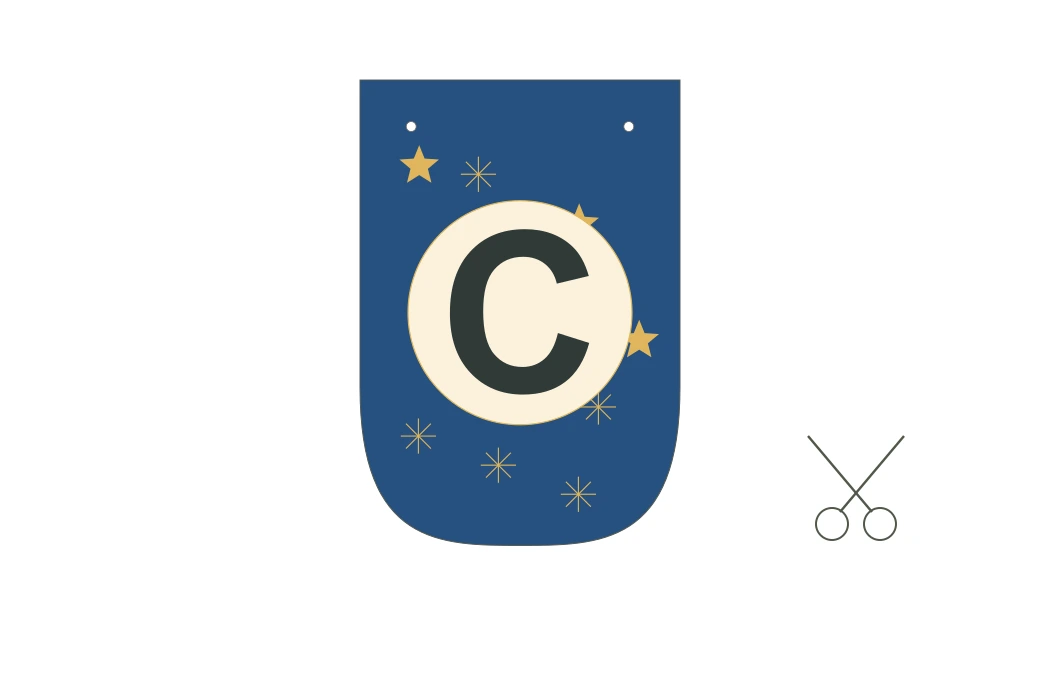
Cut out the 9 complete tags along their outer contours. Keep the letters printed on the tags; these are letter panels, not loose letter cutouts.
 3
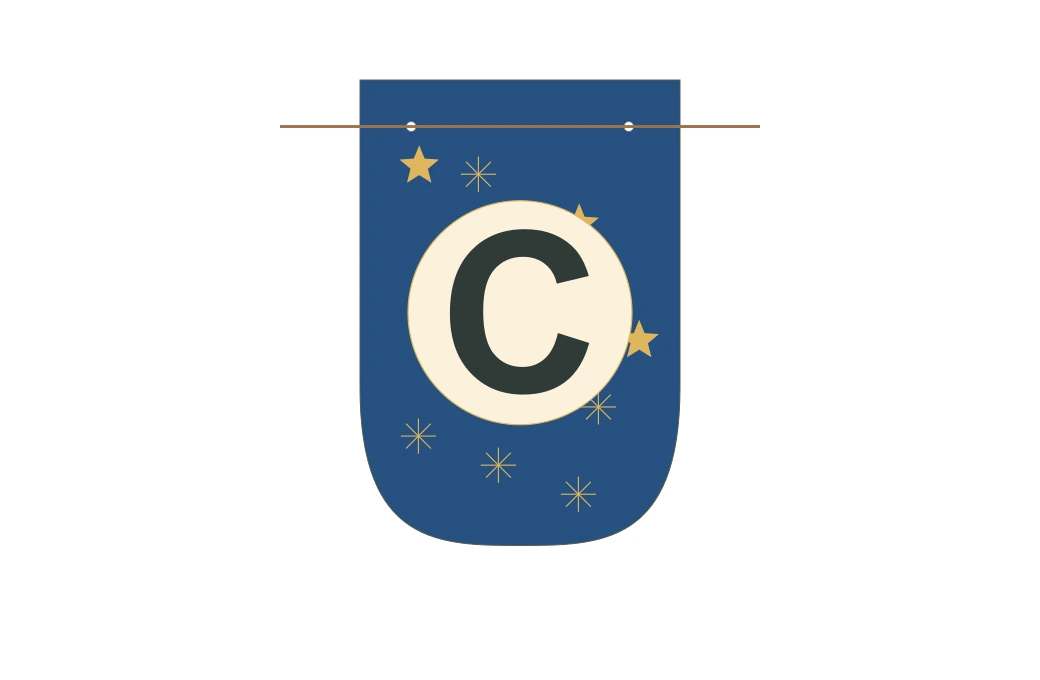
Punch the two marked holes in each tag. Thread the cord from back to front through the left hole, across the front, and back through the right hole.
 4
Arrange the tags left to right to spell CELEBRATE. Leave roughly 3-5 cm between tags, tie loops at both ends and hang the finished lettering.
Construction diagrams use the exact printable shapes. The cover is an AI finished-project visualization; the actual printable shapes, dimensions and hole positions govern the project. Not physically assembled by this site.
DIY Art Pack · Personal, educational and commercial use