তৈরির নির্দেশিকা · 4 illustrated sections
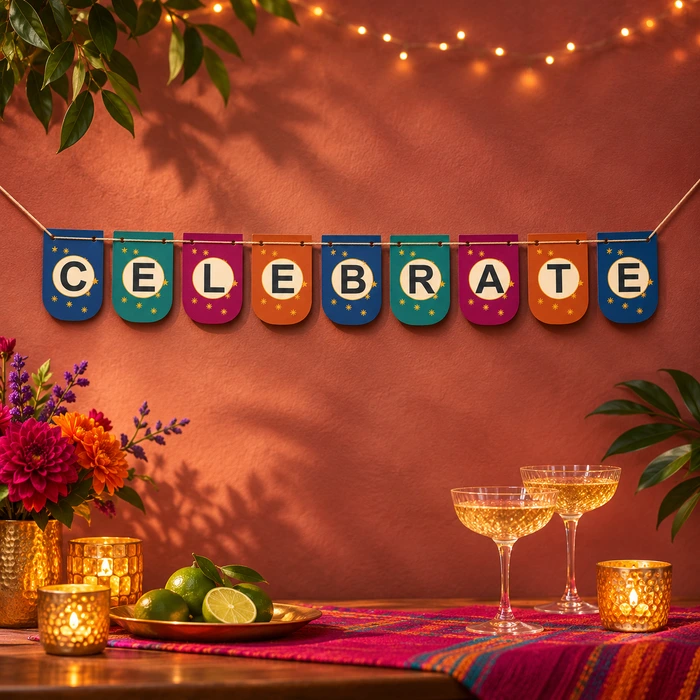
Starburst CELEBRATE Garland
Cut and thread CELEBRATE letter tags for a refined welcome, wedding or celebration display. Follow 4 illustrated sections. Download the complete making guide and matching paper.
প্রিন্টযোগ্য ক্রাফট শিট
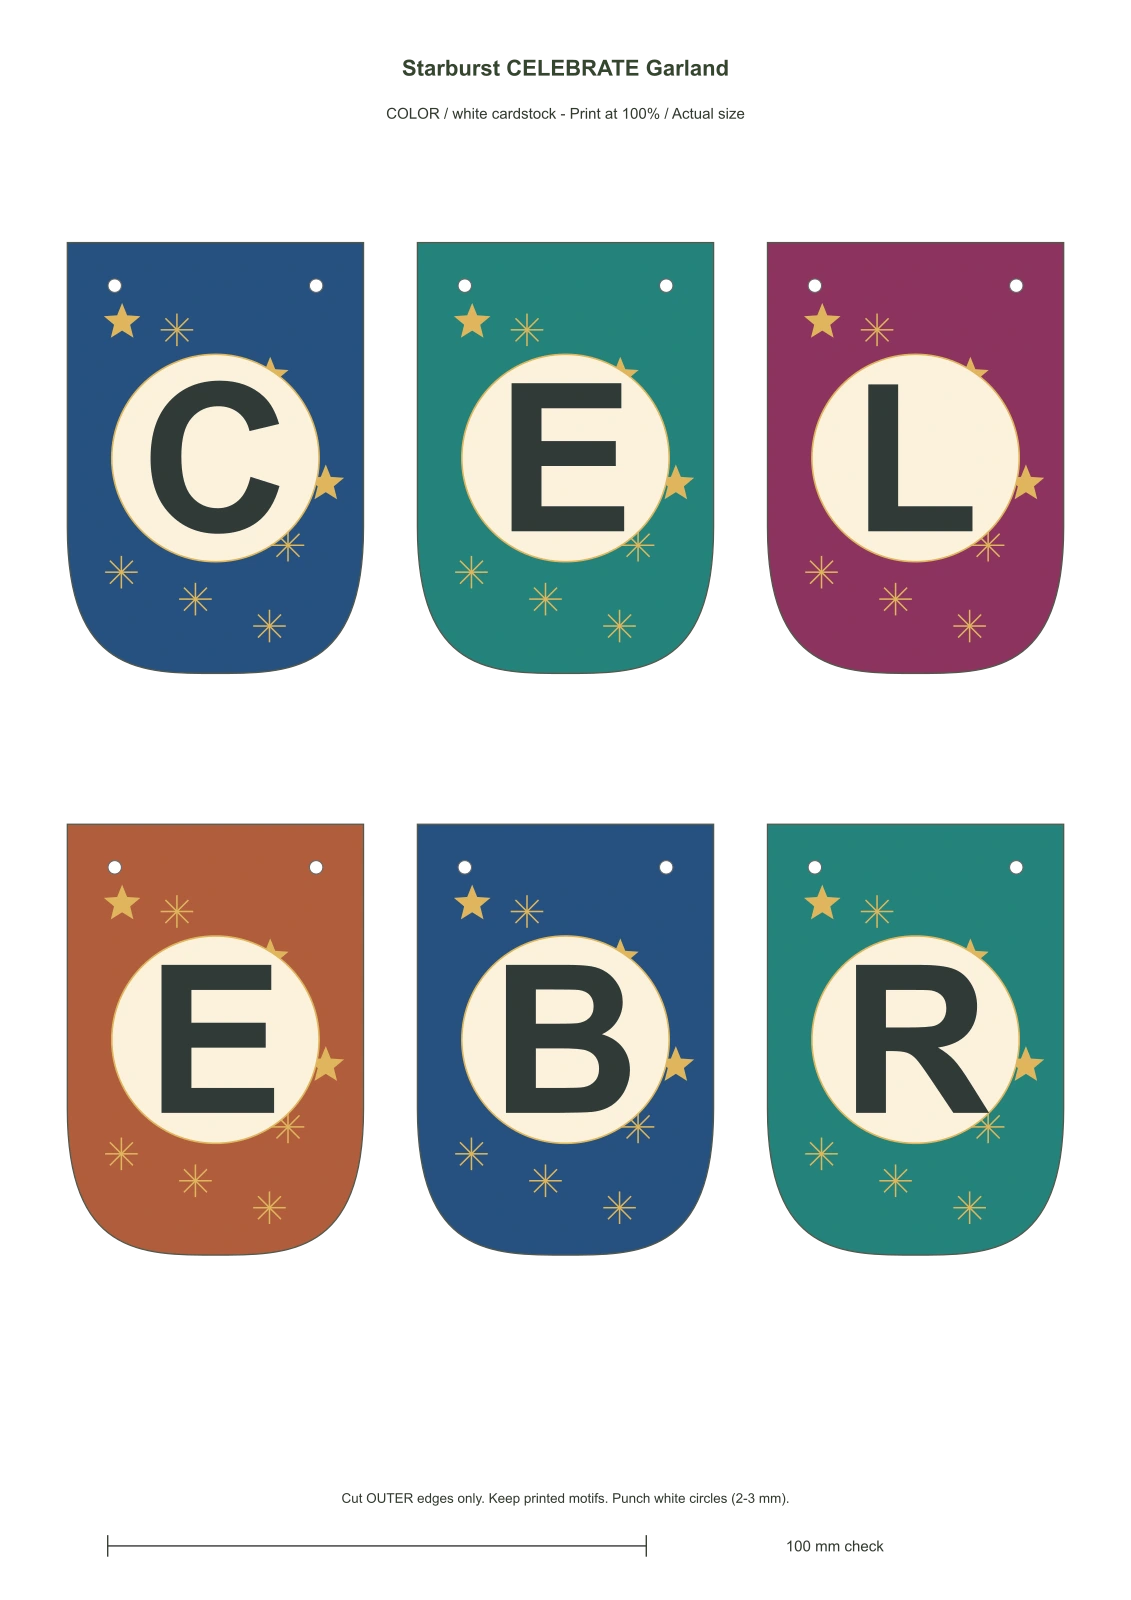
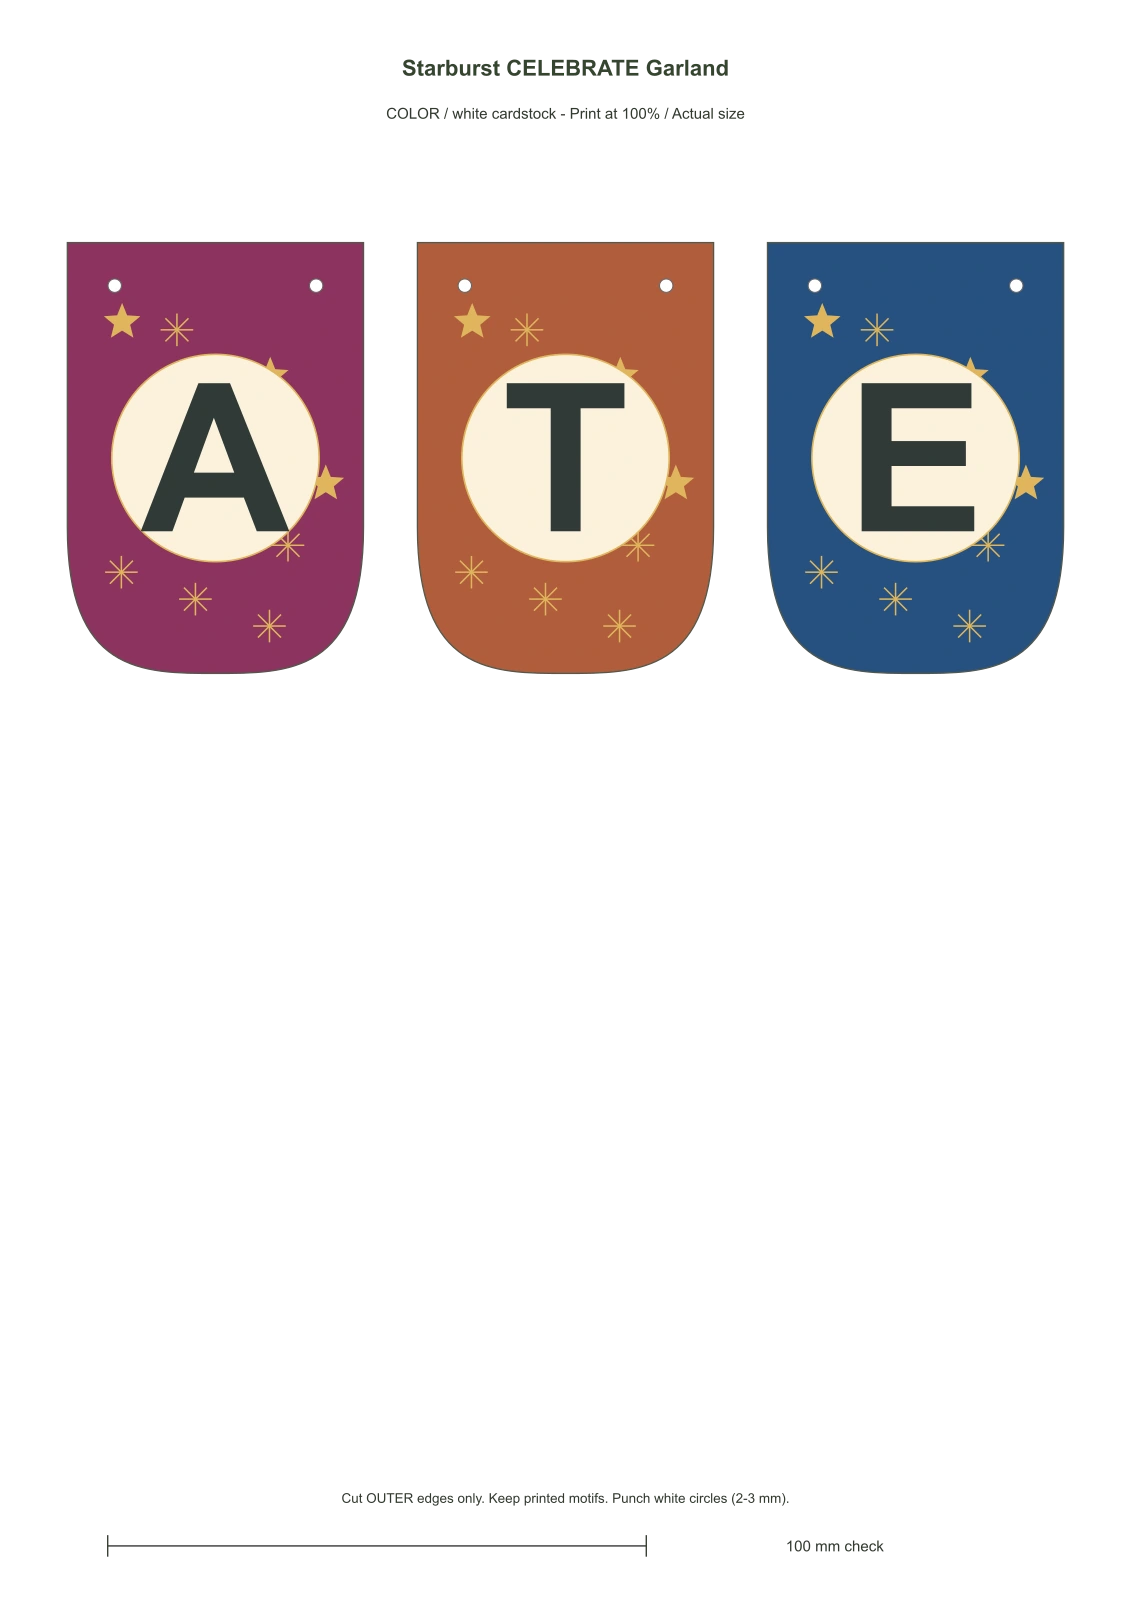
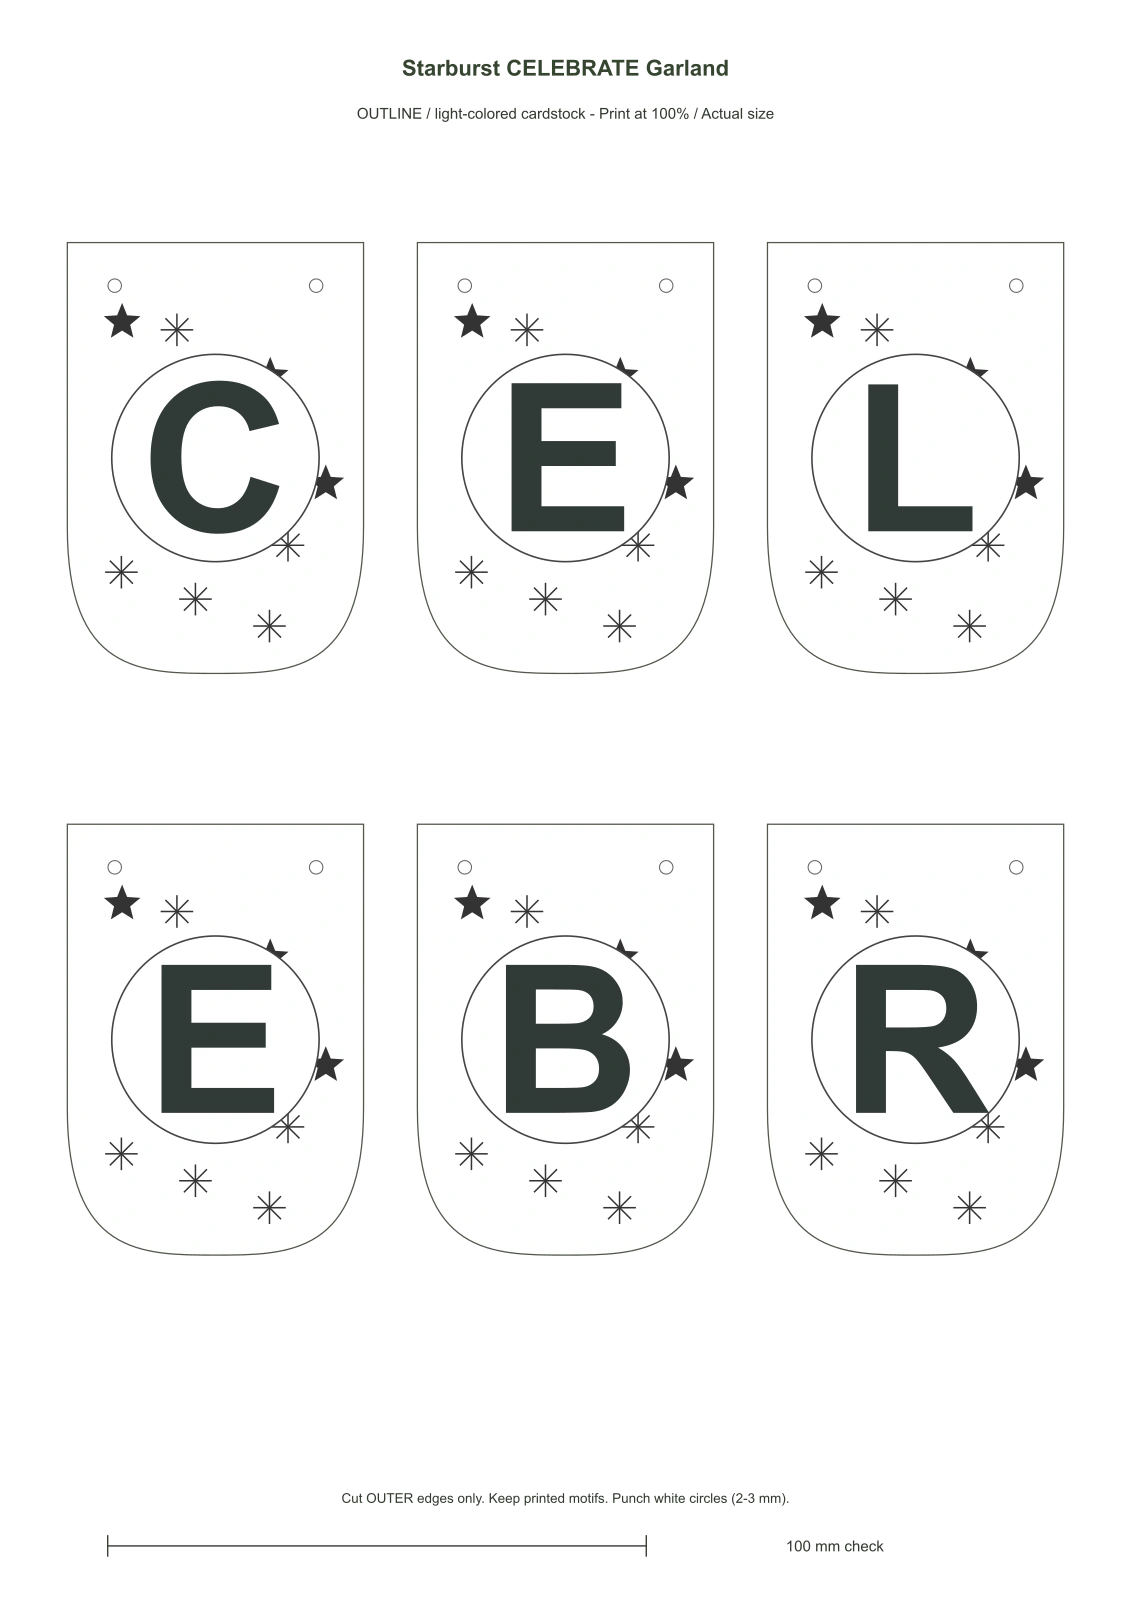
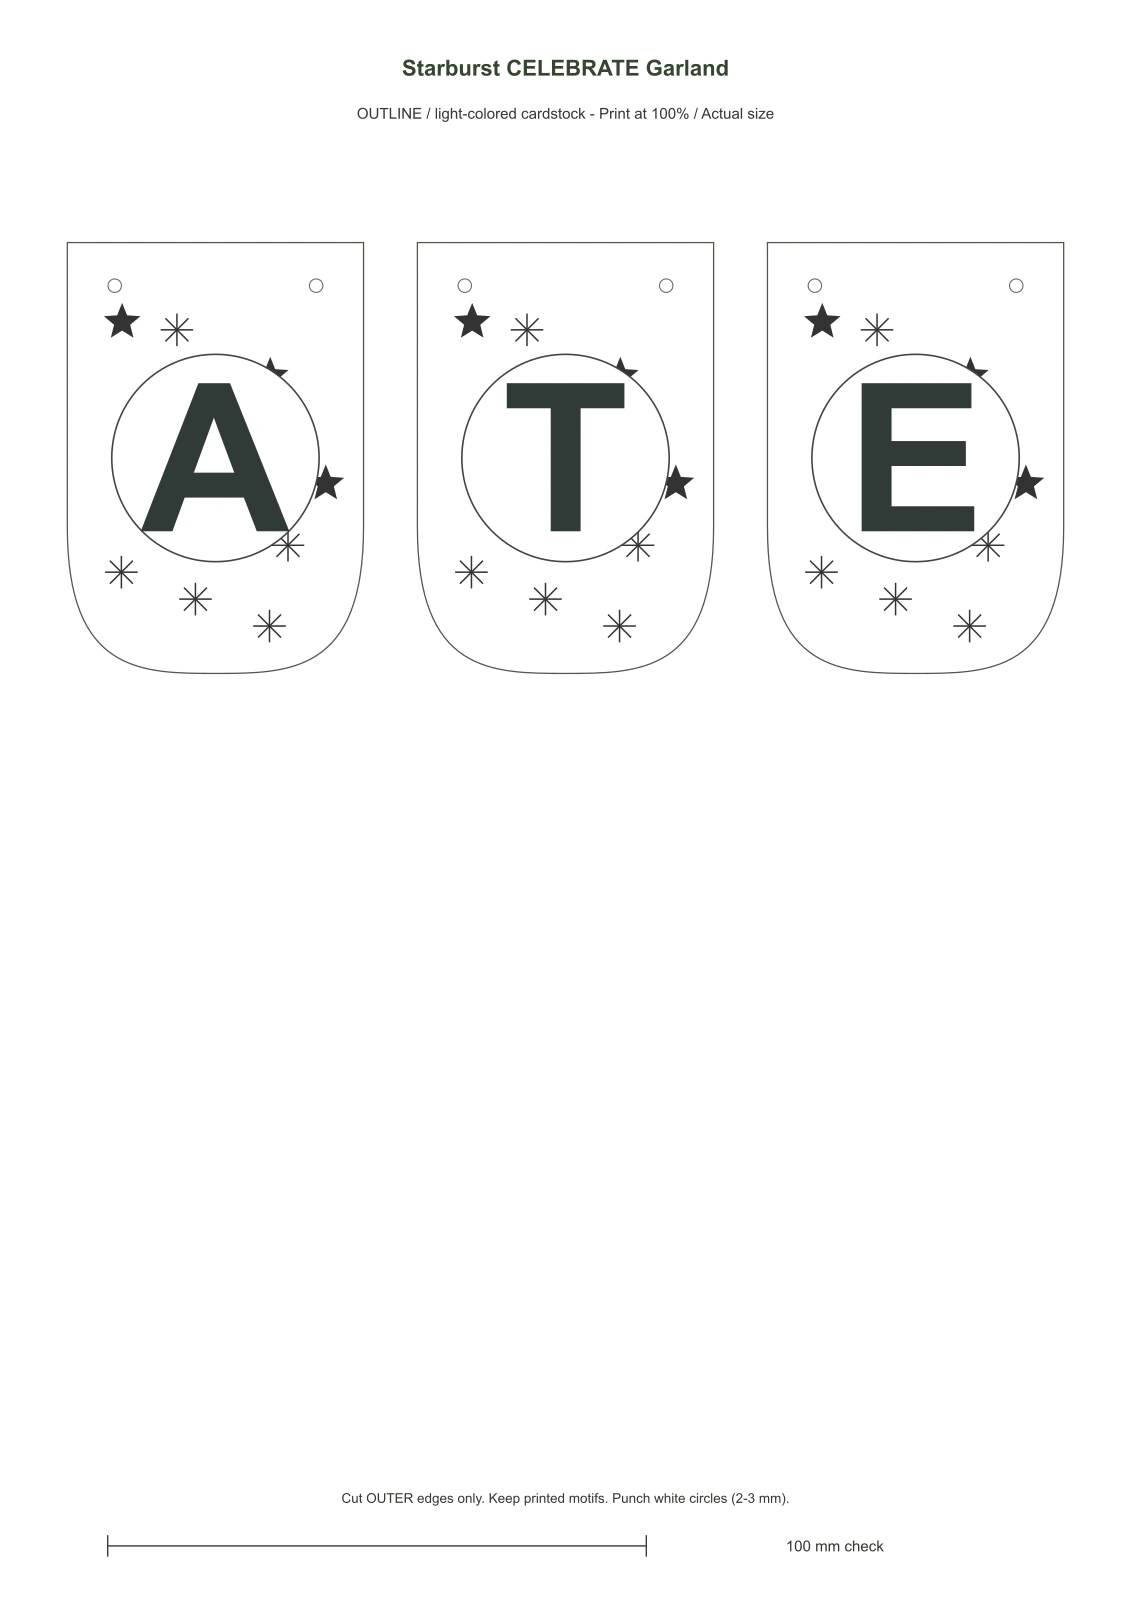
রঙিন অংশ সাদা কার্ড পেপারে অথবা রেখাচিত্র হালকা রঙের কাগজে প্রিন্ট করুন। কাজটি তৈরি করতে এই অংশগুলো কেটে নিন।
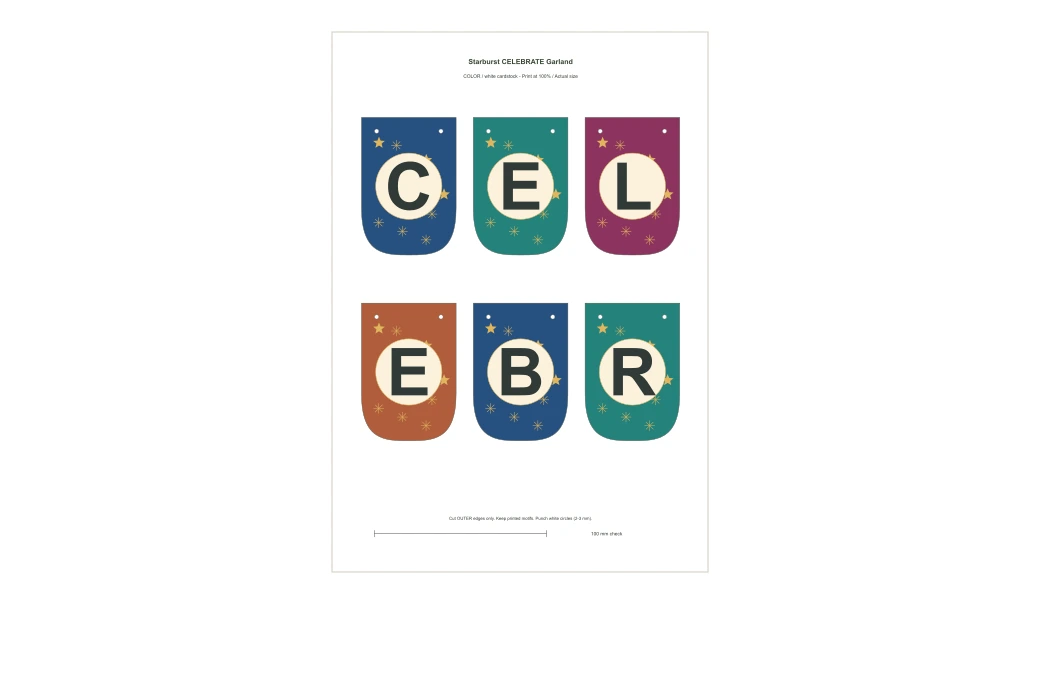
Printable parts - 2 color + 2 outline pages
Print at 100% / Actual size, with Fit to page disabled. Check the 100 mm bar. Use white cardstock for color pages, or light-colored cardstock for outline pages. For dark palettes, use the color version on white cardstock. Print only the version and pages needed.
সব শিট দেখুন (4 পৃষ্ঠা)
ছবিসহ ধাপ
 1
Print the 2 color page(s), or the outline version on light-colored cardstock, at 100%. Check the 100 mm scale before cutting.
 2
Cut out the 9 complete tags along their outer contours. Keep the letters printed on the tags; these are letter panels, not loose letter cutouts.
 3
Punch the two marked holes in each tag. Thread the cord from back to front through the left hole, across the front, and back through the right hole.
 4
Arrange the tags left to right to spell CELEBRATE. Leave roughly 3-5 cm between tags, tie loops at both ends and hang the finished lettering.
Construction diagrams use the exact printable shapes. The cover is an AI finished-project visualization; the actual printable shapes, dimensions and hole positions govern the project. Not physically assembled by this site.
DIY Art Pack · Personal, educational and commercial use