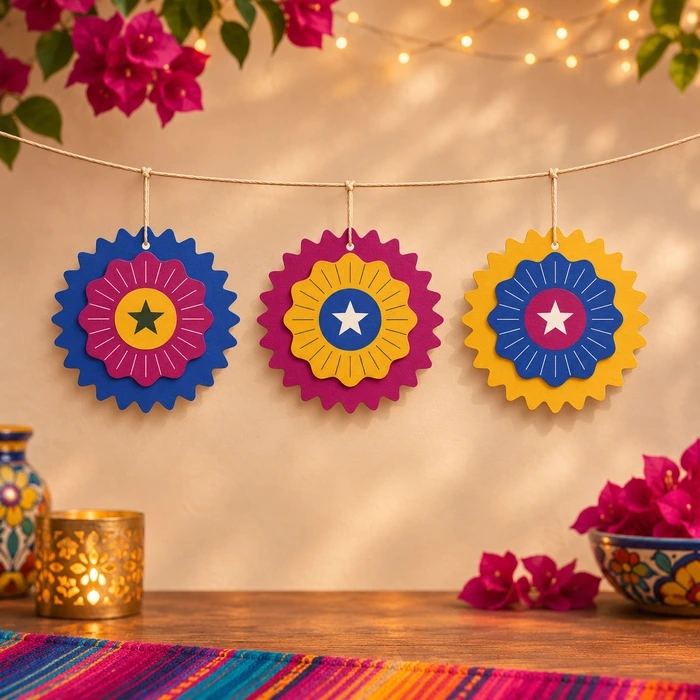
Guia de montagem · 4 illustrated sections
Jewel Layered Paper Rosettes
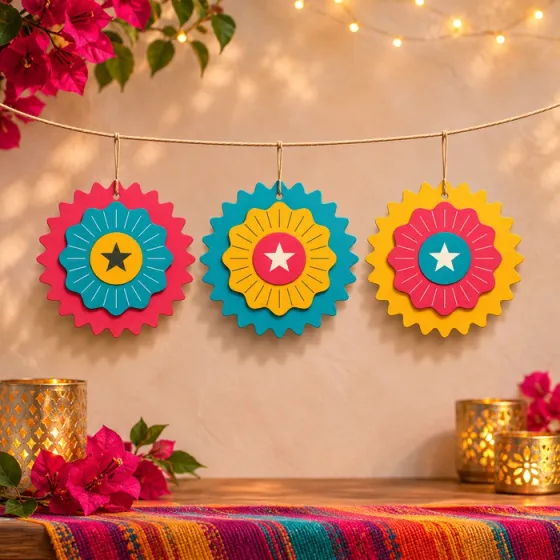
Cut and layer three colorful paper rosettes for a lively celebration backdrop. Follow 4 illustrated sections. Download the complete making guide and matching paper.
Folhas imprimíveis para artesanato
Imprima as peças coloridas em cartolina branca, ou os contornos em papel de cor clara. Recorte estas peças para montar o projeto.
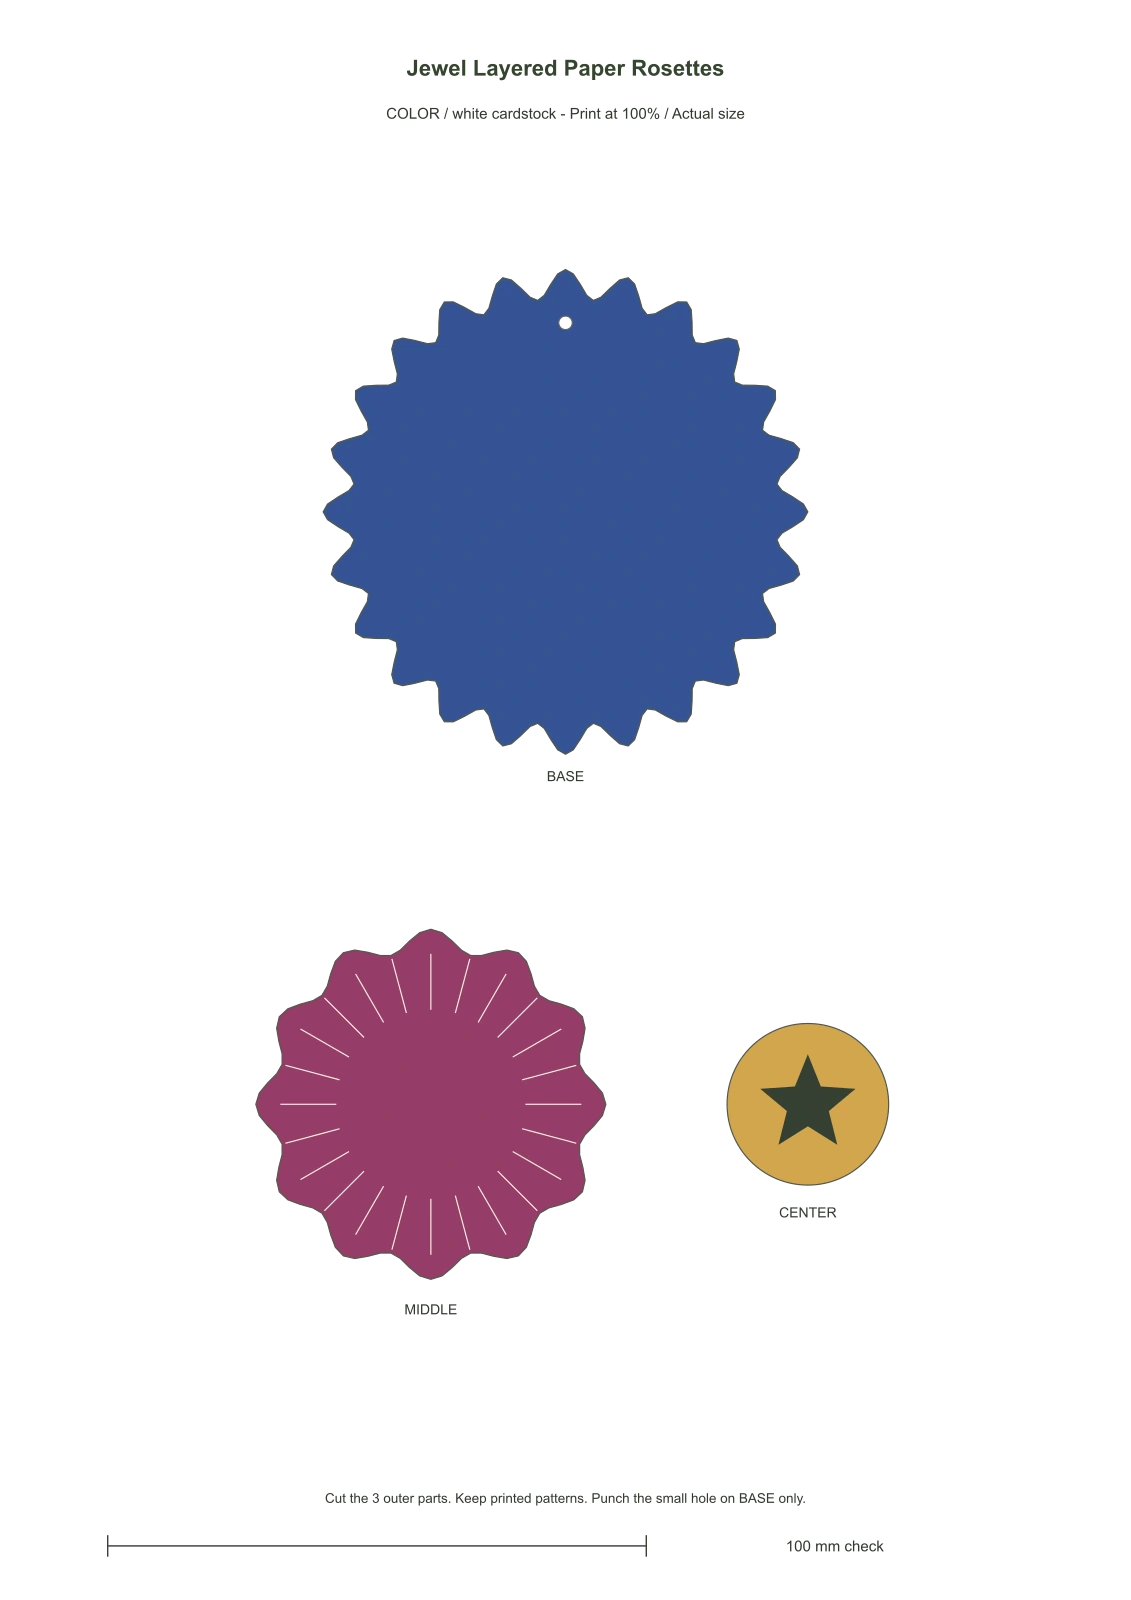
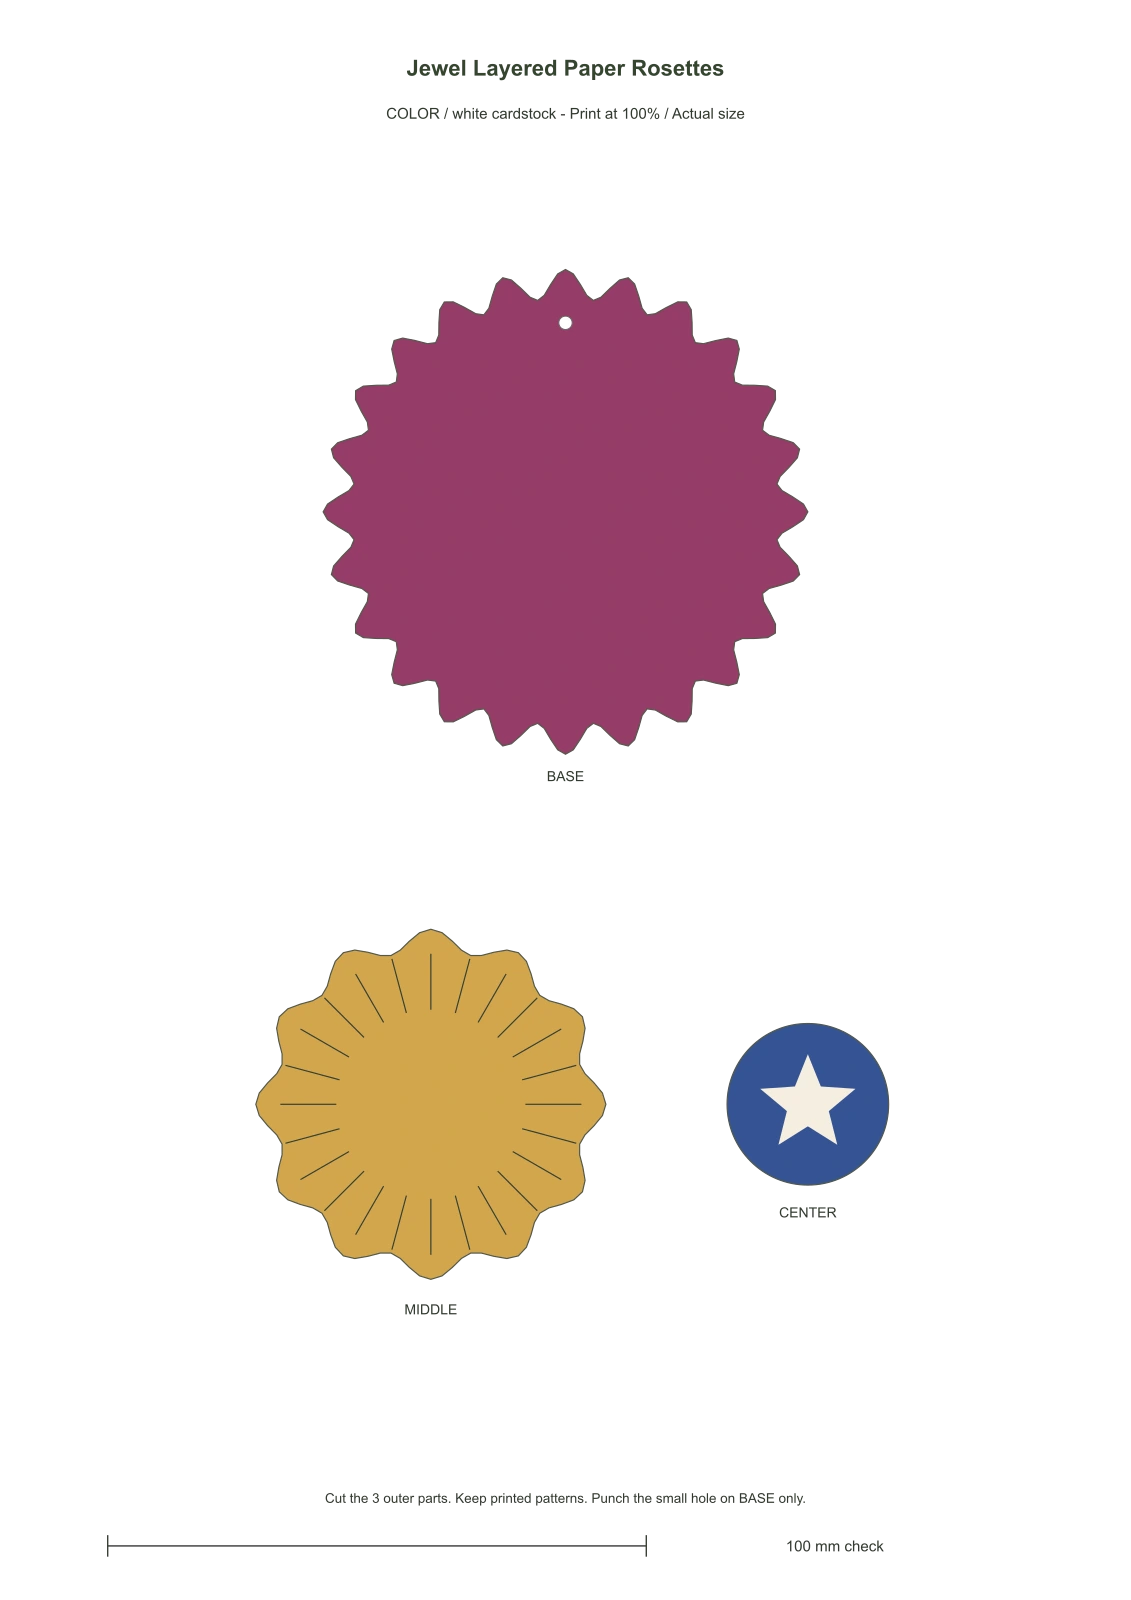
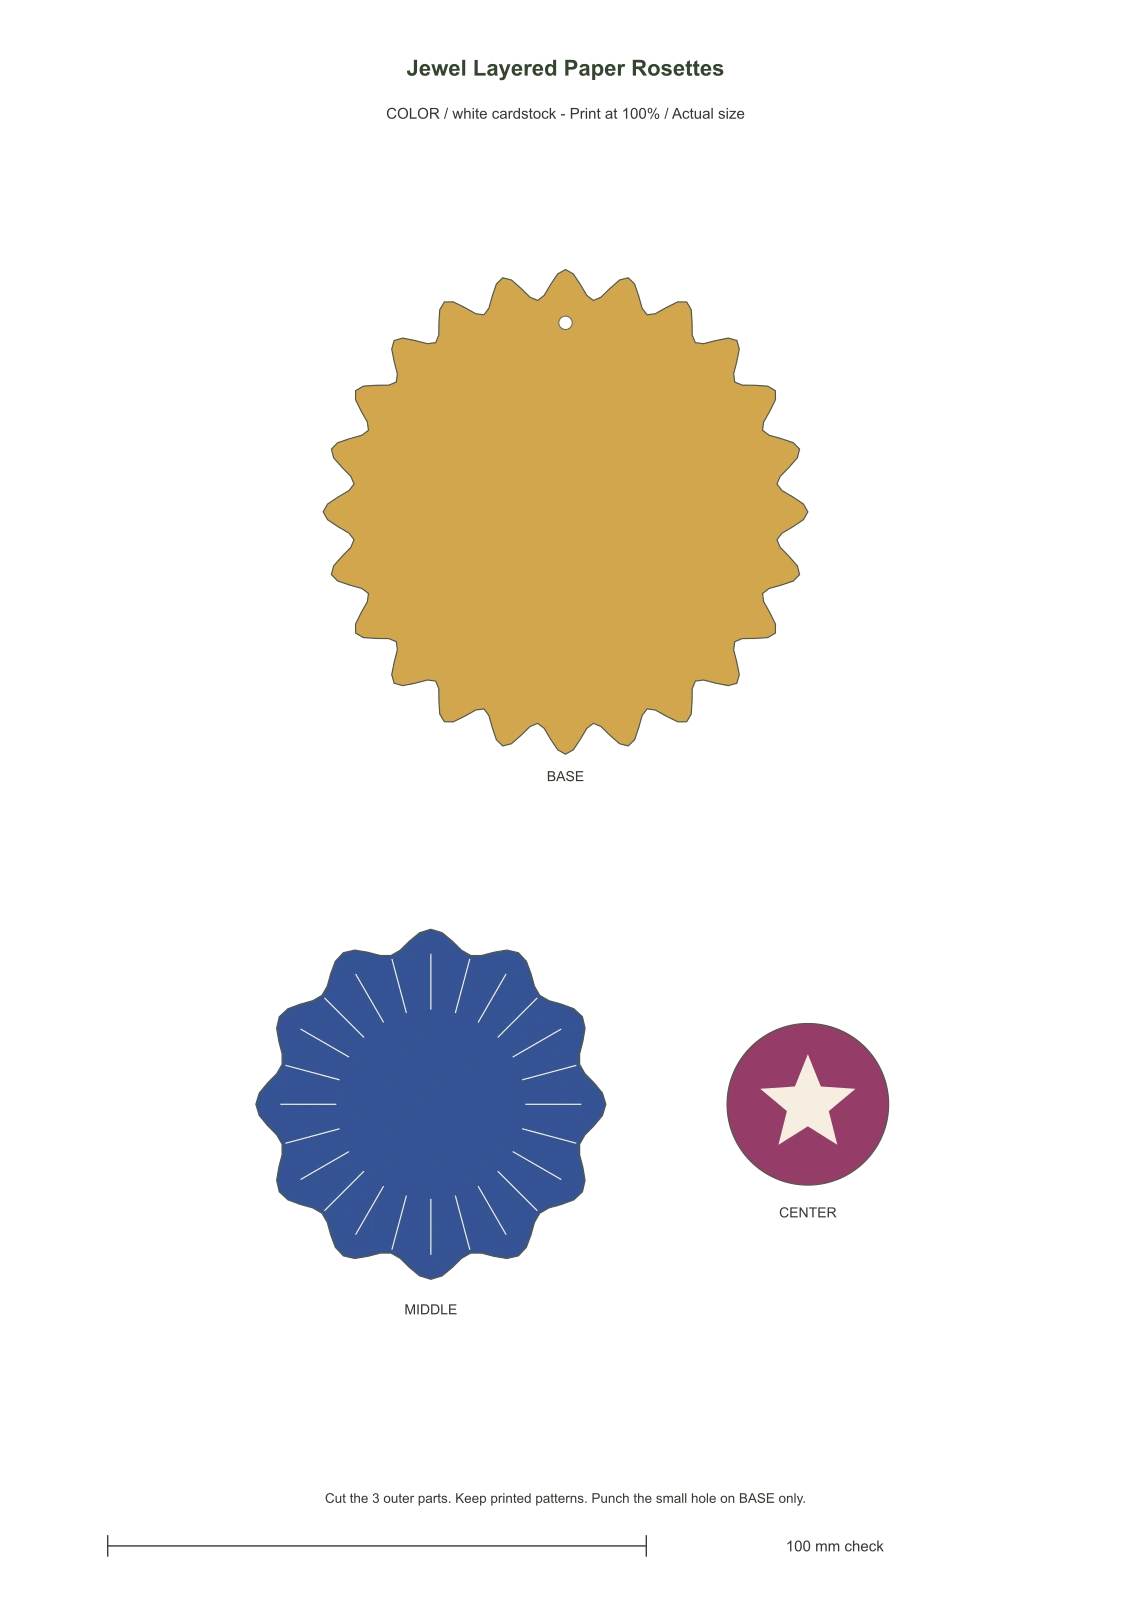
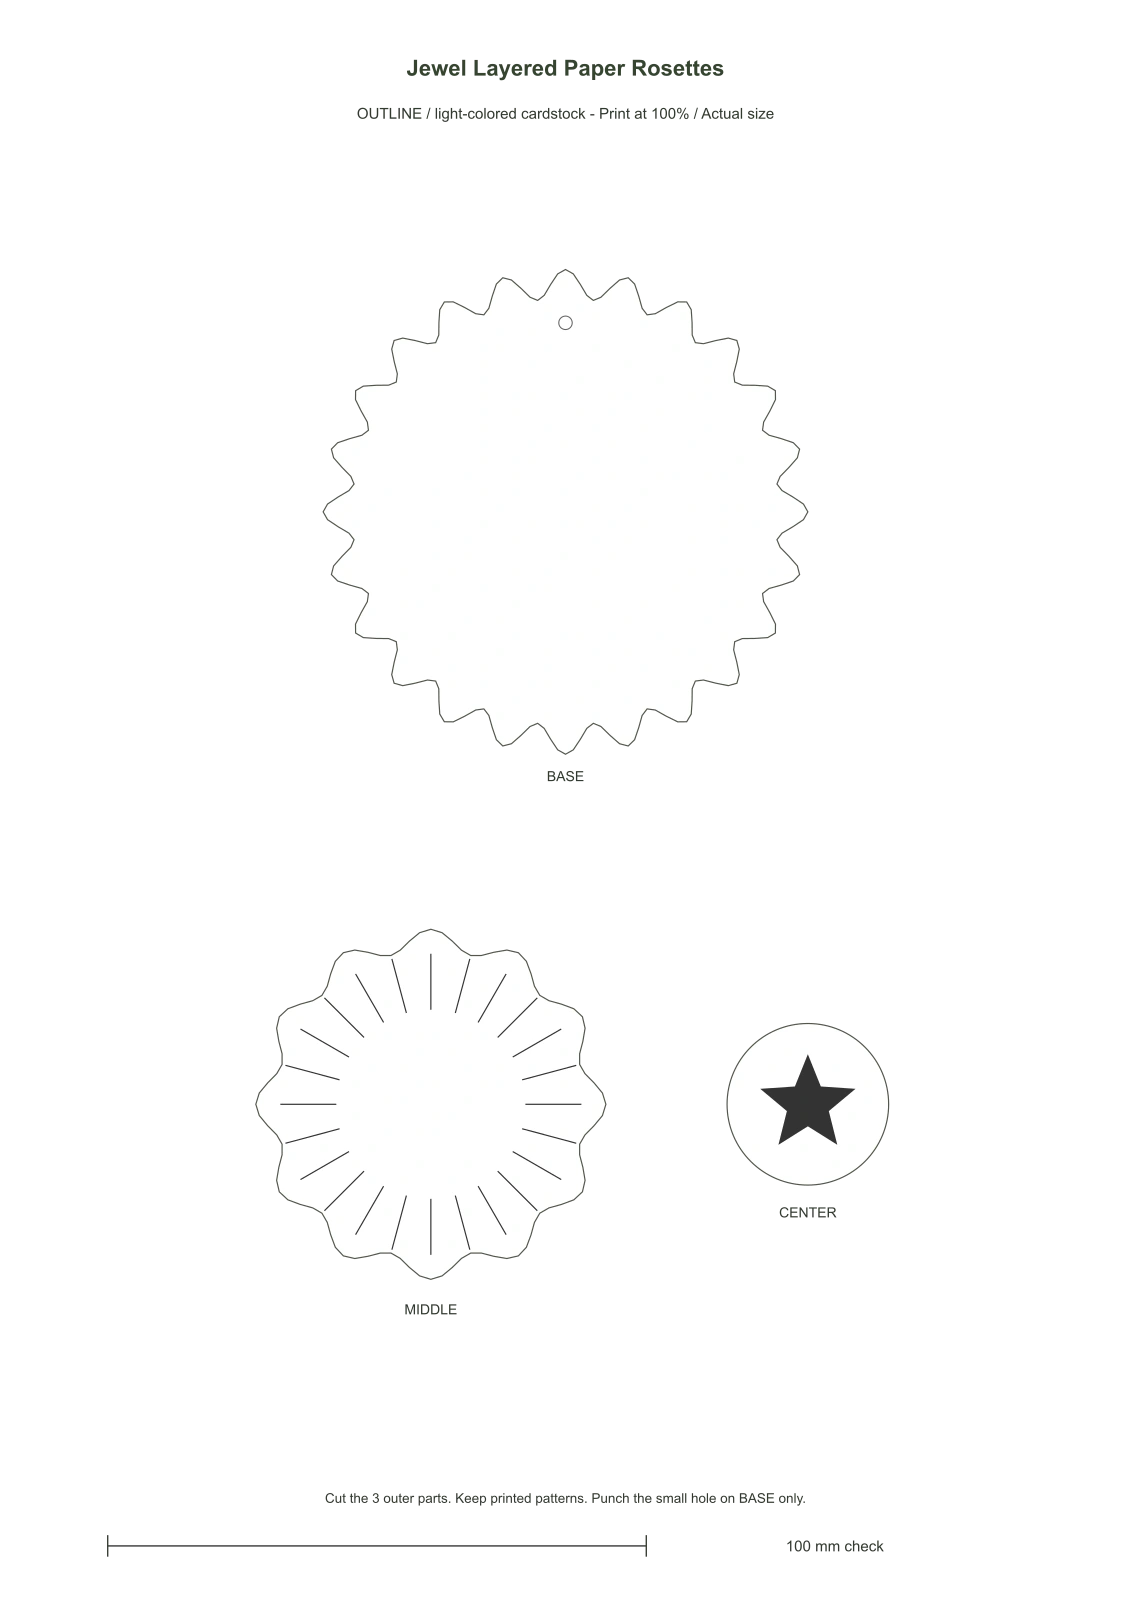
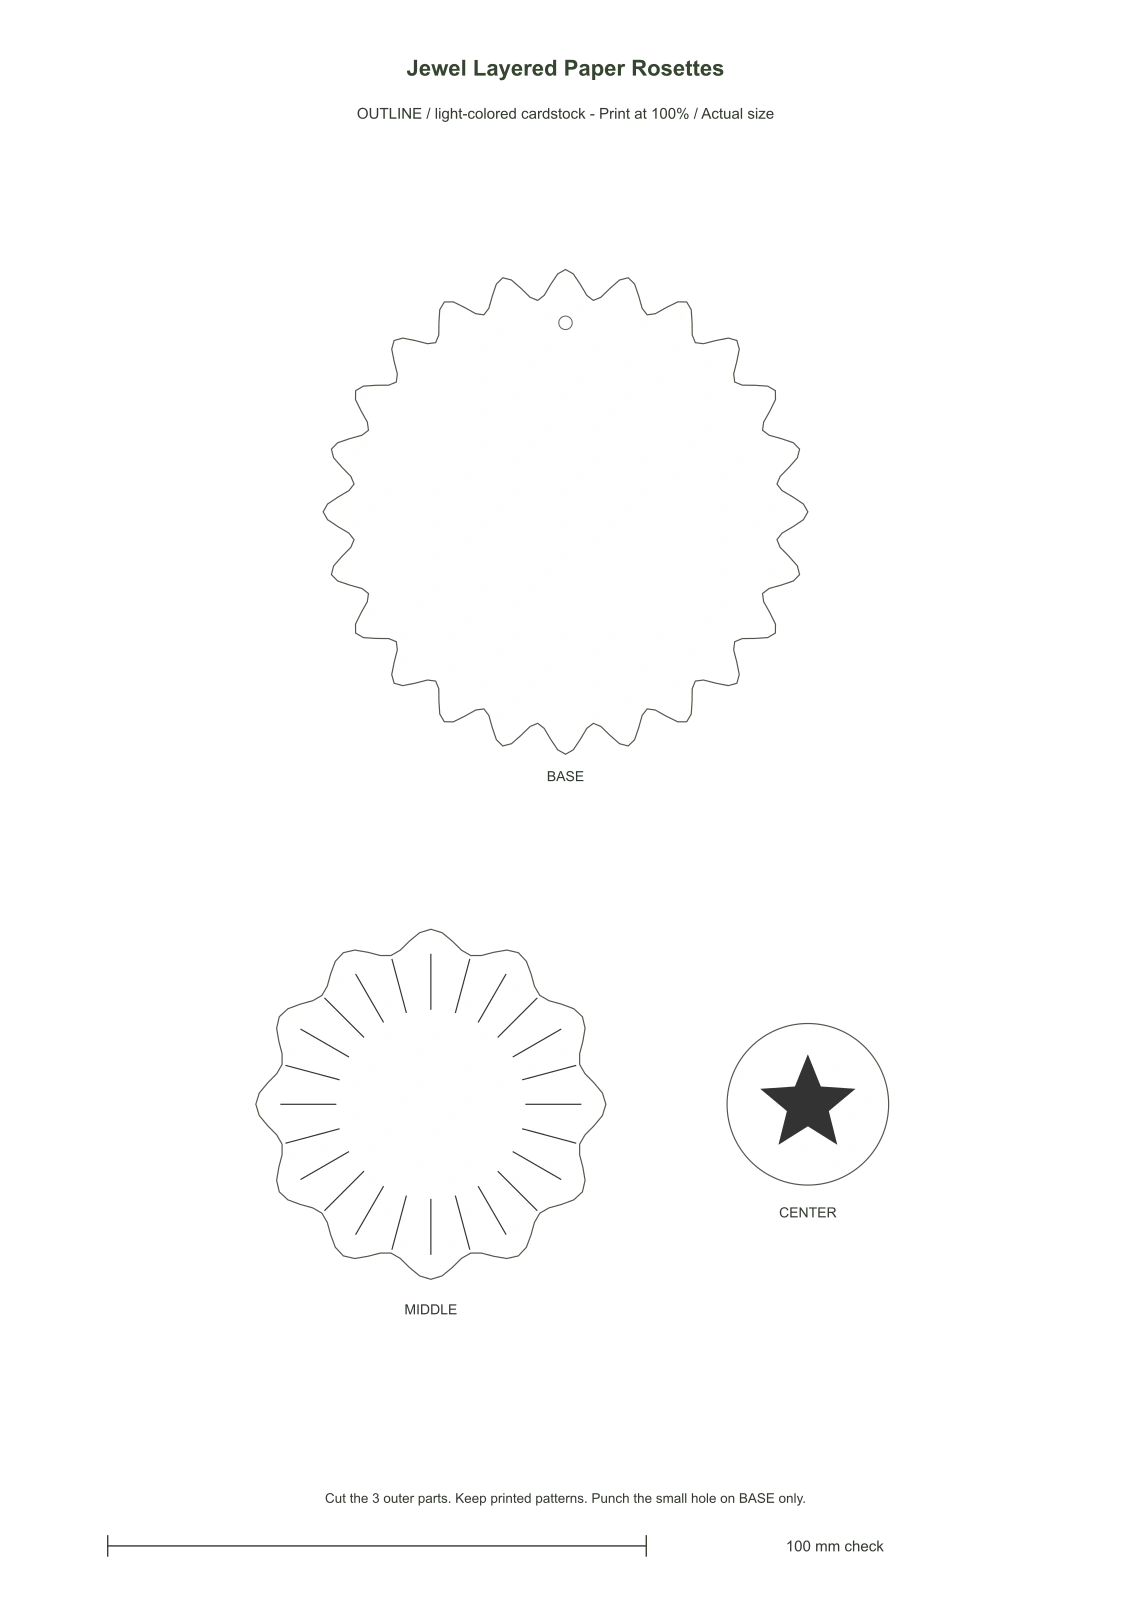
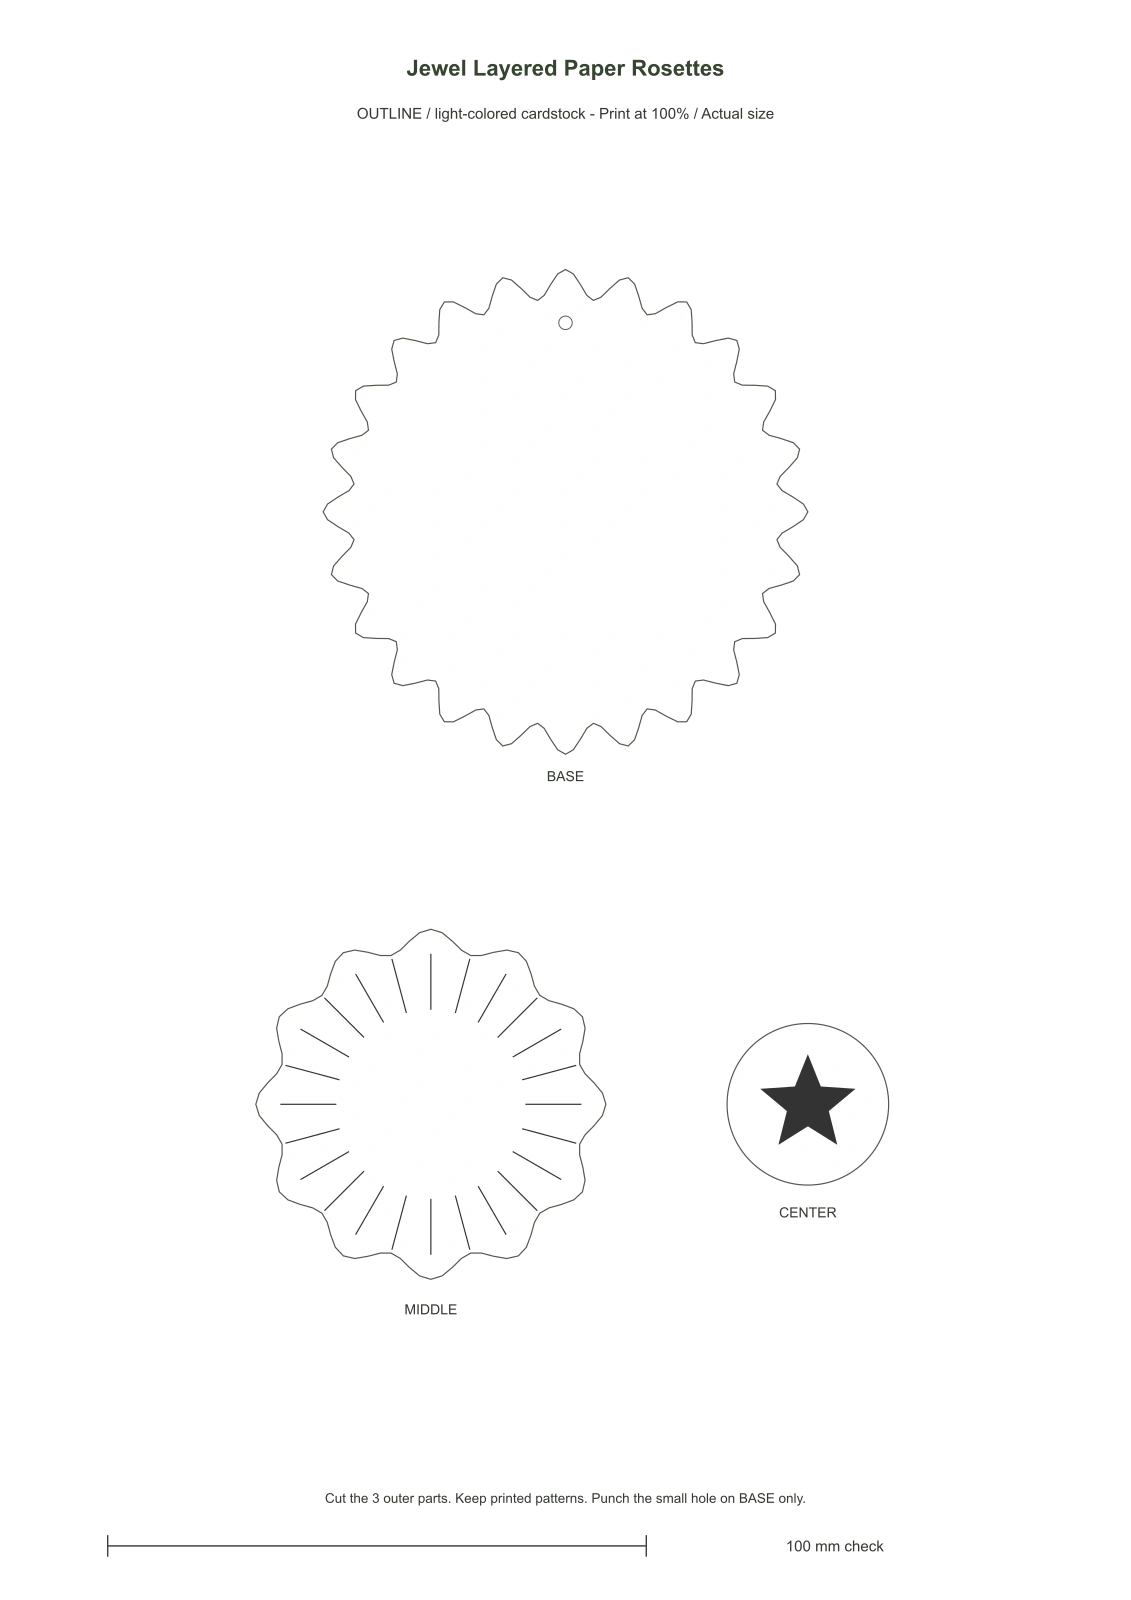
Printable parts - 3 color + 3 outline pages
Print at 100% / Actual size, with Fit to page disabled. Check the 100 mm bar. Use white cardstock for color pages, or light-colored cardstock for outline pages. For dark palettes, use the color version on white cardstock. Print only the version and pages needed.
Ver todas as folhas (6 páginas)
Passos ilustrados
 1
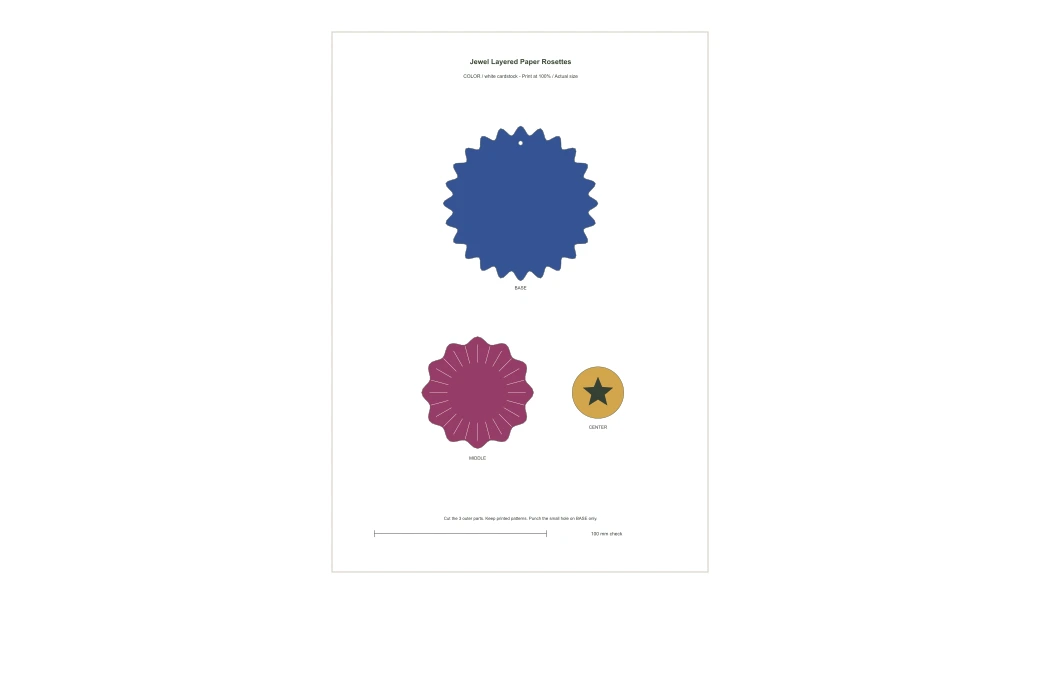
Print the three color pages at 100% / Actual size and check the 100 mm bar. Cut the nine outer parts: three large bases, three middle layers and three center discs. Keep the printed rays and stars intact.
 2
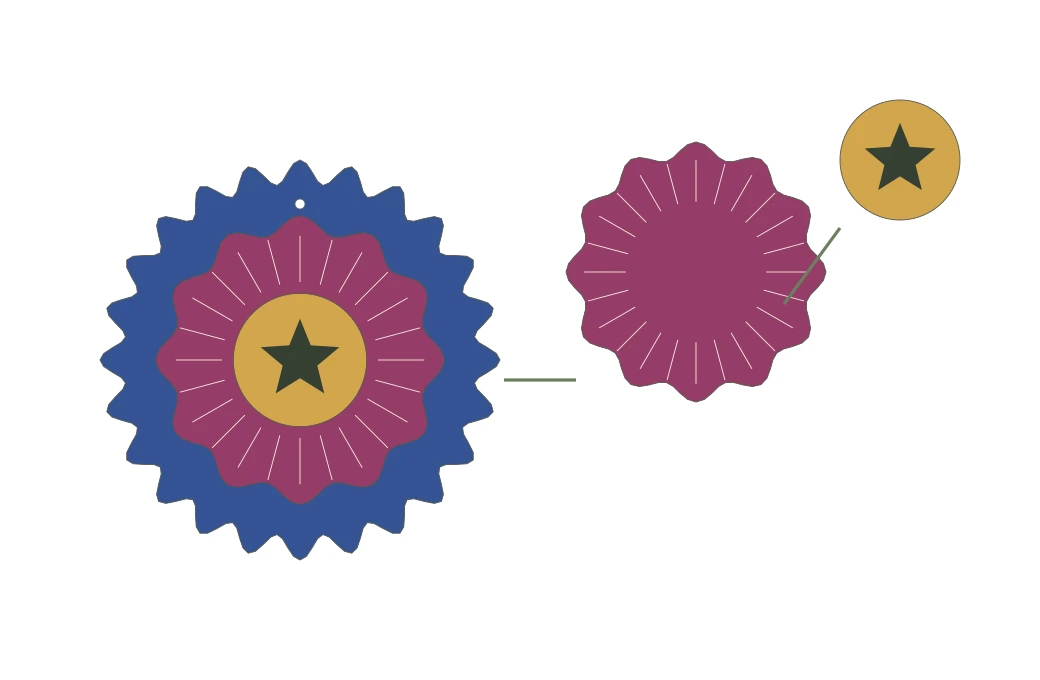
Match each 90 mm base with one 65 mm middle layer and one 30 mm center. For the outline version, mix parts from the three cardstock colors. Keep the small white hole marker on each base at the top.
 3
Fix the middle layer concentrically to the base, then add the center disc. Use small 1 mm foam pads for shallow relief, or glue for flat layers. Leave the top hole clear and punch only that marked hole on the large base.
 4
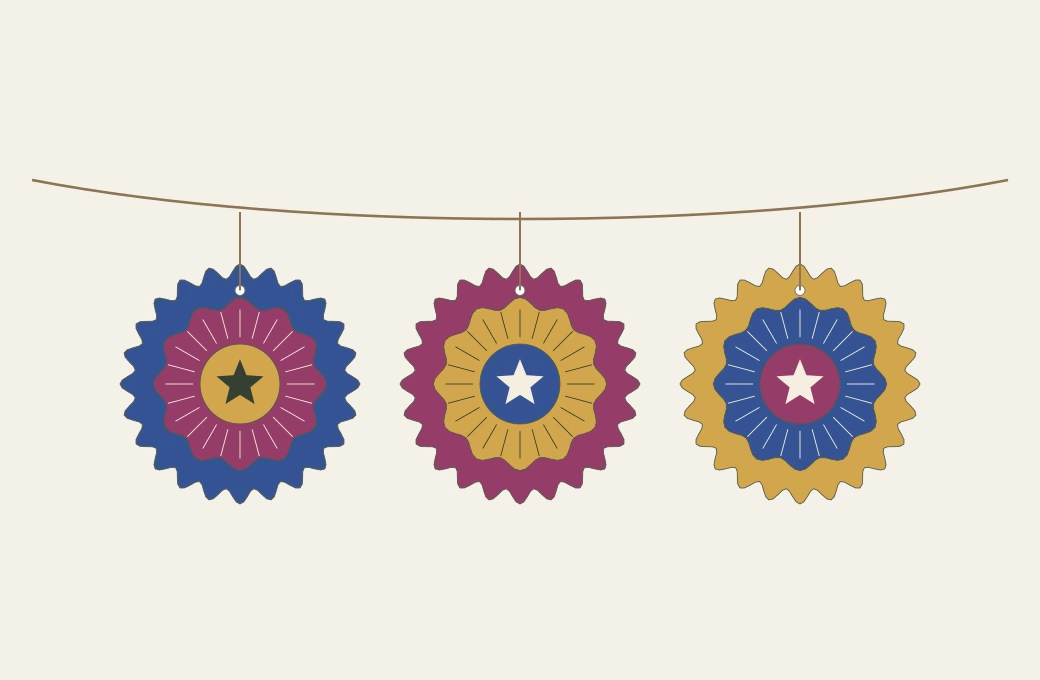
Tie a short cord loop through each ornament’s top hole, then attach the three loops to a main cord about 1.2 m long. Space the ornaments and hang. These are three cut-and-layer paper parts per flower, not folded accordion fans.
Construction diagrams use the exact printable shapes. The cover is an AI finished-project visualization; the actual printable shapes, dimensions and hole positions govern the project. Not physically assembled by this site.
DIY Art Pack · Personal, educational and commercial use