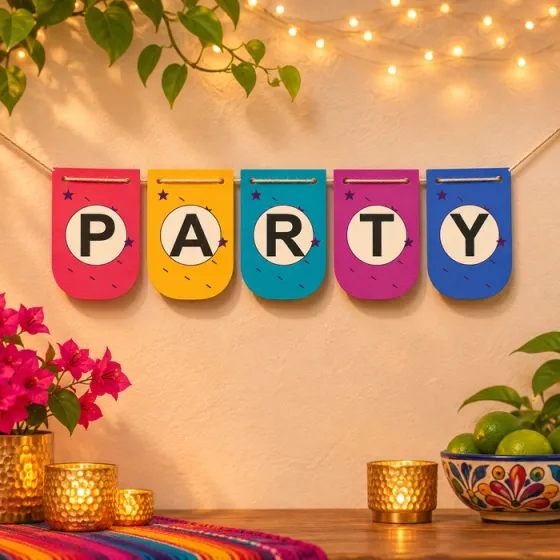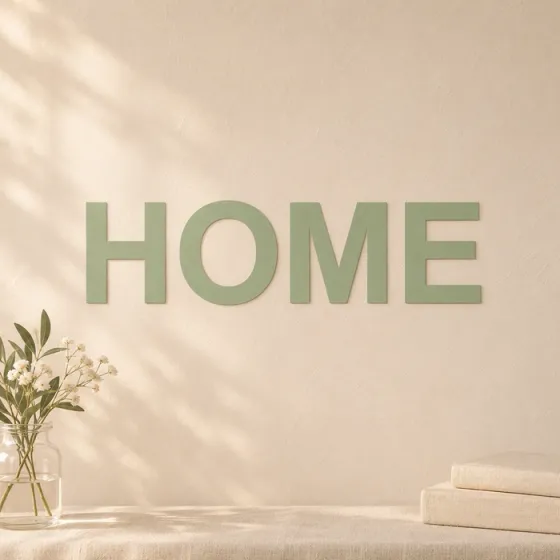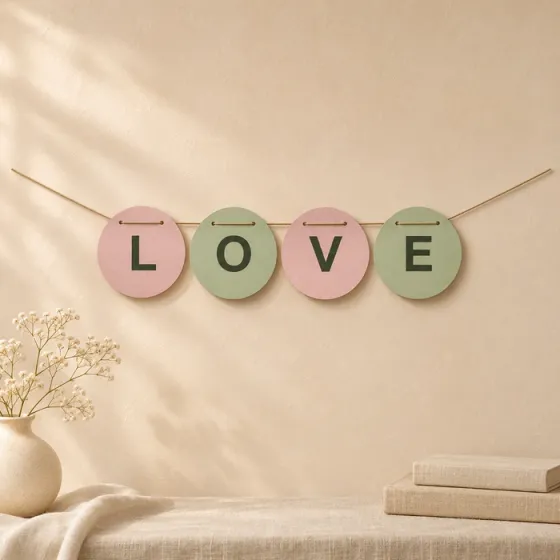
Making guide · 4 illustrated sections
Ochre READ Paper Letters
Cut flat READ letters for a grown-up wall or creative corner; no 3D letter construction is required. Follow 4 illustrated sections. Download the complete making guide and matching paper.
Printable craft sheets
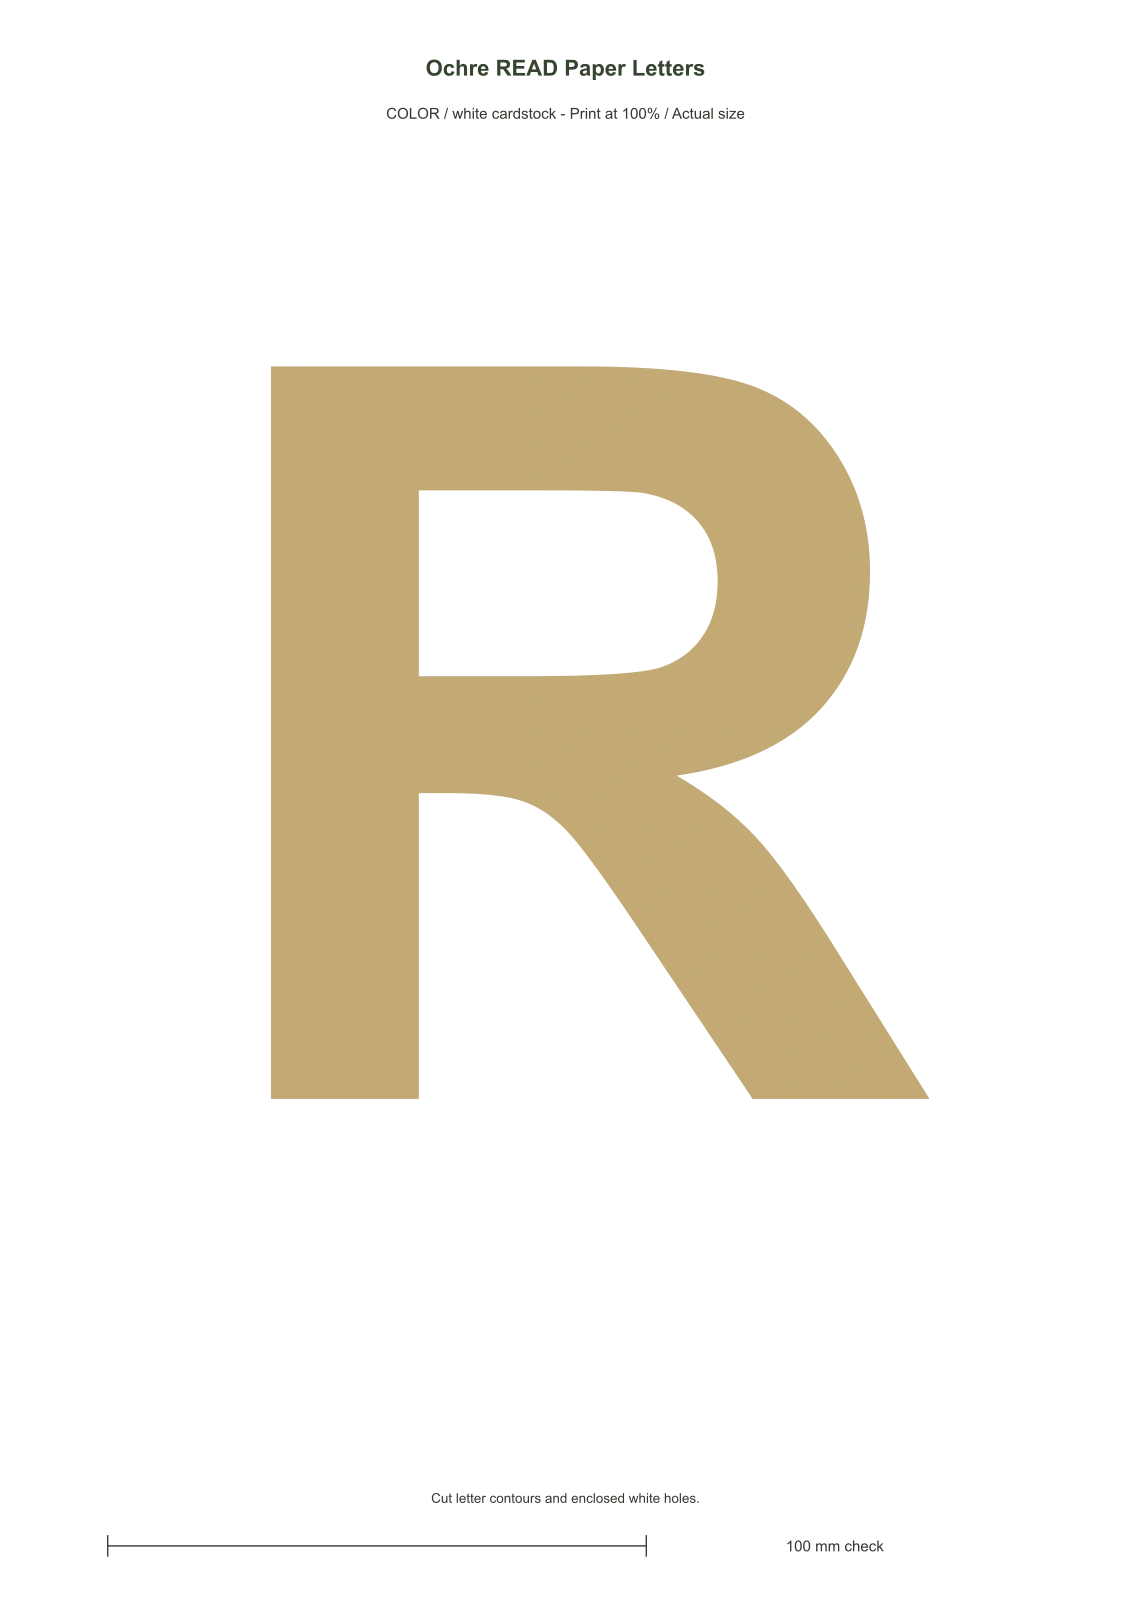
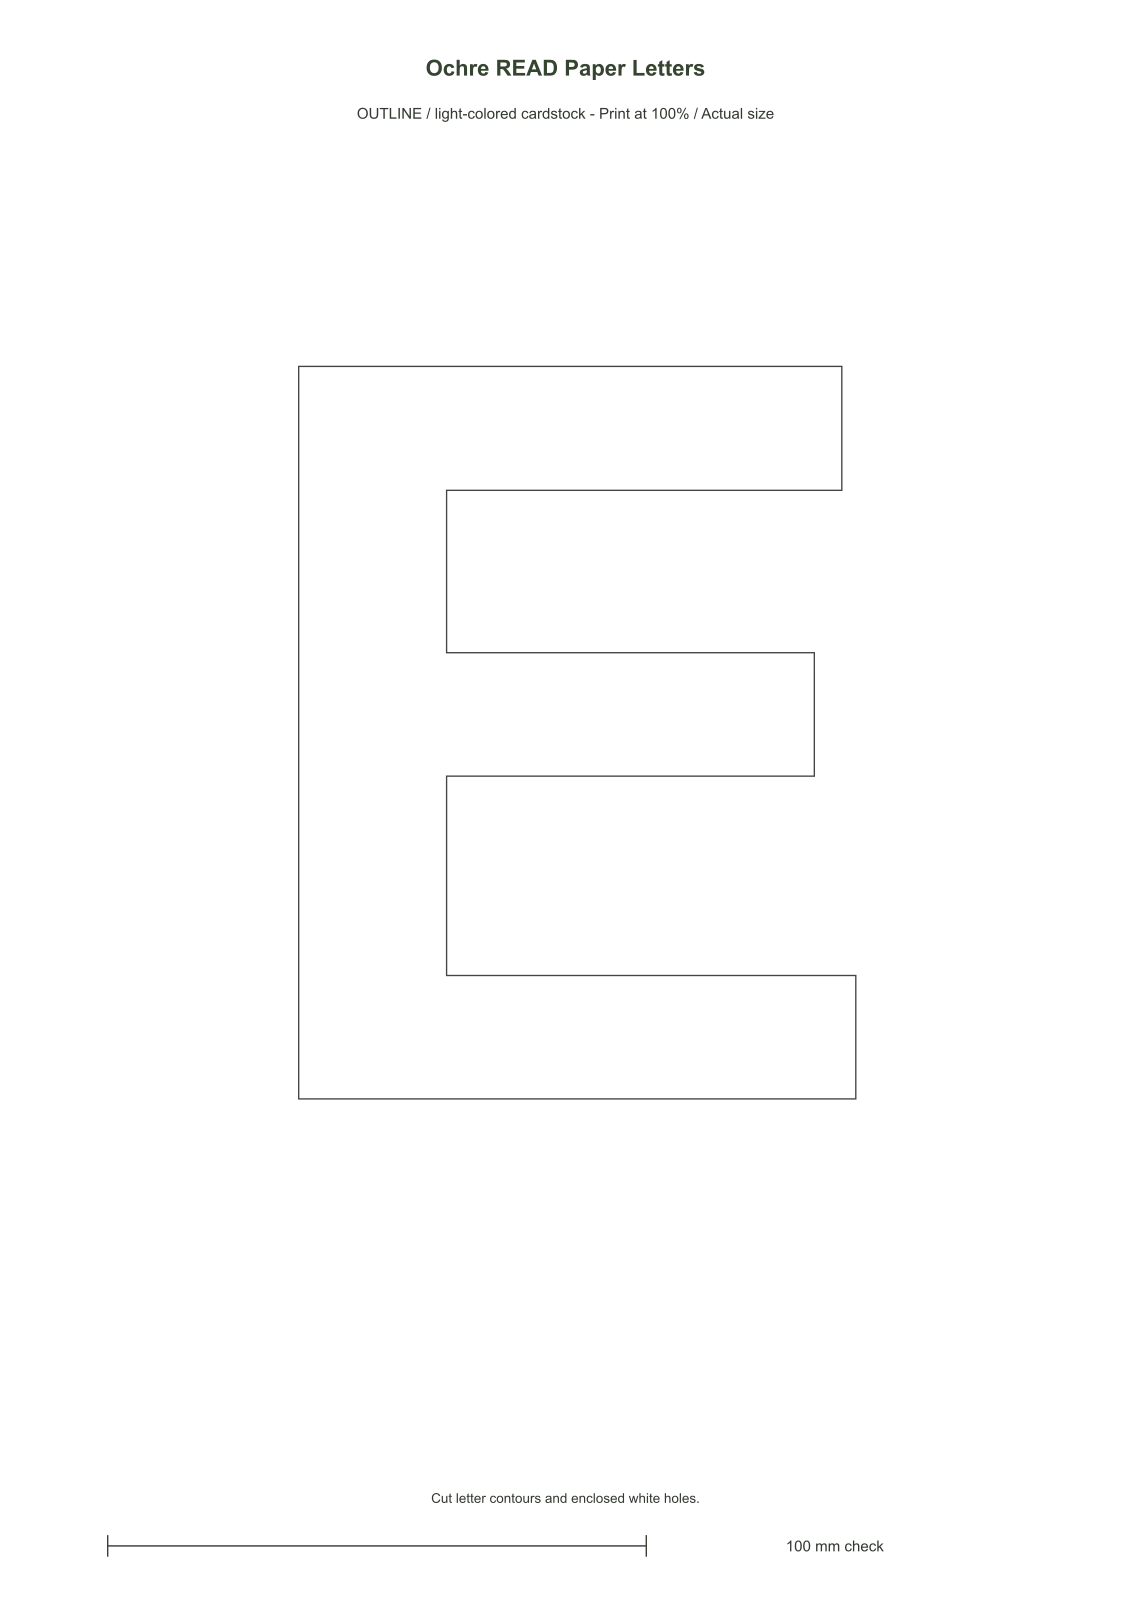
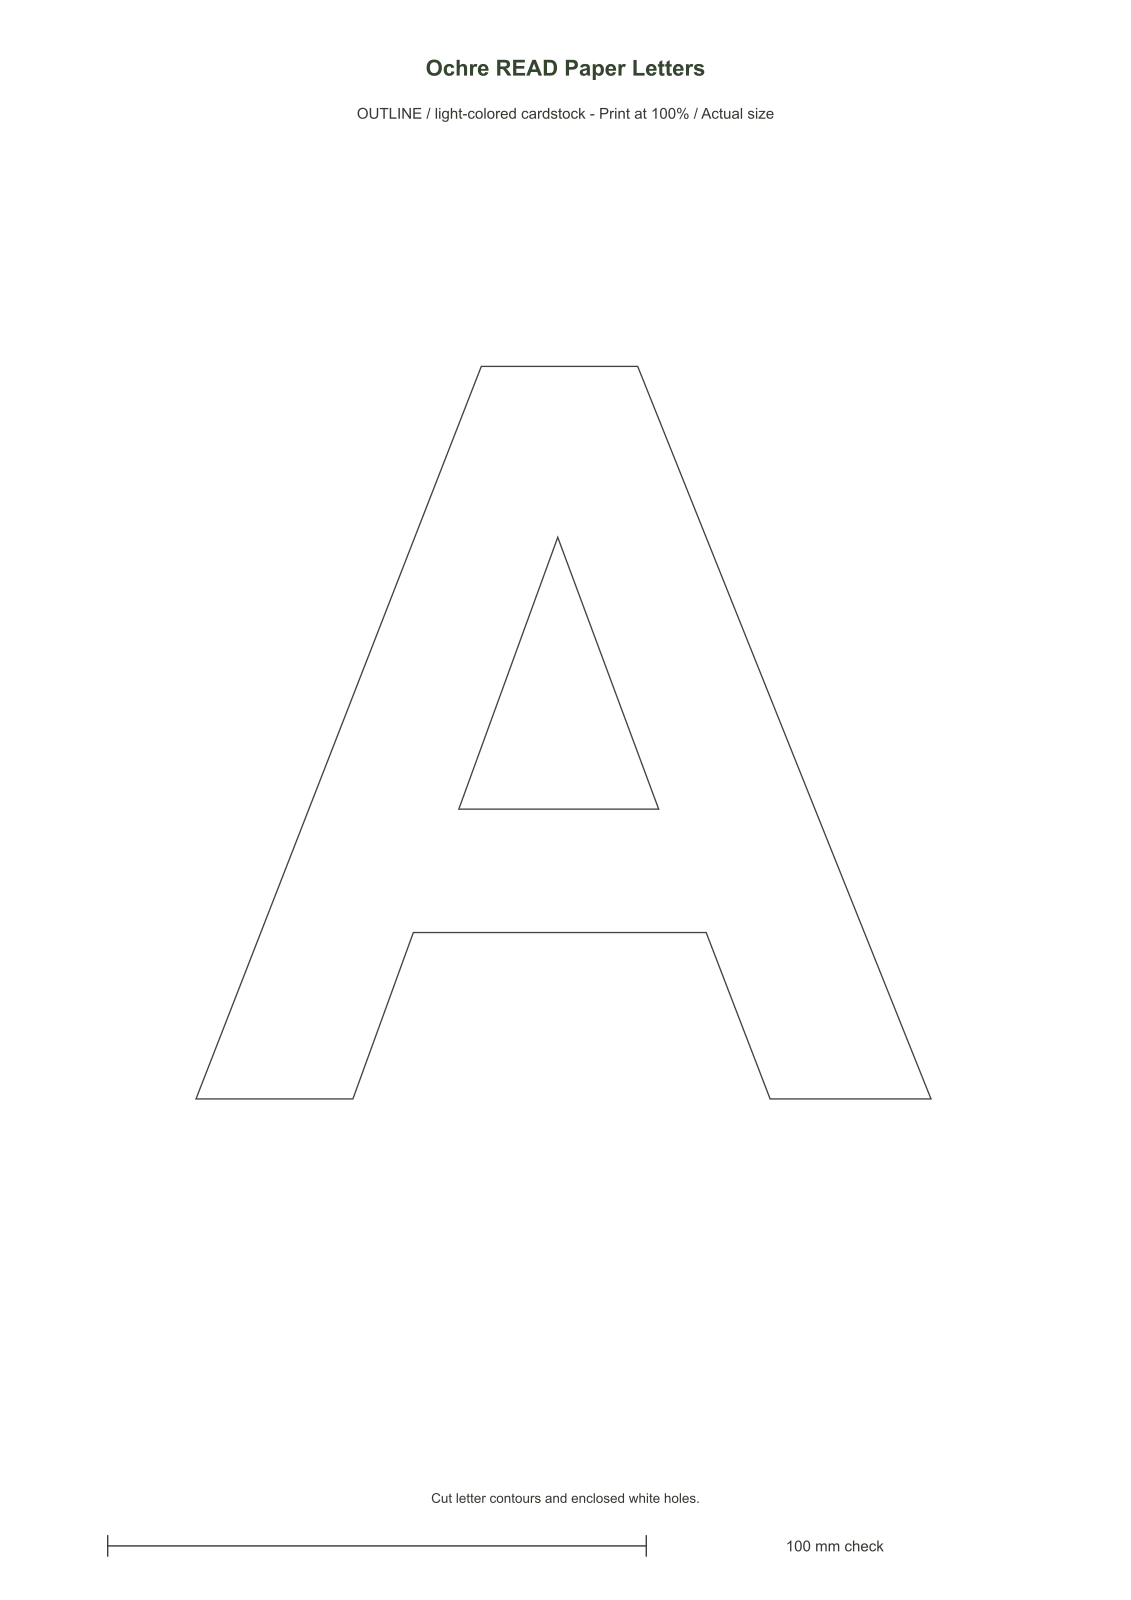
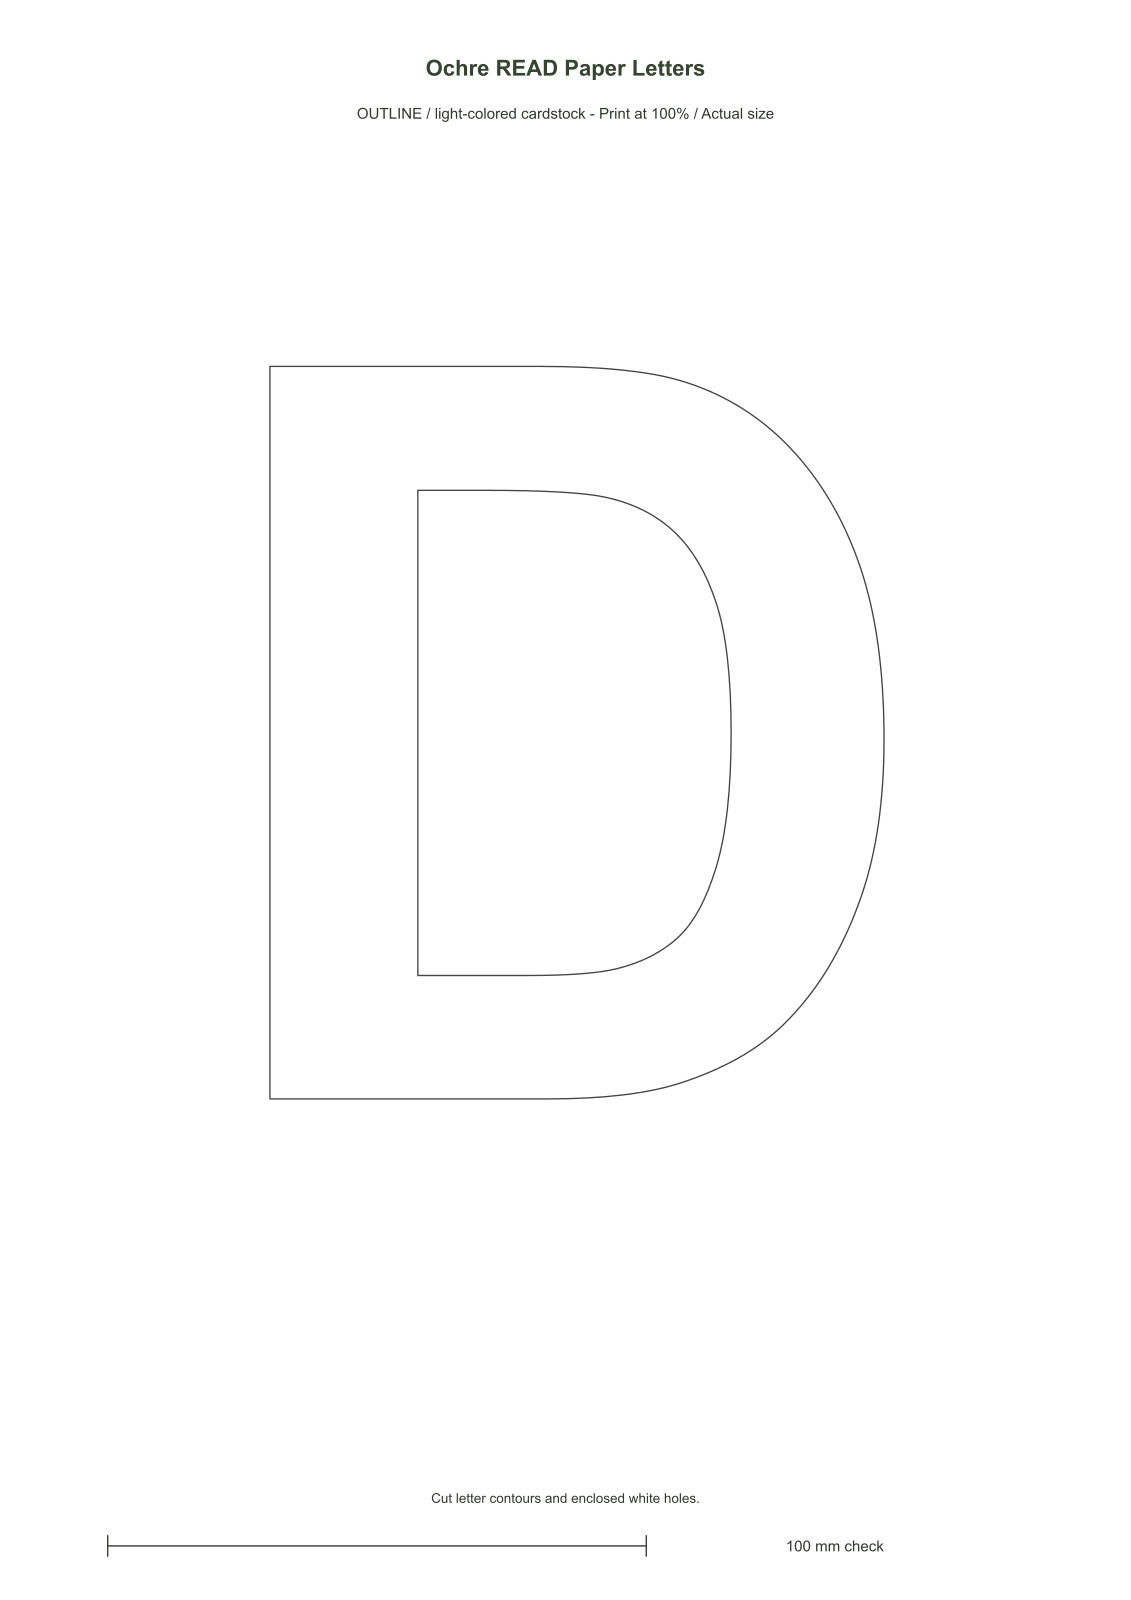
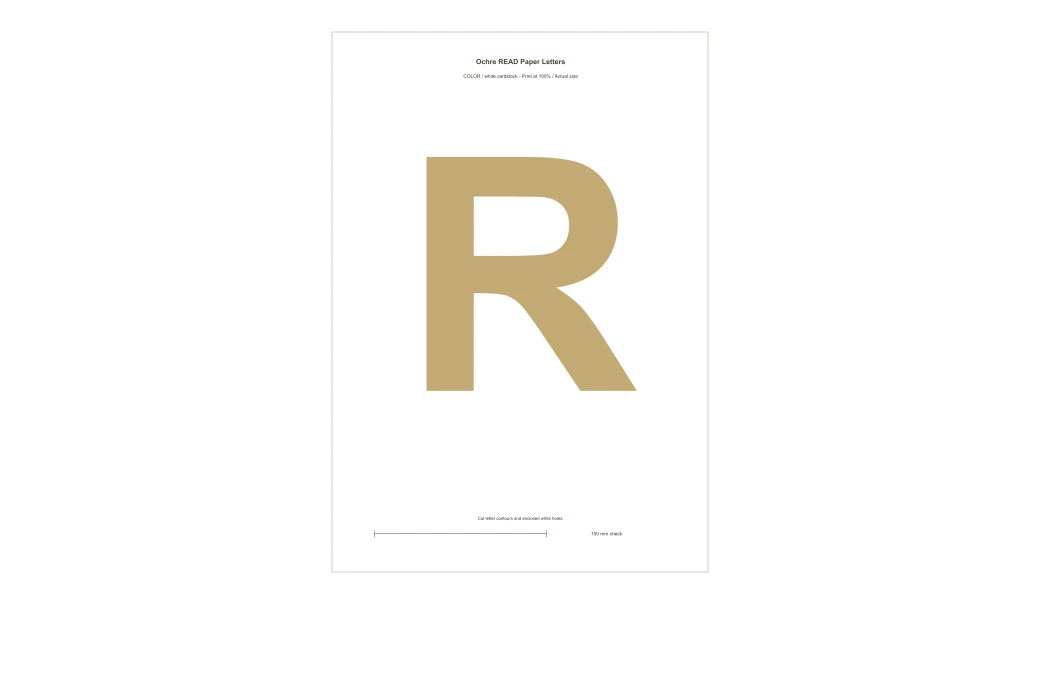
Print the colored parts on white cardstock, or use the outline pages on light colored paper. Cut out these actual pieces to make the project shown.
Printable parts - 4 color + 4 outline pages
Print at 100% / Actual size, with Fit to page disabled. Check the 100 mm bar. Use white cardstock for color pages, or light-colored cardstock for outline pages. For dark palettes, use the color version on white cardstock. Print only the version and pages needed.
View all printable sheets (8 pages)
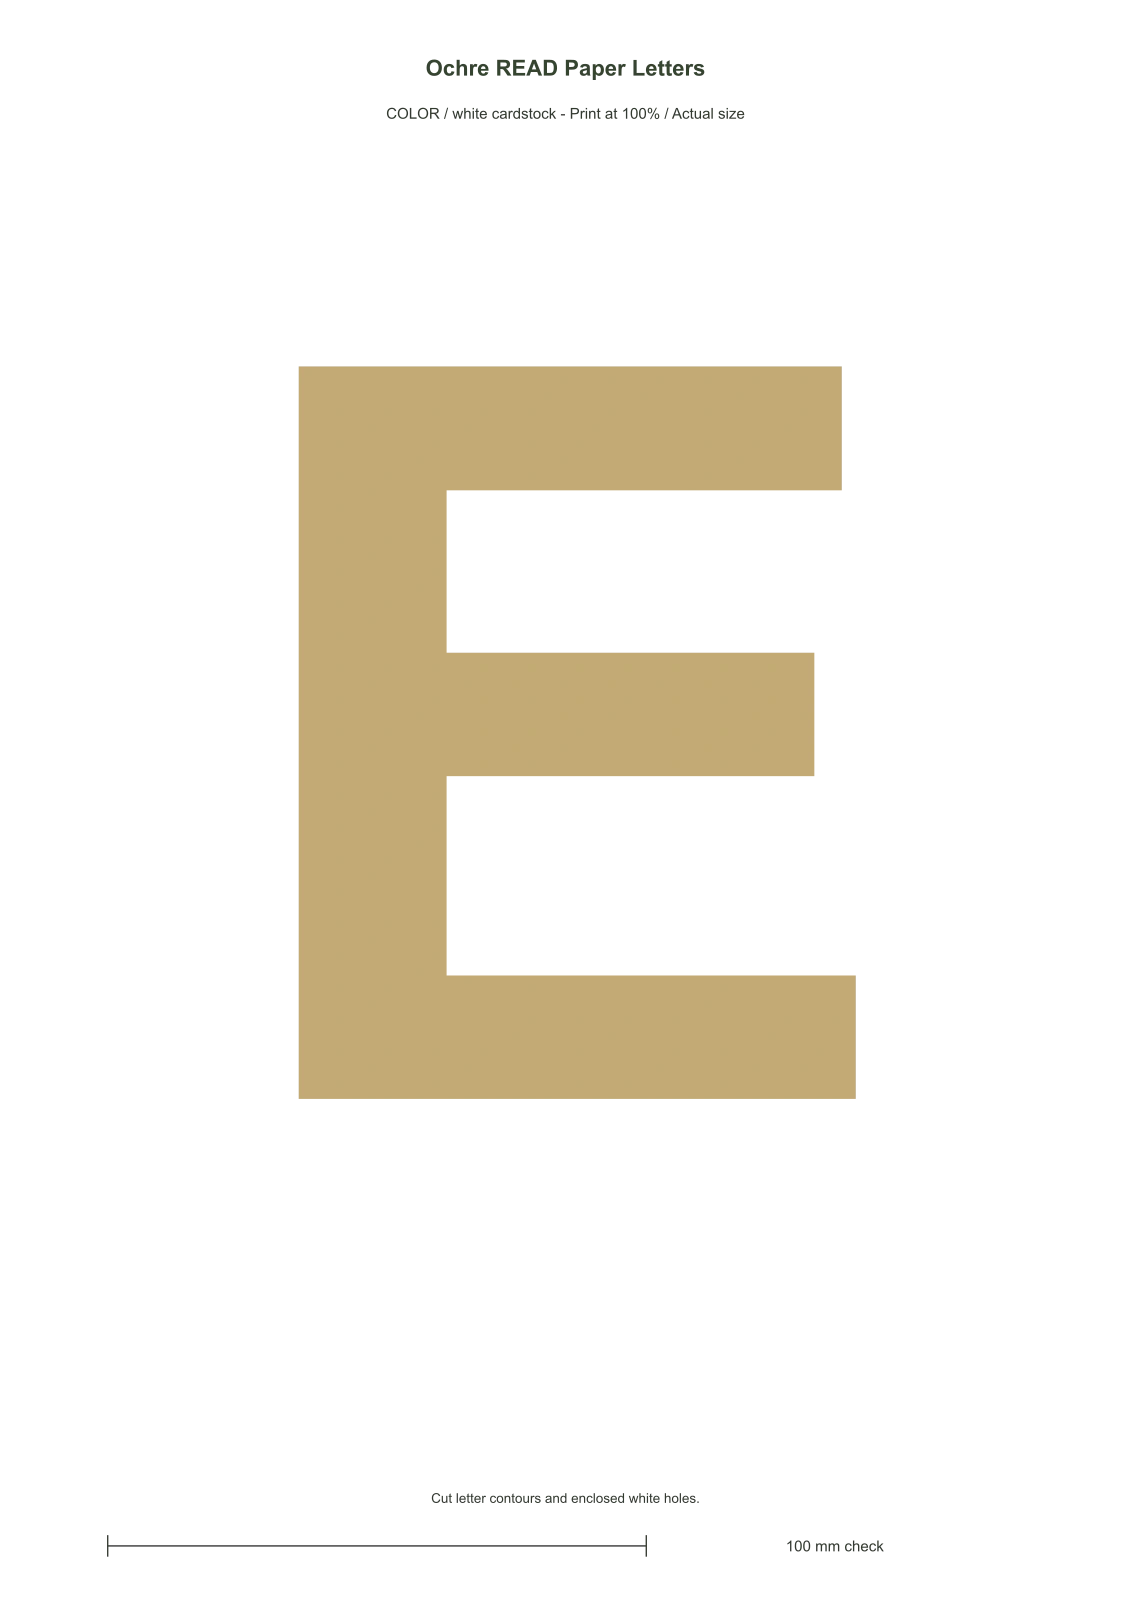
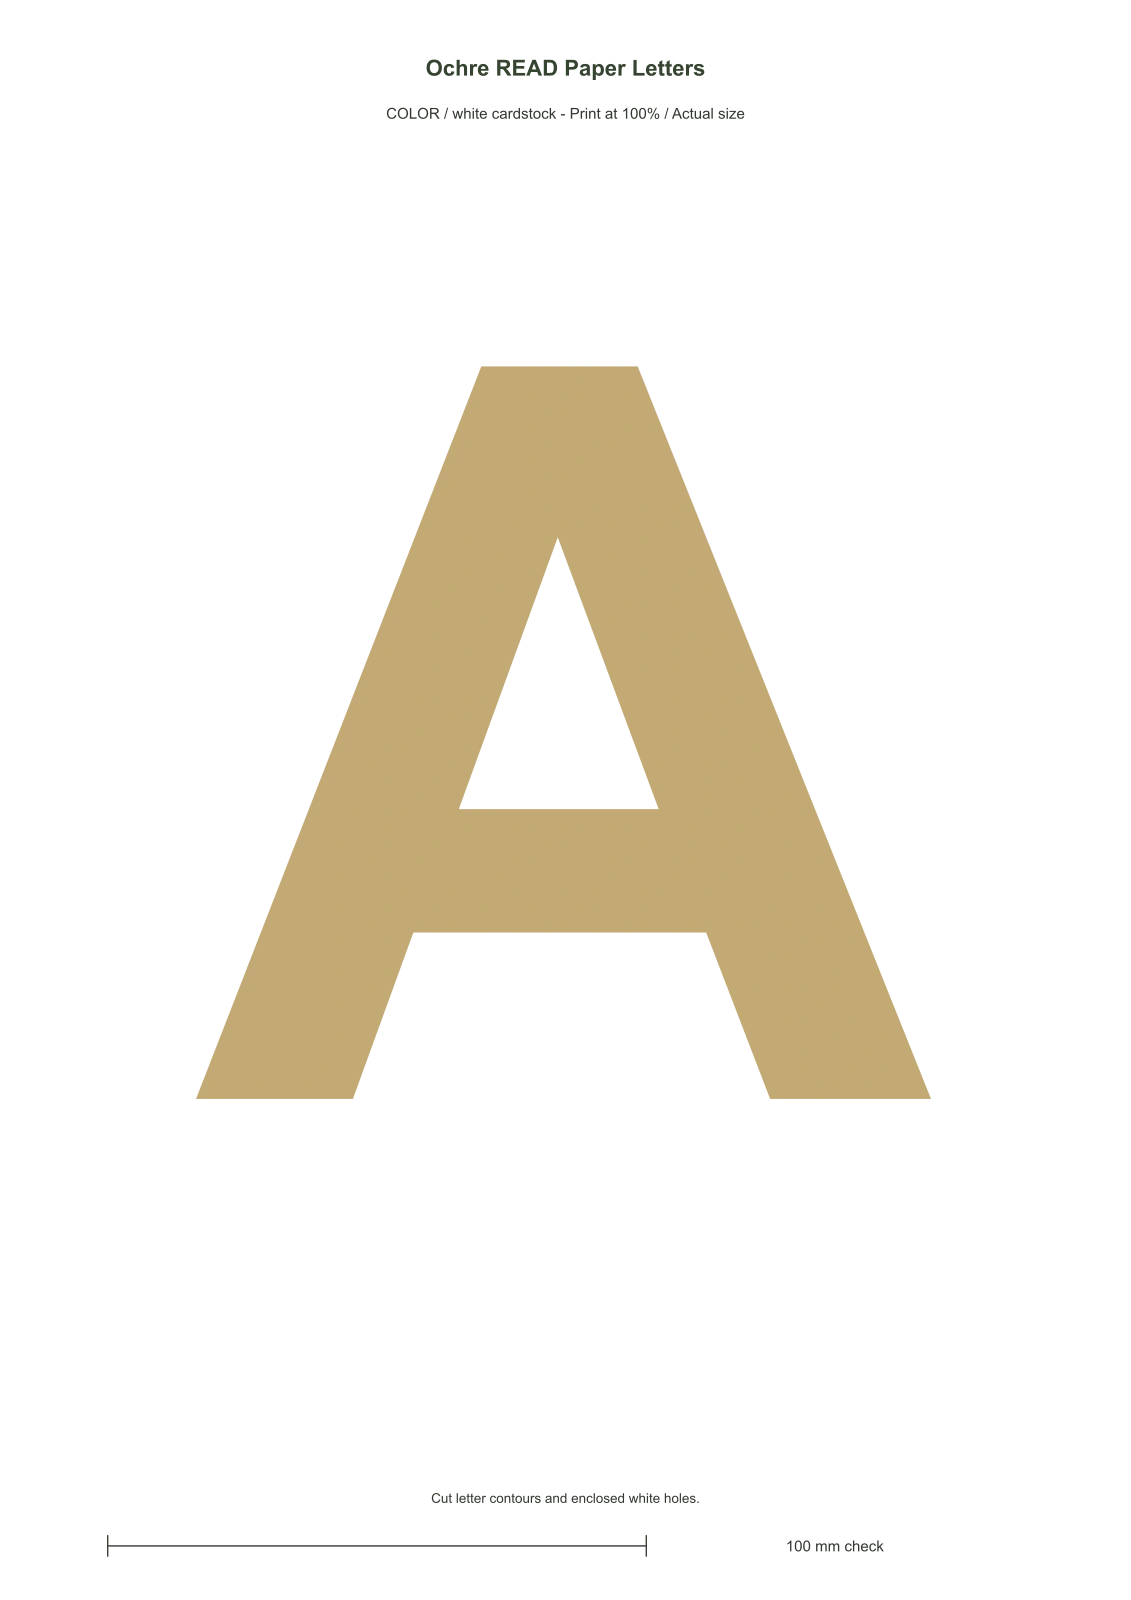
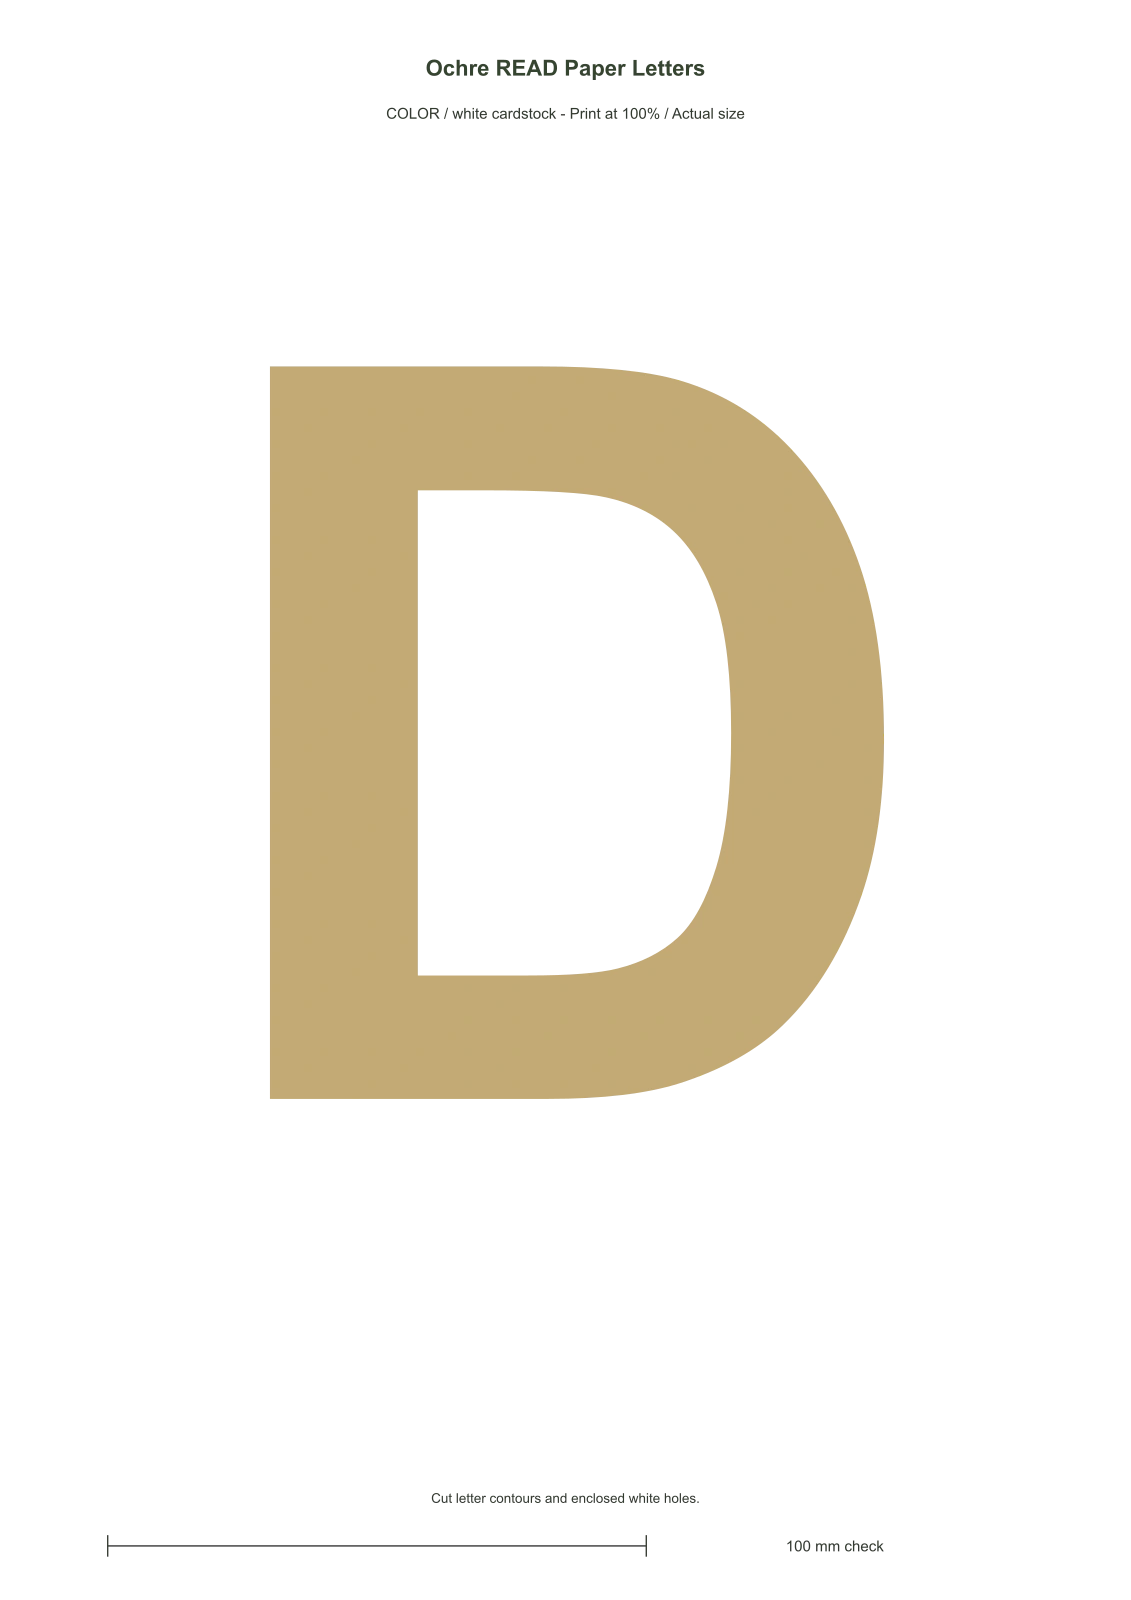
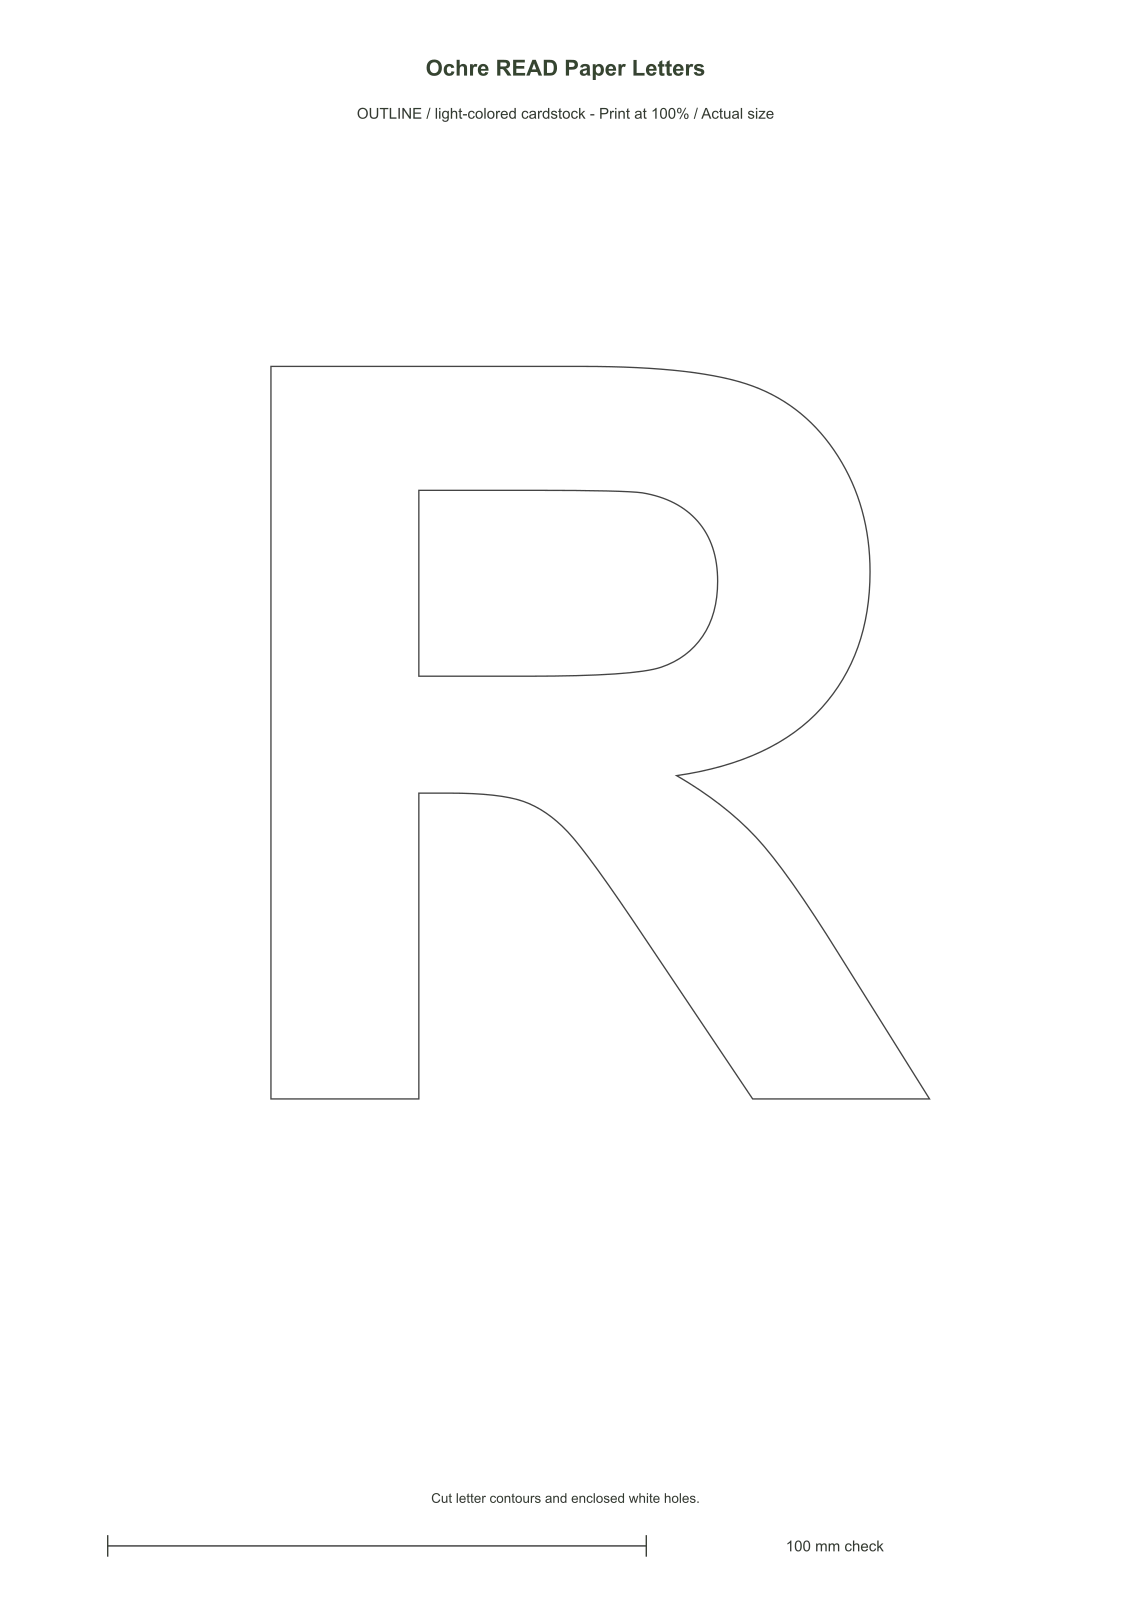
Illustrated steps
 1
Print the 4 color pages on white cardstock, or their outline equivalents on light-colored cardstock. Print only the letters needed for READ, at 100% / Actual size.
 2
Cut around each letter’s outer contour. Remove enclosed white spaces in letters such as O, R or D. Leave the surrounding page titles and scale bars out of the finished piece.
 3
Turn each letter over and apply small removable adhesive tabs to broad solid areas. The diagram marks example positions; adapt them to each glyph and keep tabs off open holes.
 4
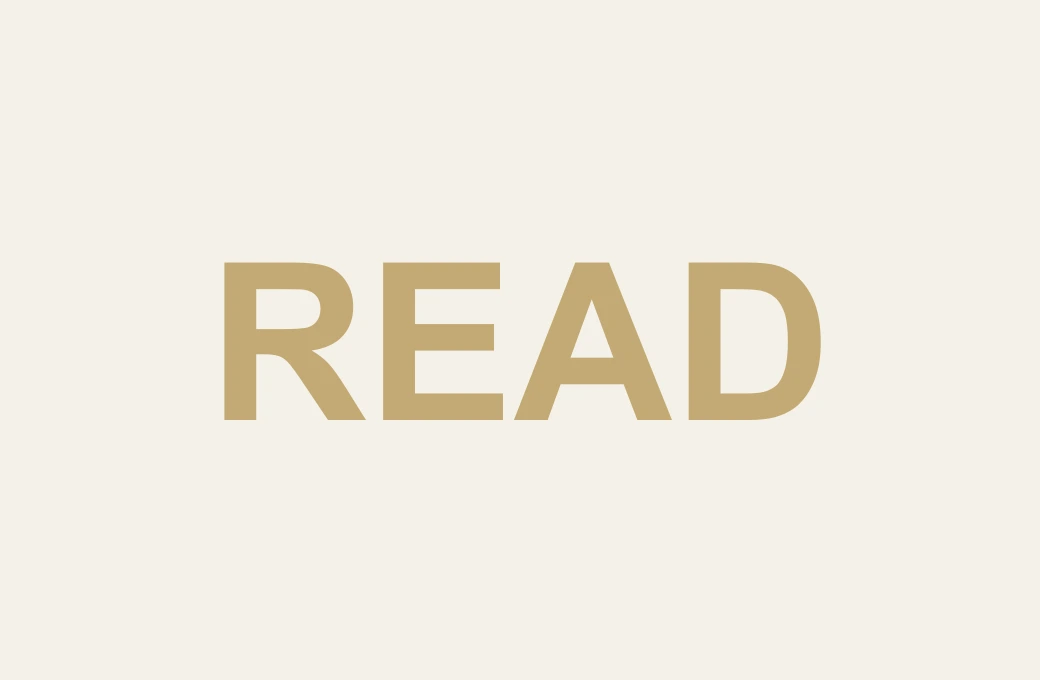
Arrange the letters in the exact order READ. Use a ruler or temporary guide to align them, then press each flat paper letter onto the chosen wall or display board.
Construction diagrams use the exact printable shapes. The cover is an AI finished-project visualization; the actual printable shapes, dimensions and hole positions govern the project. Not physically assembled by this site.
DIY Art Pack · Personal, educational and commercial use