Aller au contenu
Photo Guide to Origami Lotus

Guide de réalisation · 7 illustrated sections

Photo Guide to Origami Lotus

Follow 7 illustrated sections. Download the complete making guide and matching paper.

Étapes illustrées
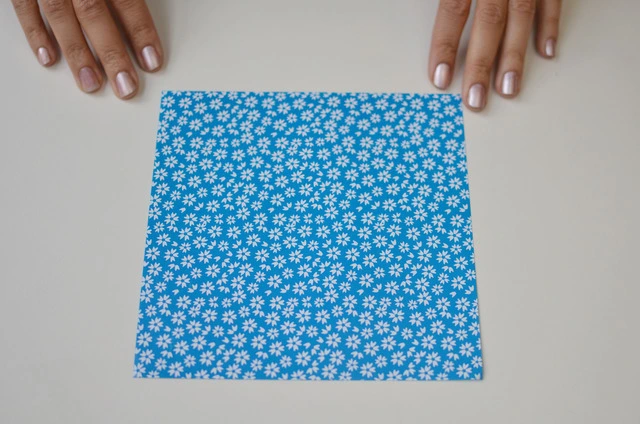
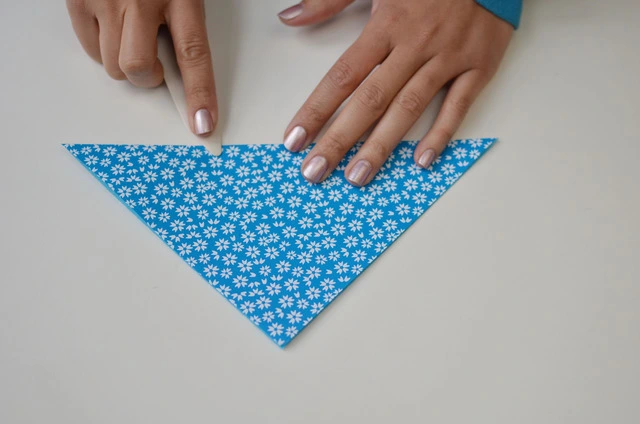
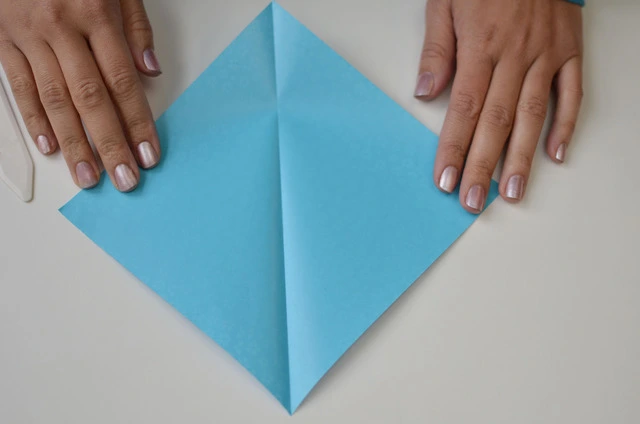
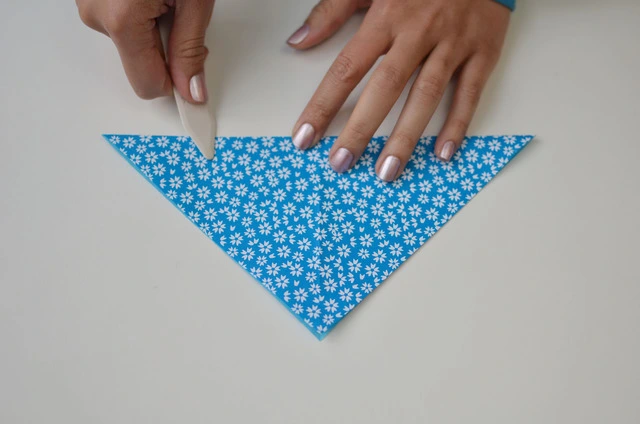
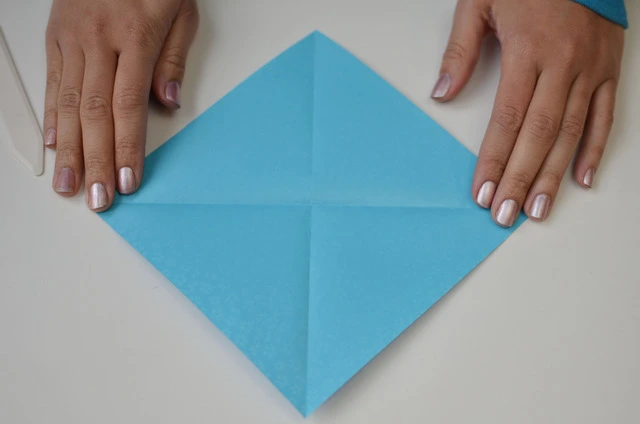
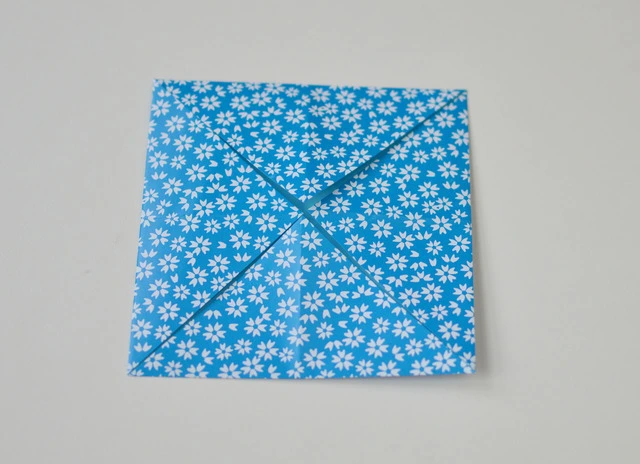
  1. 1.1. Begin patterned side up. Fold corner to opposite corner, unfold, and repeat on the other diagonal. The five photographs show both creases.1.2. Begin patterned side up. Fold corner to opposite corner, unfold, and repeat on the other diagonal. The five photographs show both creases.1.3. Begin patterned side up. Fold corner to opposite corner, unfold, and repeat on the other diagonal. The five photographs show both creases.1.4. Begin patterned side up. Fold corner to opposite corner, unfold, and repeat on the other diagonal. The five photographs show both creases.1.5. Begin patterned side up. Fold corner to opposite corner, unfold, and repeat on the other diagonal. The five photographs show both creases.
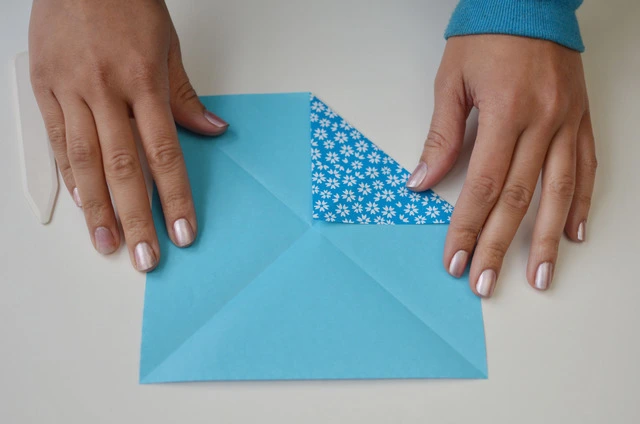
    1

    Begin patterned side up. Fold corner to opposite corner, unfold, and repeat on the other diagonal. The five photographs show both creases.

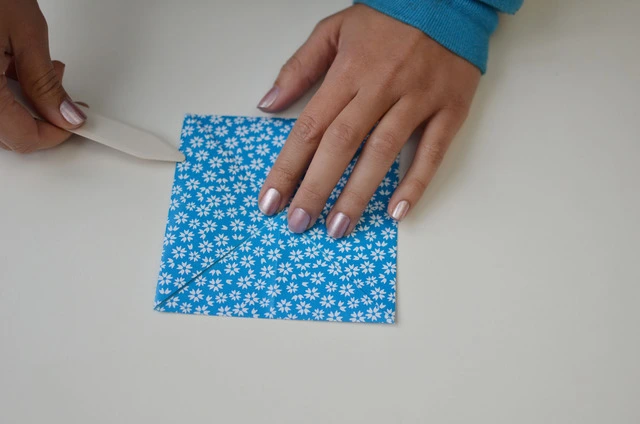
  2. 2.1. Turn to the plain side and fold all four corners exactly to the center point.2.2. Turn to the plain side and fold all four corners exactly to the center point.2.3. Turn to the plain side and fold all four corners exactly to the center point.
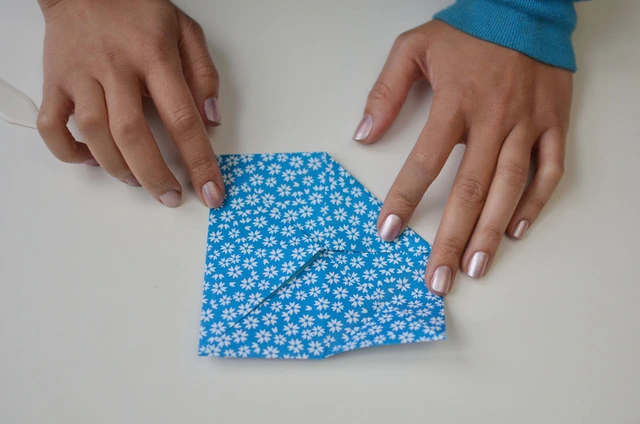
    2

    Turn to the plain side and fold all four corners exactly to the center point.
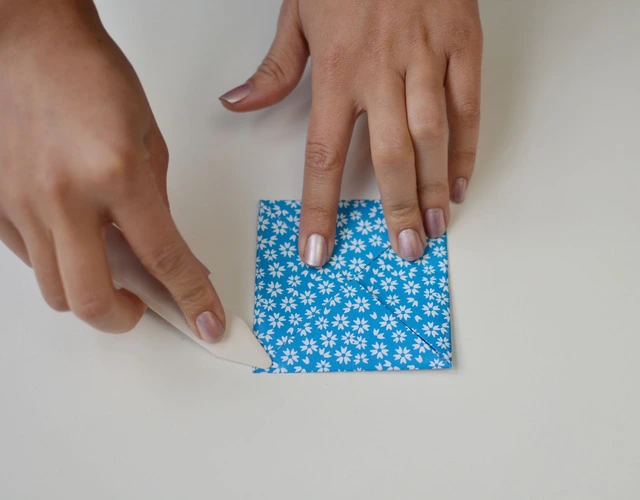
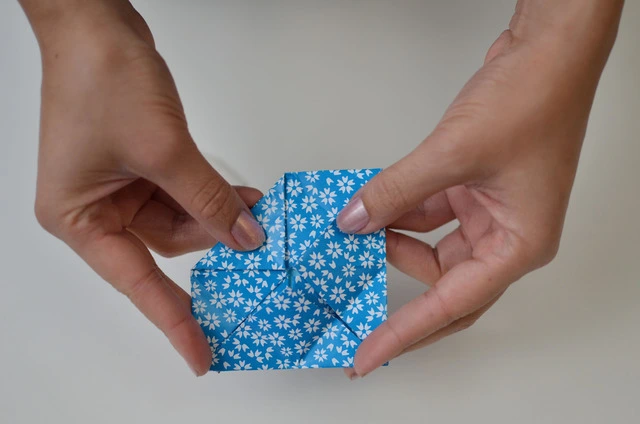
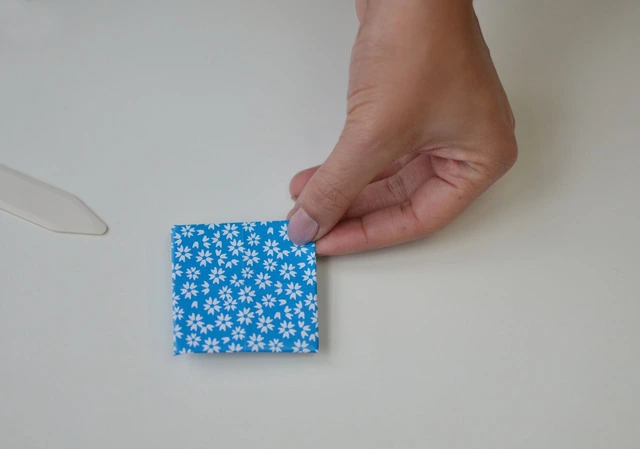
  3. 3.1. Fold all four corners to the center again, then repeat once more: three complete rounds of corner-to-center folds in total. Keep every layer aligned.3.2. Fold all four corners to the center again, then repeat once more: three complete rounds of corner-to-center folds in total. Keep every layer aligned.3.3. Fold all four corners to the center again, then repeat once more: three complete rounds of corner-to-center folds in total. Keep every layer aligned.3.4. Fold all four corners to the center again, then repeat once more: three complete rounds of corner-to-center folds in total. Keep every layer aligned.
    3

    Fold all four corners to the center again, then repeat once more: three complete rounds of corner-to-center folds in total. Keep every layer aligned.

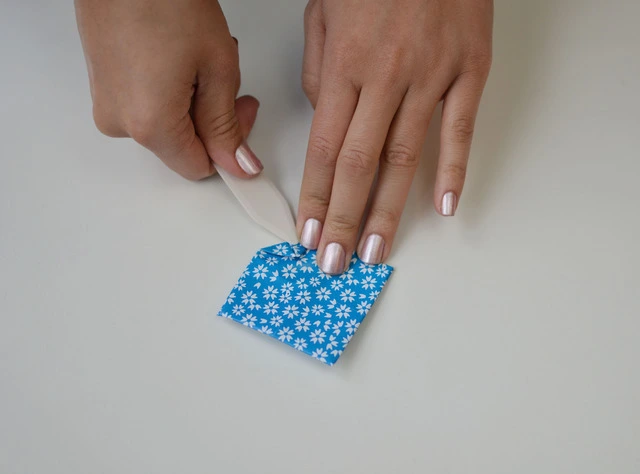
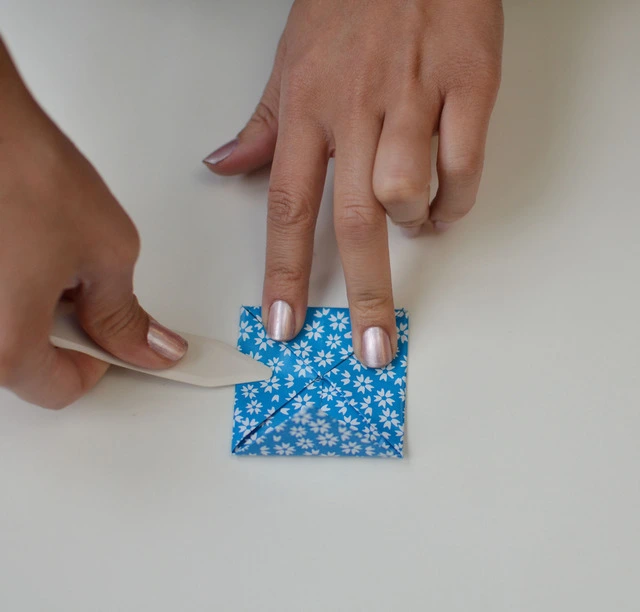
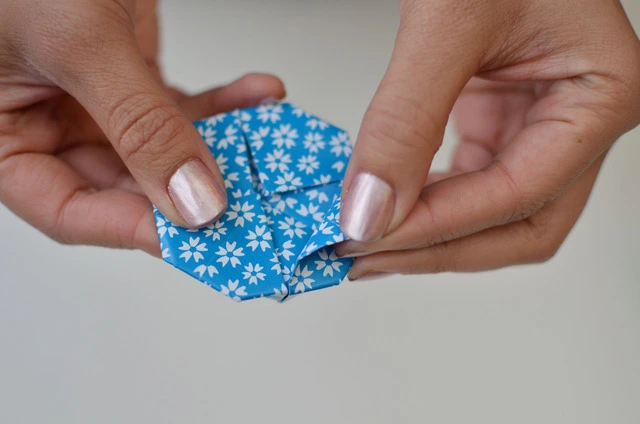
  4. 4.1. Turn the small square over. Fold each corner inward only one third of the way toward the center, as the close-up shows; do not take these corners all the way to the center.4.2. Turn the small square over. Fold each corner inward only one third of the way toward the center, as the close-up shows; do not take these corners all the way to the center.4.3. Turn the small square over. Fold each corner inward only one third of the way toward the center, as the close-up shows; do not take these corners all the way to the center.
    4

    Turn the small square over. Fold each corner inward only one third of the way toward the center, as the close-up shows; do not take these corners all the way to the center.

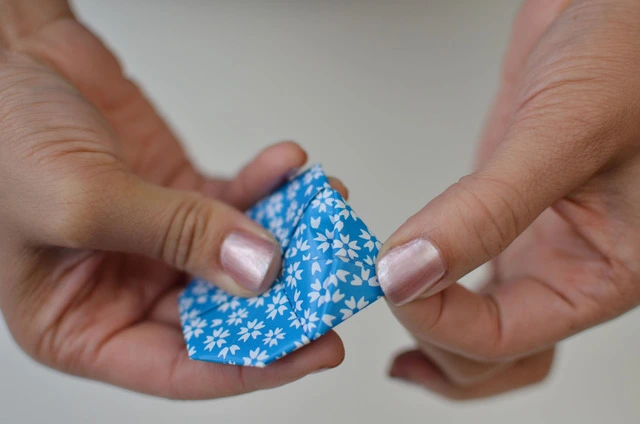
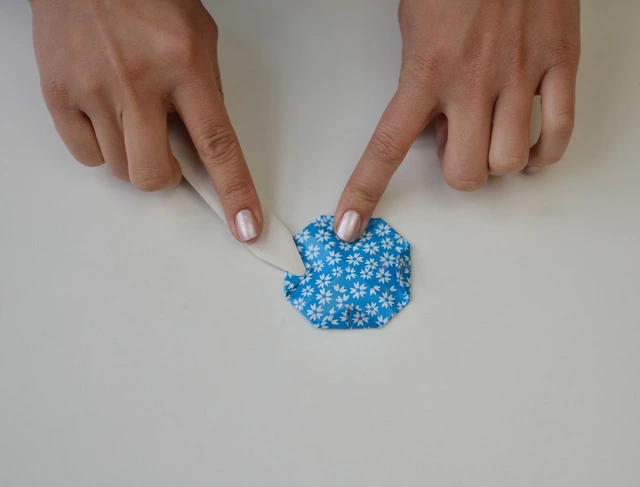
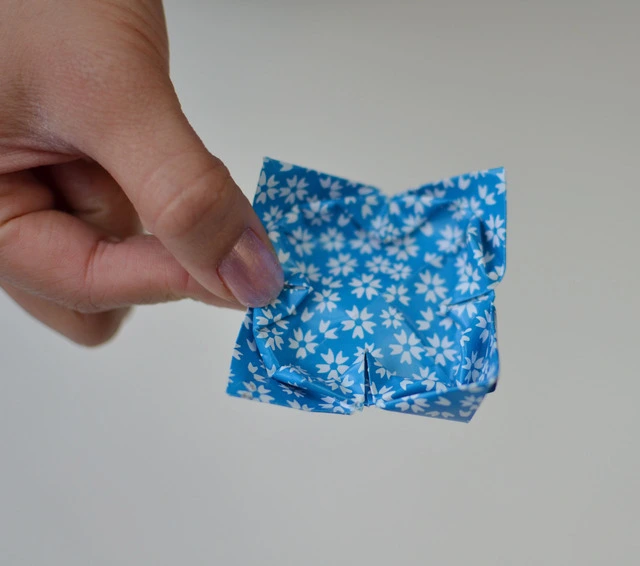
  5. 5.1. Turn over again. Support the fold from both sides and gently peel the hidden quarter sections upward and inside out to form the first petals. Work around all four corners.5.2. Turn over again. Support the fold from both sides and gently peel the hidden quarter sections upward and inside out to form the first petals. Work around all four corners.5.3. Turn over again. Support the fold from both sides and gently peel the hidden quarter sections upward and inside out to form the first petals. Work around all four corners.
    5

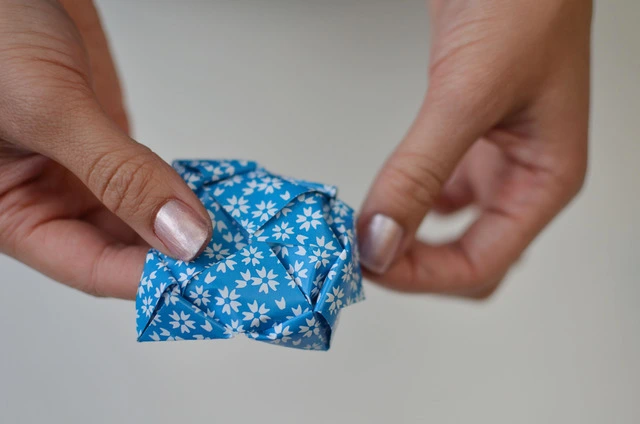
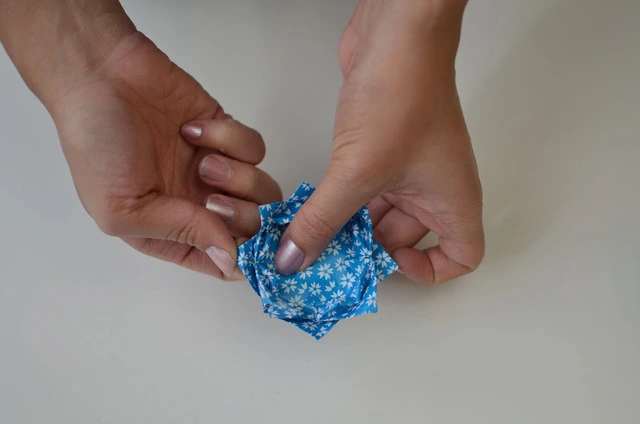
    Turn over again. Support the fold from both sides and gently peel the hidden quarter sections upward and inside out to form the first petals. Work around all four corners.

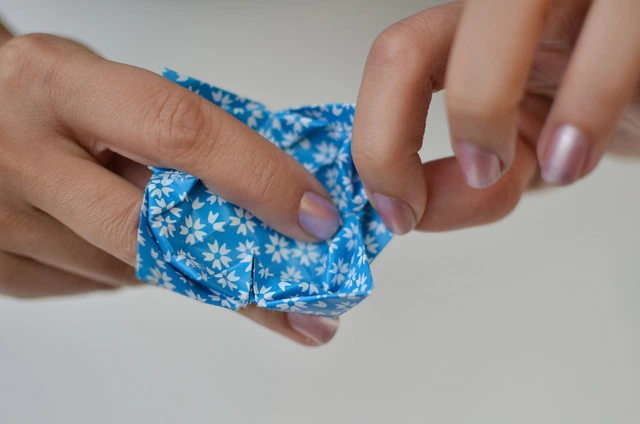
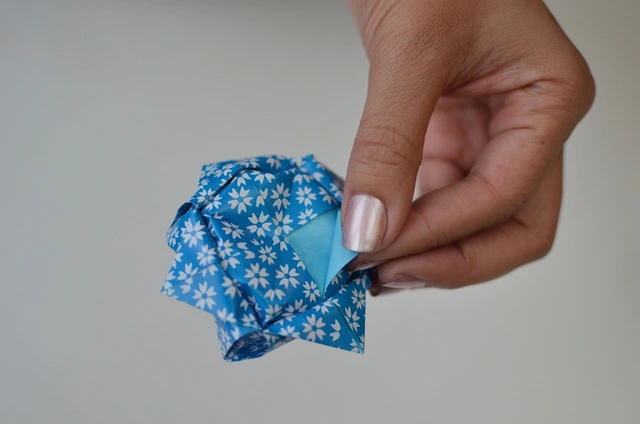
  6. 6.1. Lift and turn out the next layer underneath. Keep a supporting finger behind the fold while drawing each petal up so the corner does not tear.6.2. Lift and turn out the next layer underneath. Keep a supporting finger behind the fold while drawing each petal up so the corner does not tear.6.3. Lift and turn out the next layer underneath. Keep a supporting finger behind the fold while drawing each petal up so the corner does not tear.6.4. Lift and turn out the next layer underneath. Keep a supporting finger behind the fold while drawing each petal up so the corner does not tear.
    6

    Lift and turn out the next layer underneath. Keep a supporting finger behind the fold while drawing each petal up so the corner does not tear.

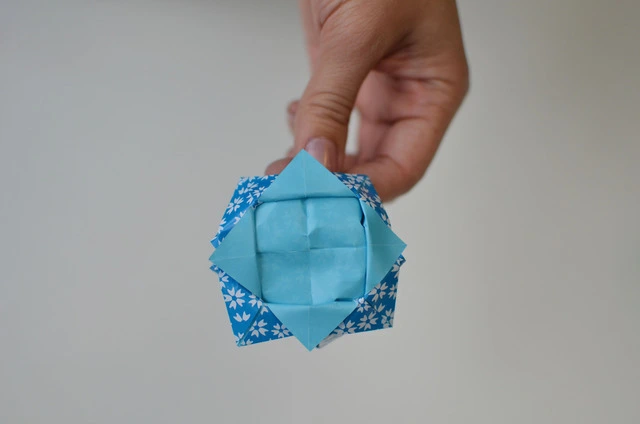
  7. 7.1. Pull out the last layer to make the lower petals. Gently round the petal tips and adjust the flower. This finishes the paper lotus; omit the electronics in the original wider project.7.2. Pull out the last layer to make the lower petals. Gently round the petal tips and adjust the flower. This finishes the paper lotus; omit the electronics in the original wider project.7.3. Pull out the last layer to make the lower petals. Gently round the petal tips and adjust the flower. This finishes the paper lotus; omit the electronics in the original wider project.7.4. Pull out the last layer to make the lower petals. Gently round the petal tips and adjust the flower. This finishes the paper lotus; omit the electronics in the original wider project.
    7

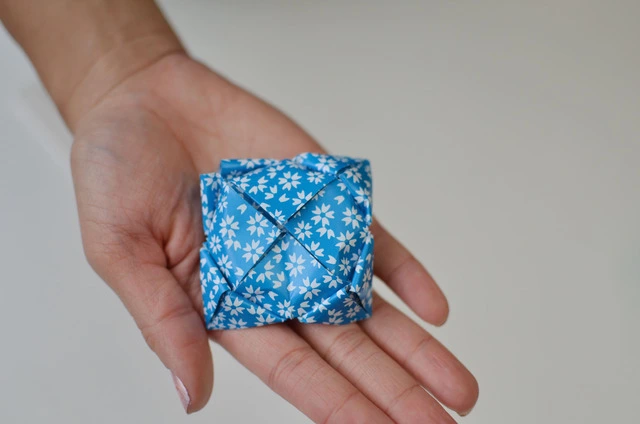
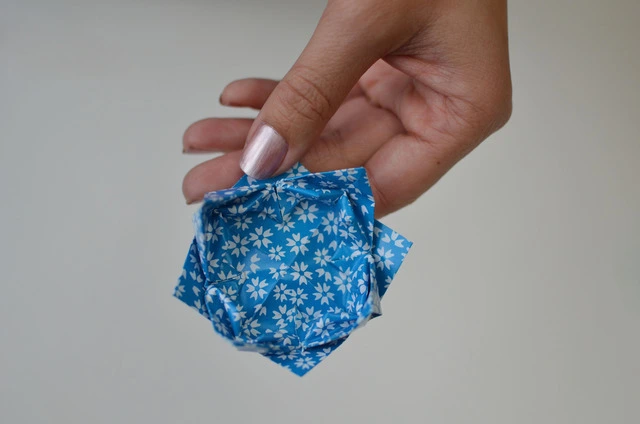
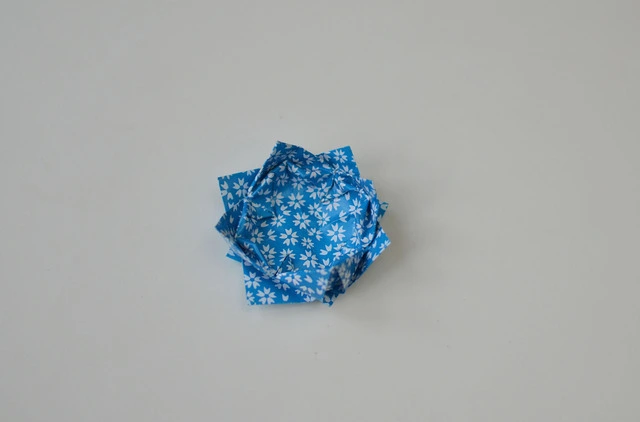
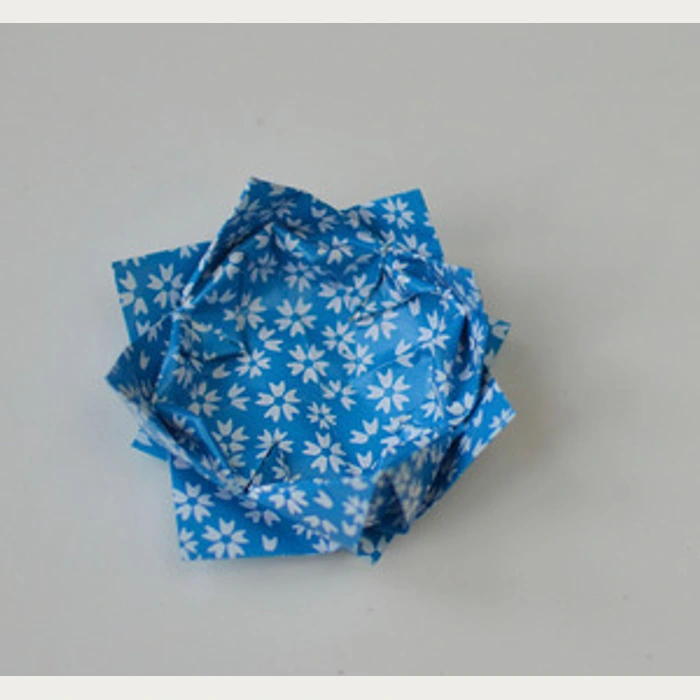
    Pull out the last layer to make the lower petals. Gently round the petal tips and adjust the flower. This finishes the paper lotus; omit the electronics in the original wider project.

26 photographs show the paper-only construction, grouped into seven actions. The supplied blue floral paper has a different printed pattern from the demonstration. No LEDs or electronics are required.

Becky Stern / Adafruit · Lotus Construction photographs · CC BY-SA 3.0

Diagram credits
  • Becky Stern / Adafruit · Lotus Construction photographshttps://learn.adafruit.com/led-origami/lotus-construction
  • CC BY-SA 3.0https://creativecommons.org/licenses/by-sa/3.0/

Dans le même thème

Papier 3D