Guide de réalisation · 4 illustrated sections
Midnight Magnolia Gift Tags
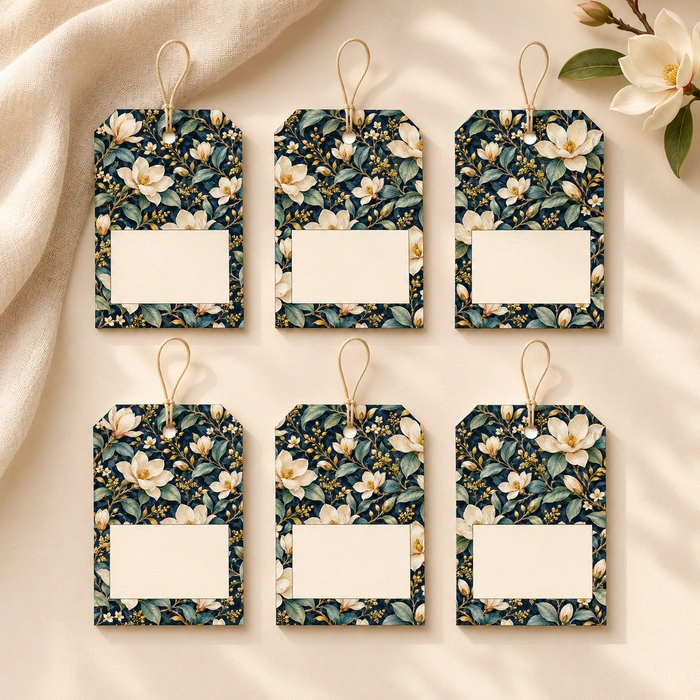
6 floral gift tags, each 50 × 75 mm, with a blank writing panel and a 4 mm hanging hole. Follow 4 illustrated sections. Download the complete making guide and matching paper.
Feuilles créatives à imprimer
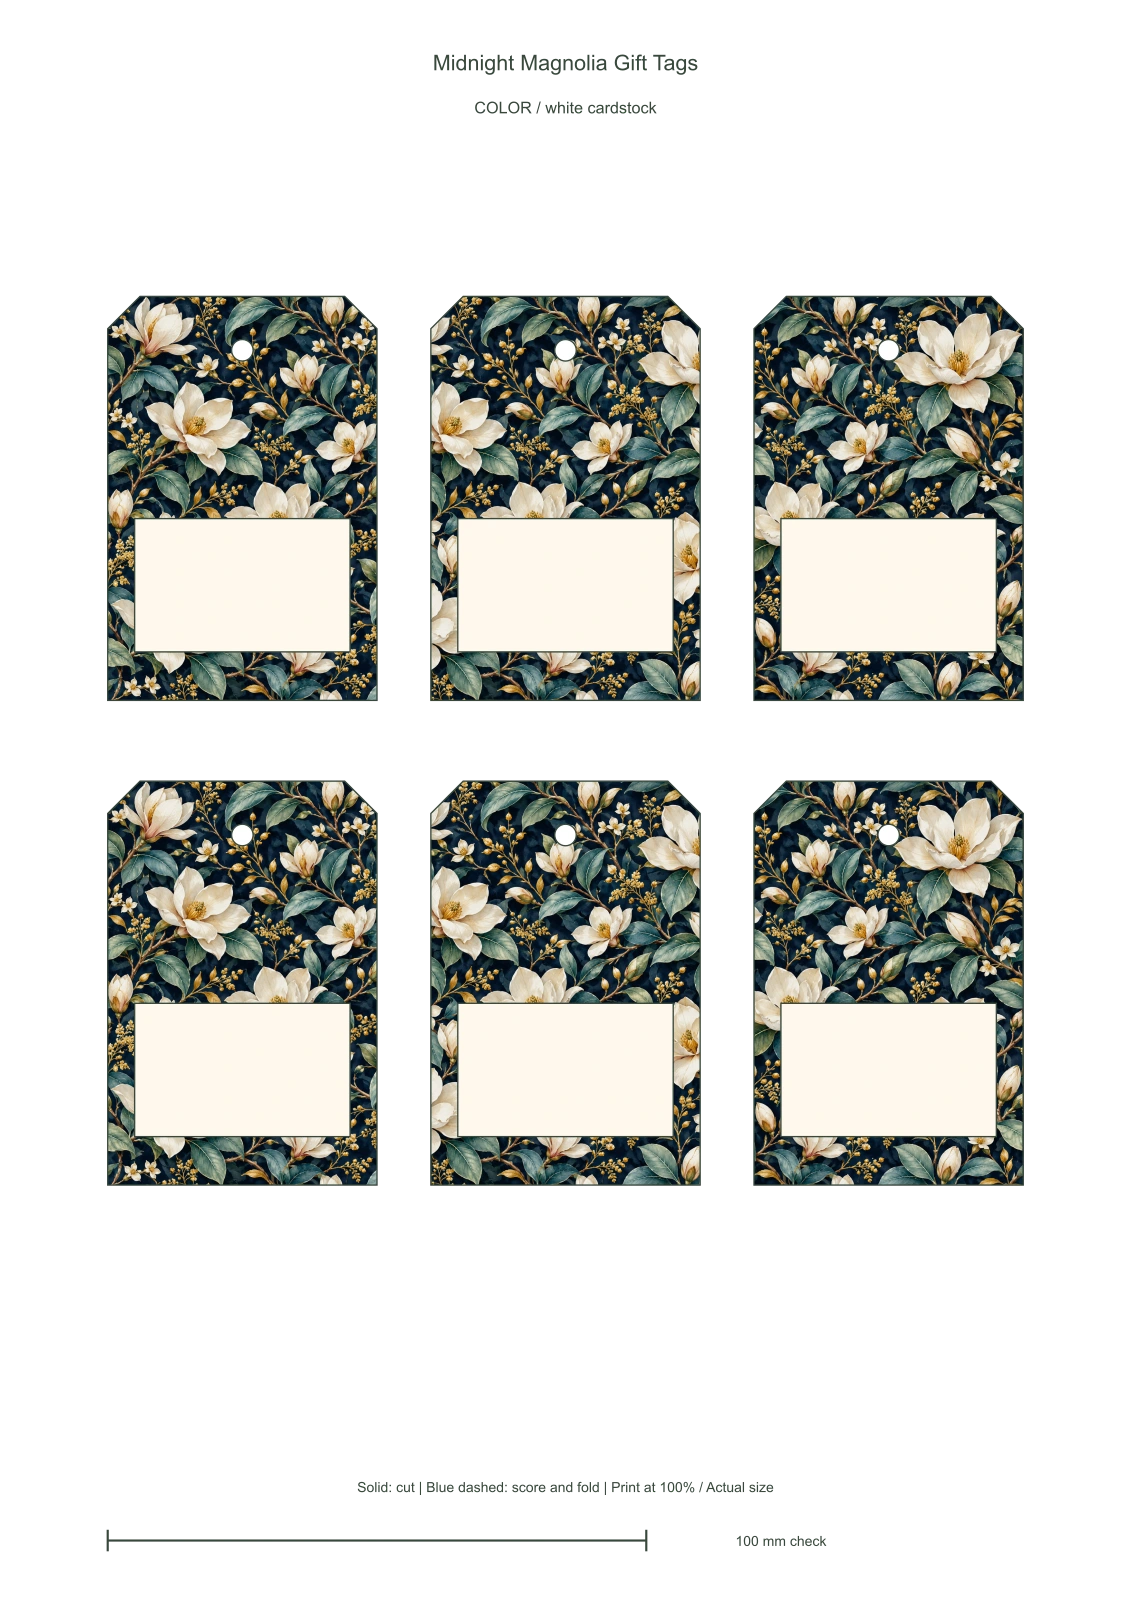
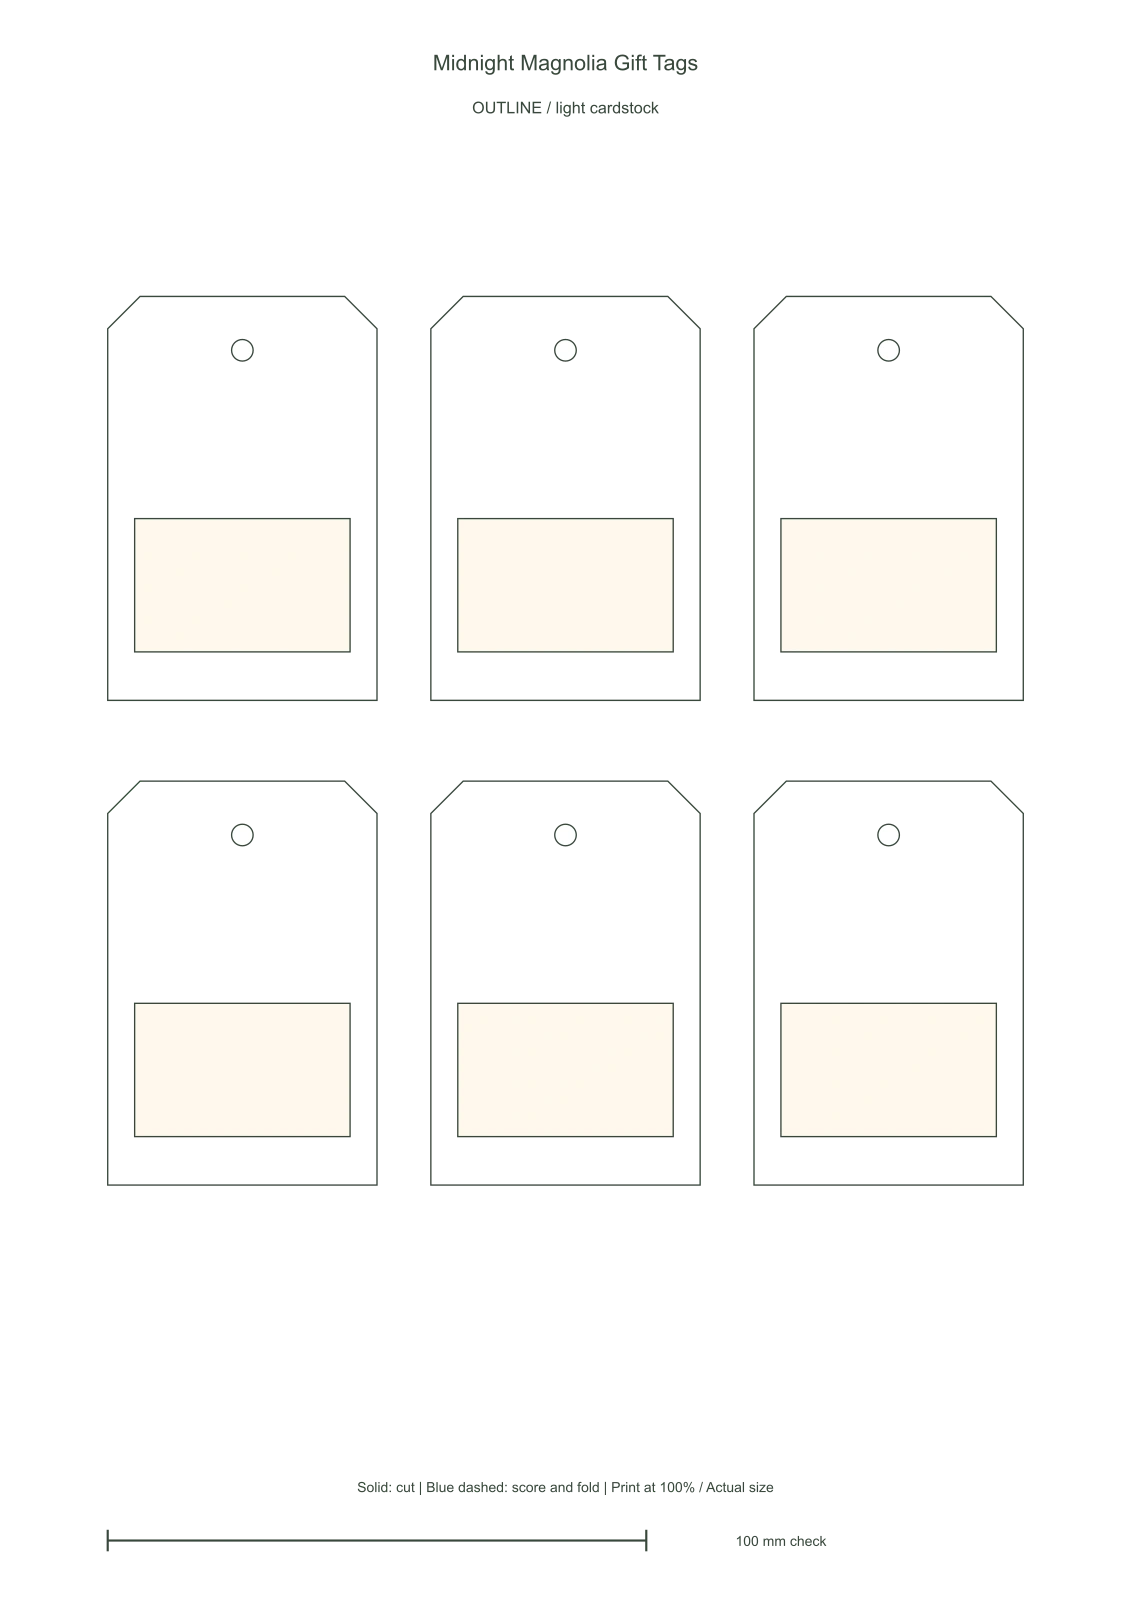
Imprimez les pièces en couleur sur du papier cartonné blanc, ou les contours sur du papier de couleur claire. Découpez ces pièces pour réaliser le projet.
Printable material sheets · 1 color + 1 outline page
Print at 100% / Actual size; turn off Fit to page. Check the 100 mm bar. Color page on white paper; outline page on light colored paper. Print only the required version.
Voir toutes les feuilles (2 pages)
Étapes illustrées
 1
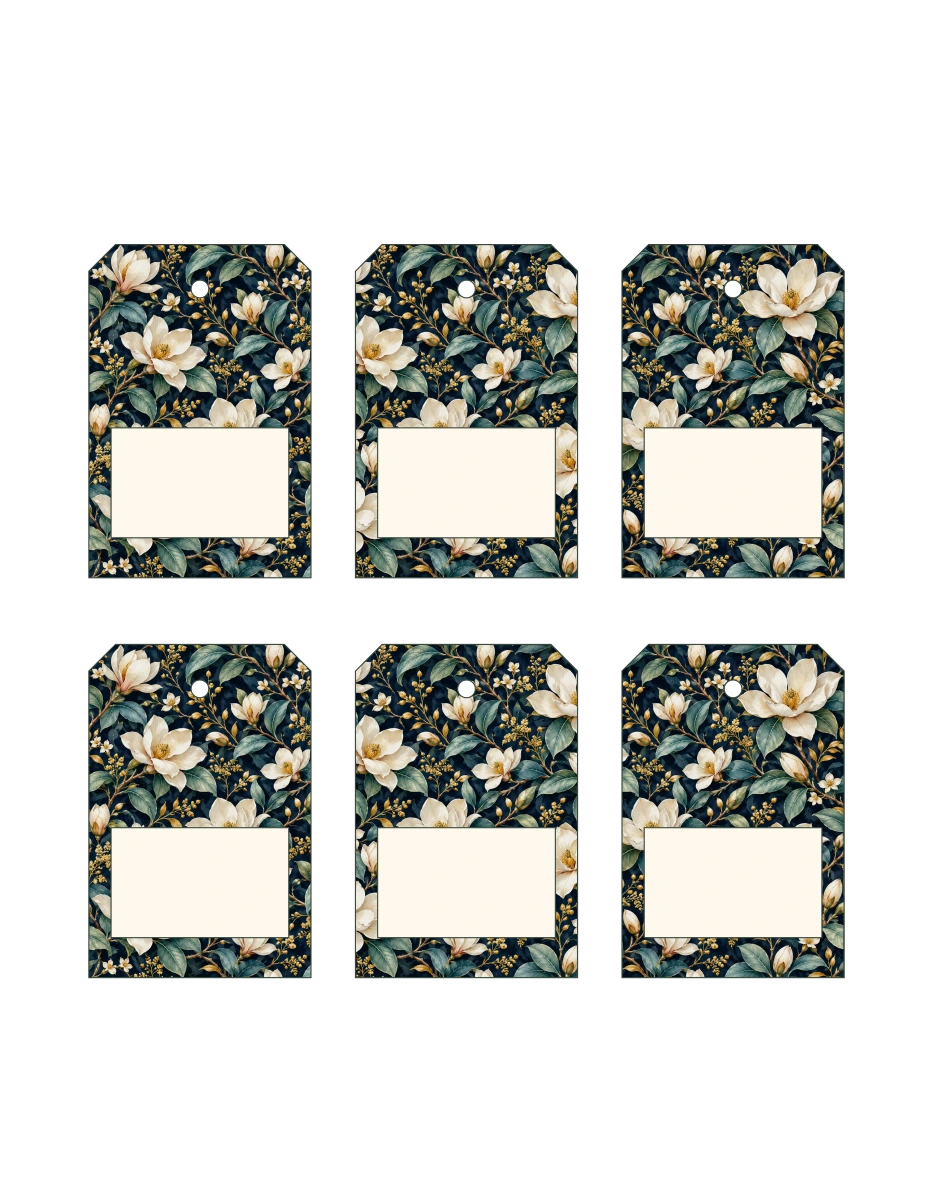
Print the color page at 100% on white cardstock. Check the 100 mm bar. The outline page is an alternative for light colored cardstock; print only the version you need.
 2
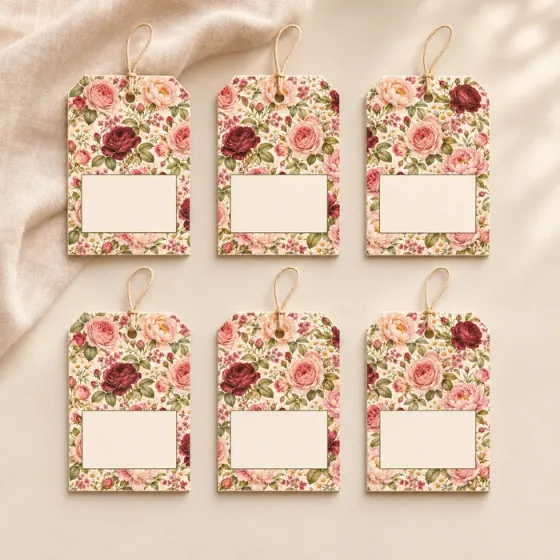
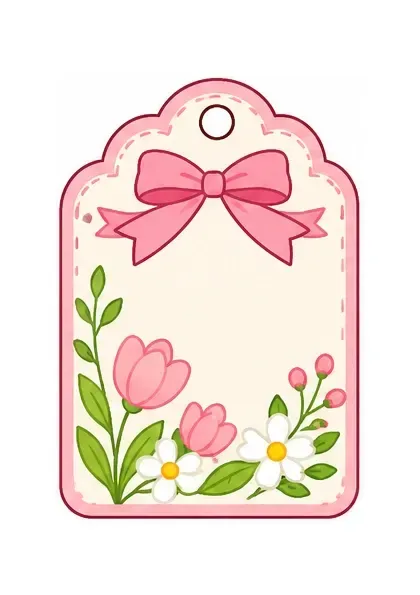
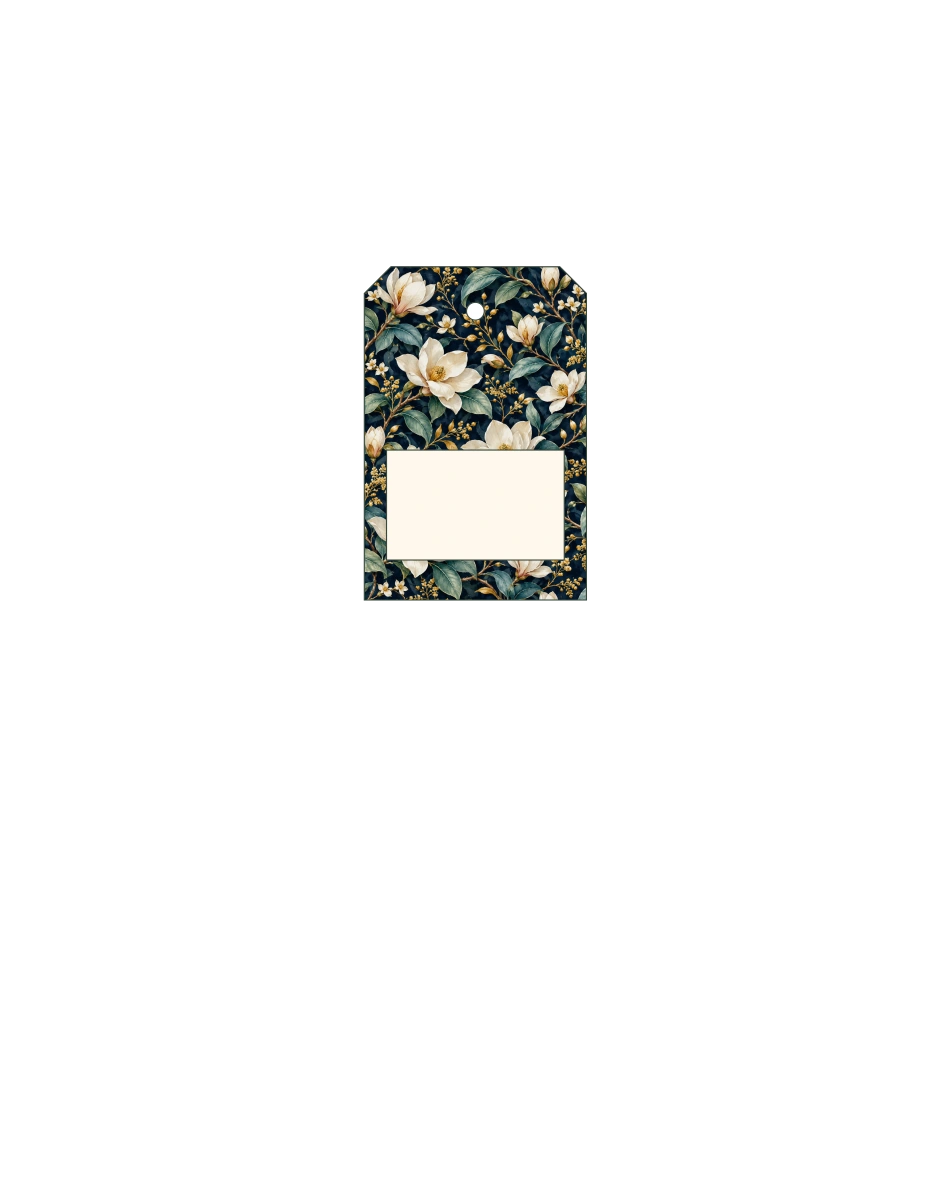
Cut the 6 separate outer contours, including the clipped top corners. Keep the blank writing panels and all printed flowers. The white circle is a punch position, not a large opening.
 3
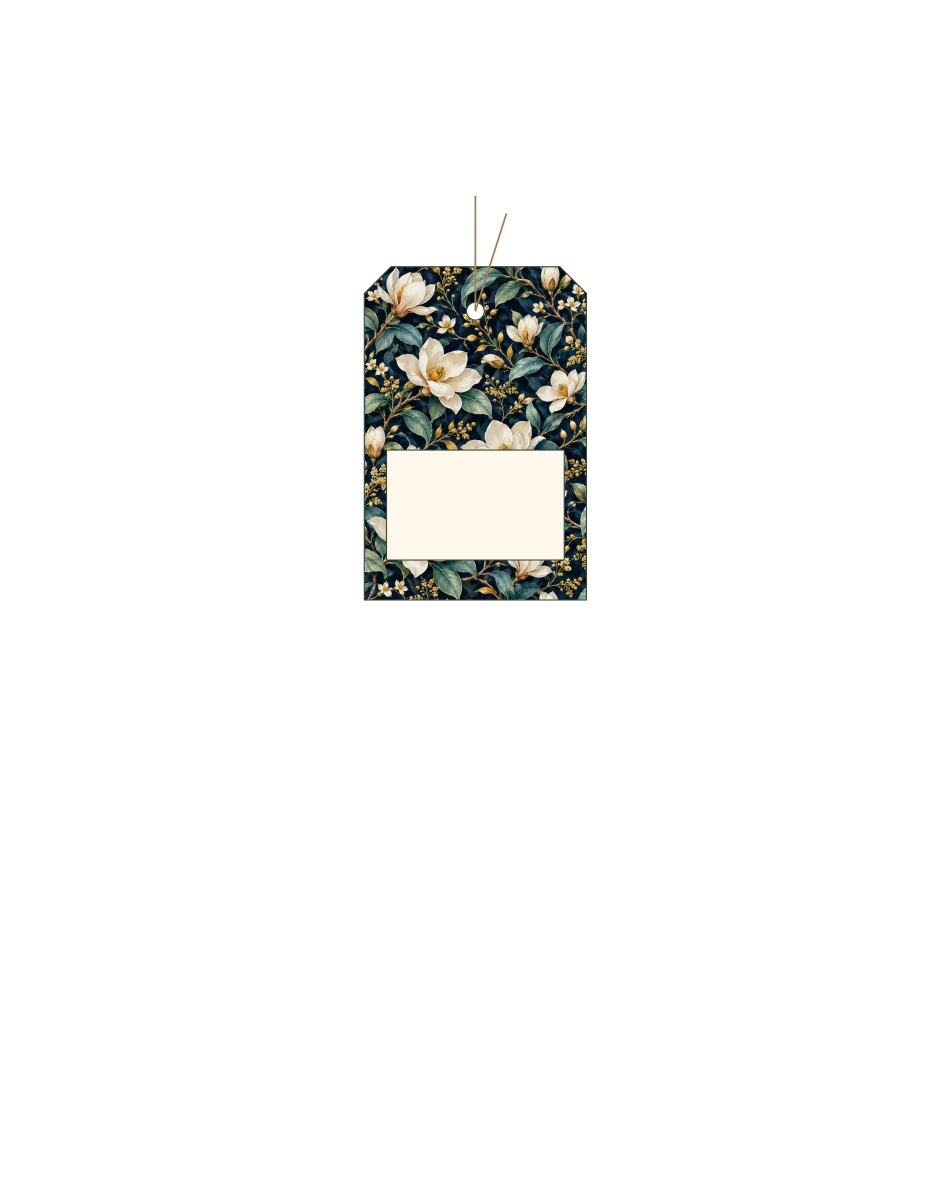
Punch the marked 4 mm circle. If adding a cord, fold a 15 cm length in half, pass the folded loop through the hole, then pass both loose ends through the loop and pull gently.
 4
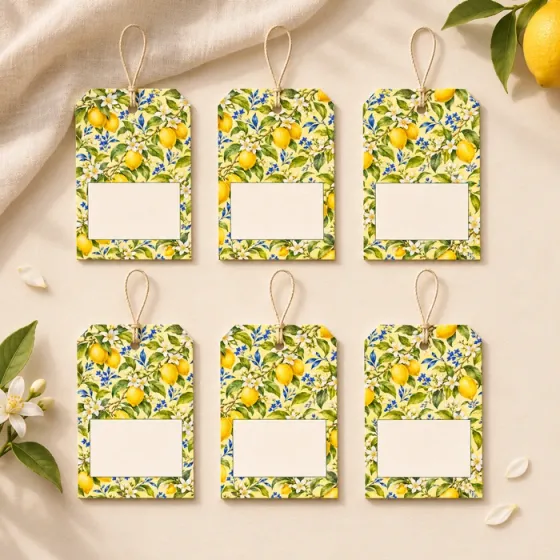
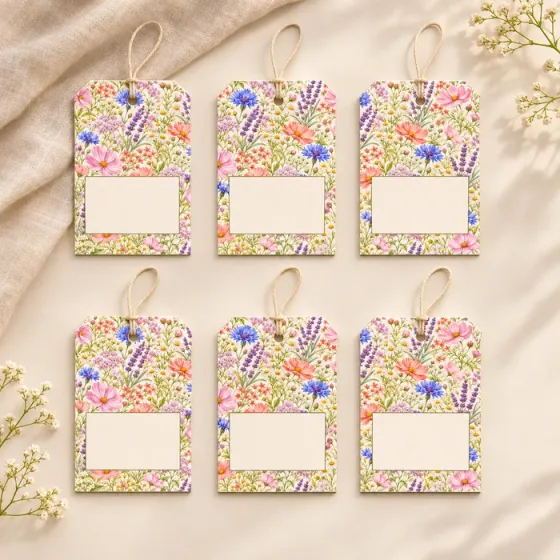
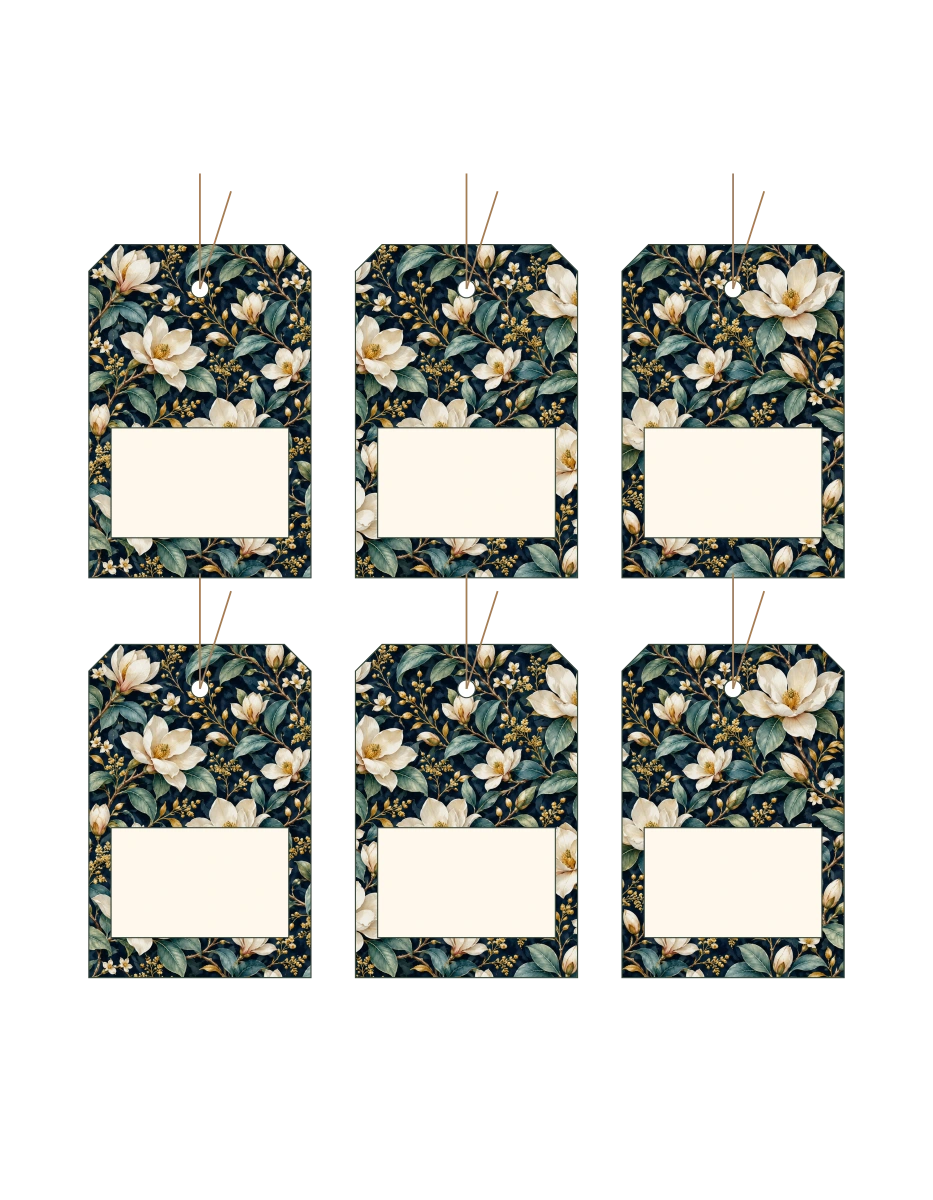
Repeat for the remaining pieces. Write a message in the pale panel. Use a flat cord for bookmarks so the book can close; gift tags can be tied to wrapping or a bag handle.
The finished image is an AI visualization. Follow the actual printable shapes and dimensions; this project has not been physically assembled.
DIY Art Pack · Personal, educational and commercial use