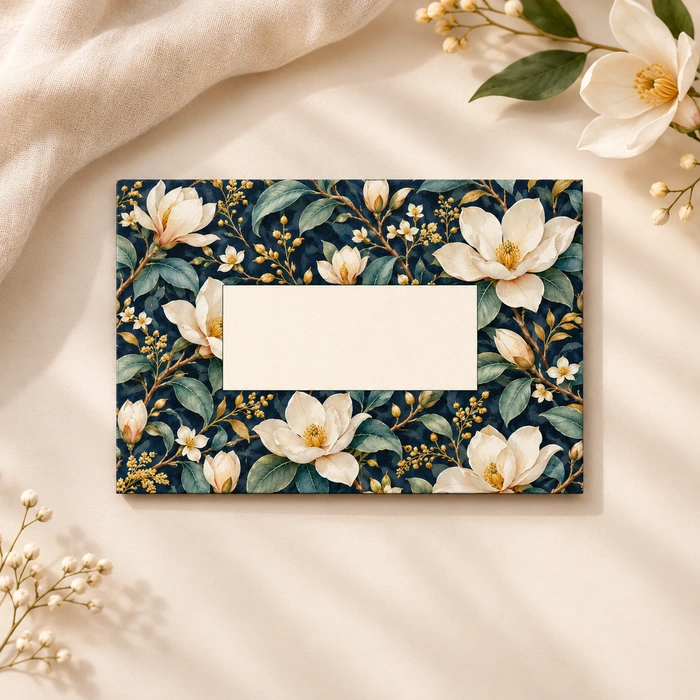
Guide de réalisation · 4 illustrated sections
Midnight Magnolia Envelope
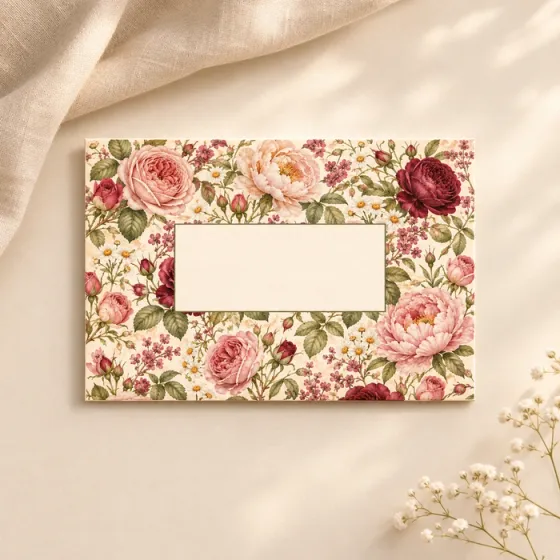
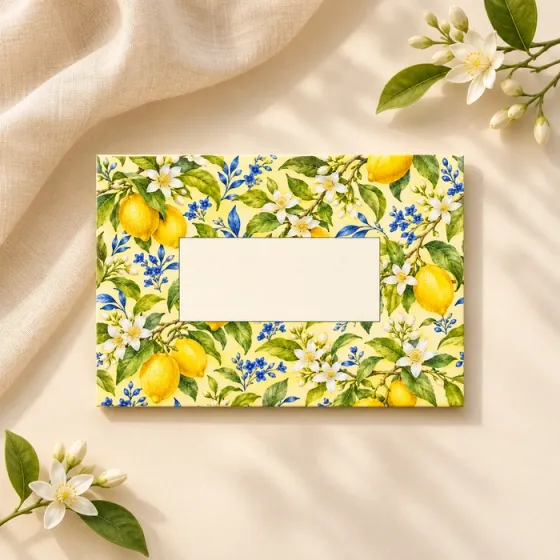
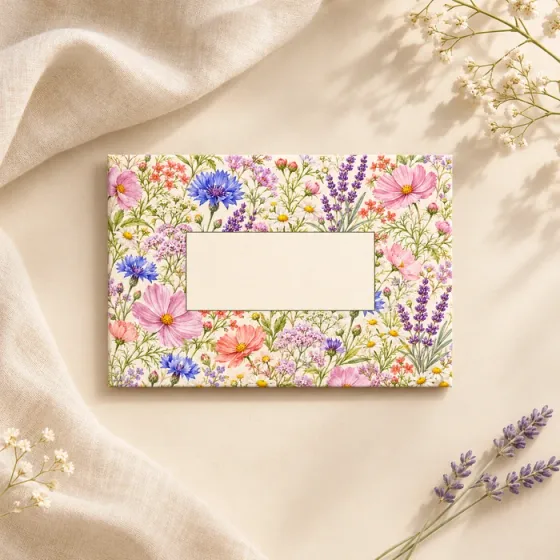
One botanical envelope, 110 × 75 mm when folded, with a blank address panel. Follow 4 illustrated sections. Download the complete making guide and matching paper.
Feuilles créatives à imprimer
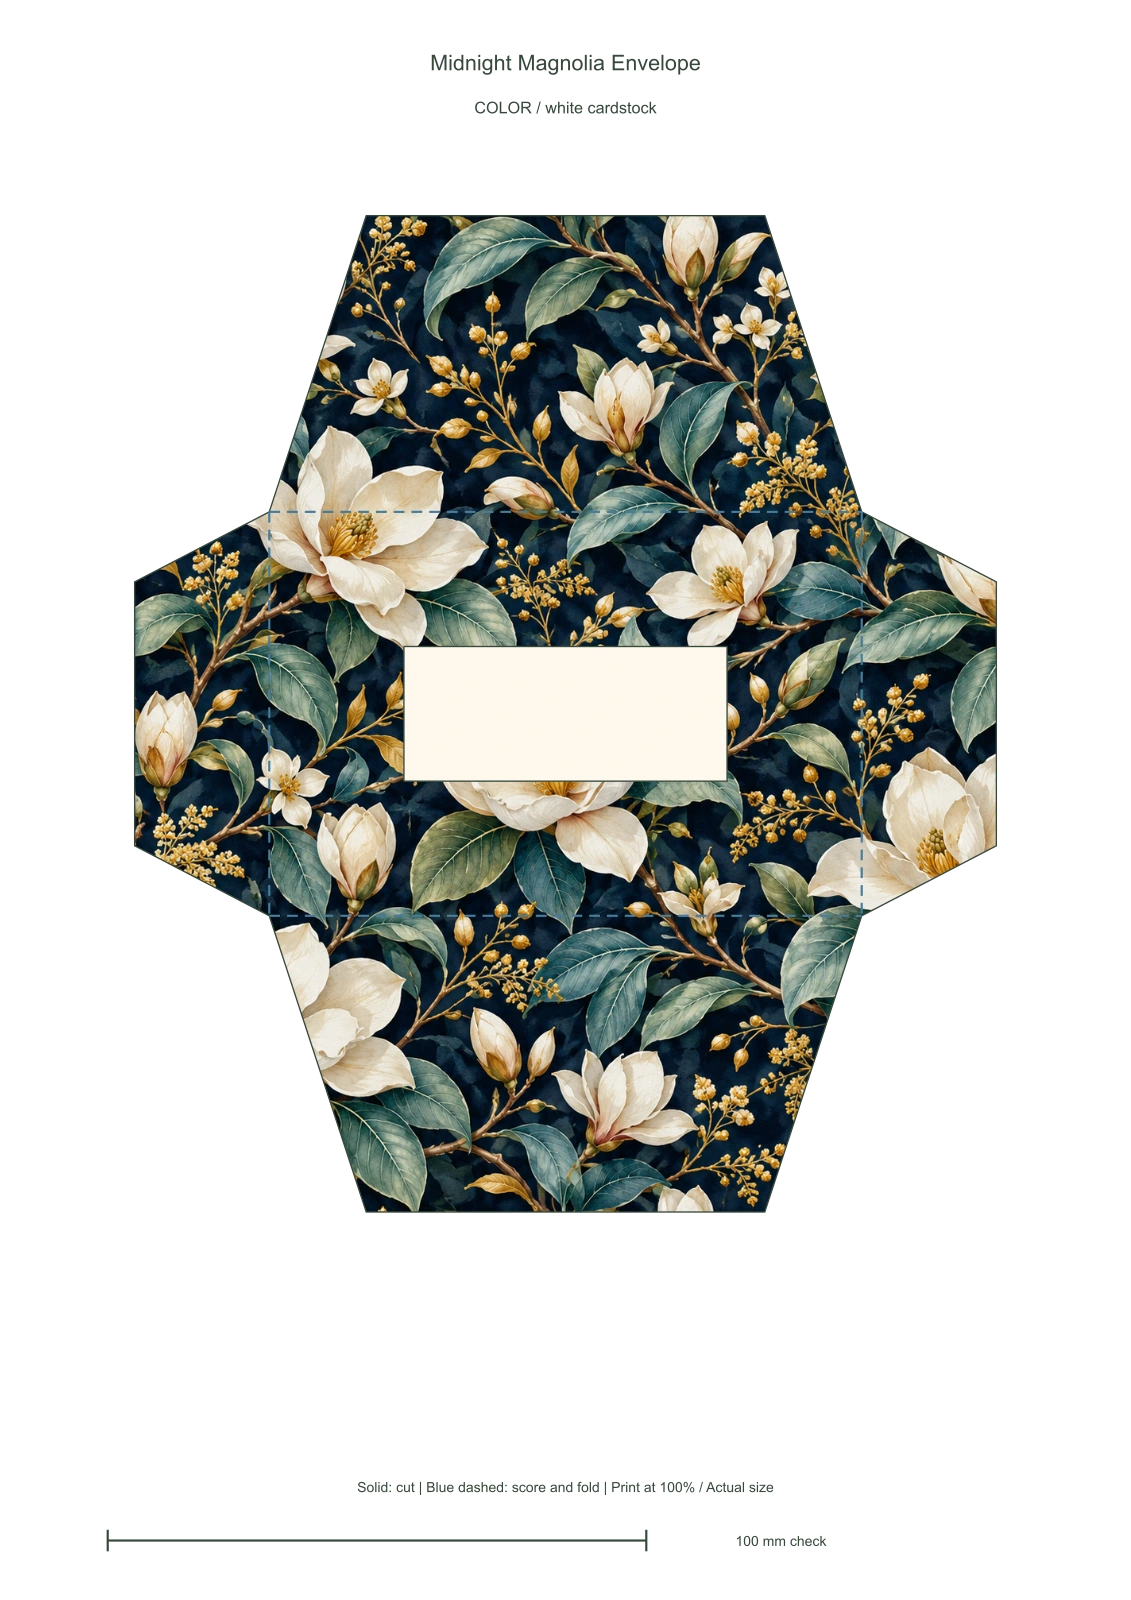
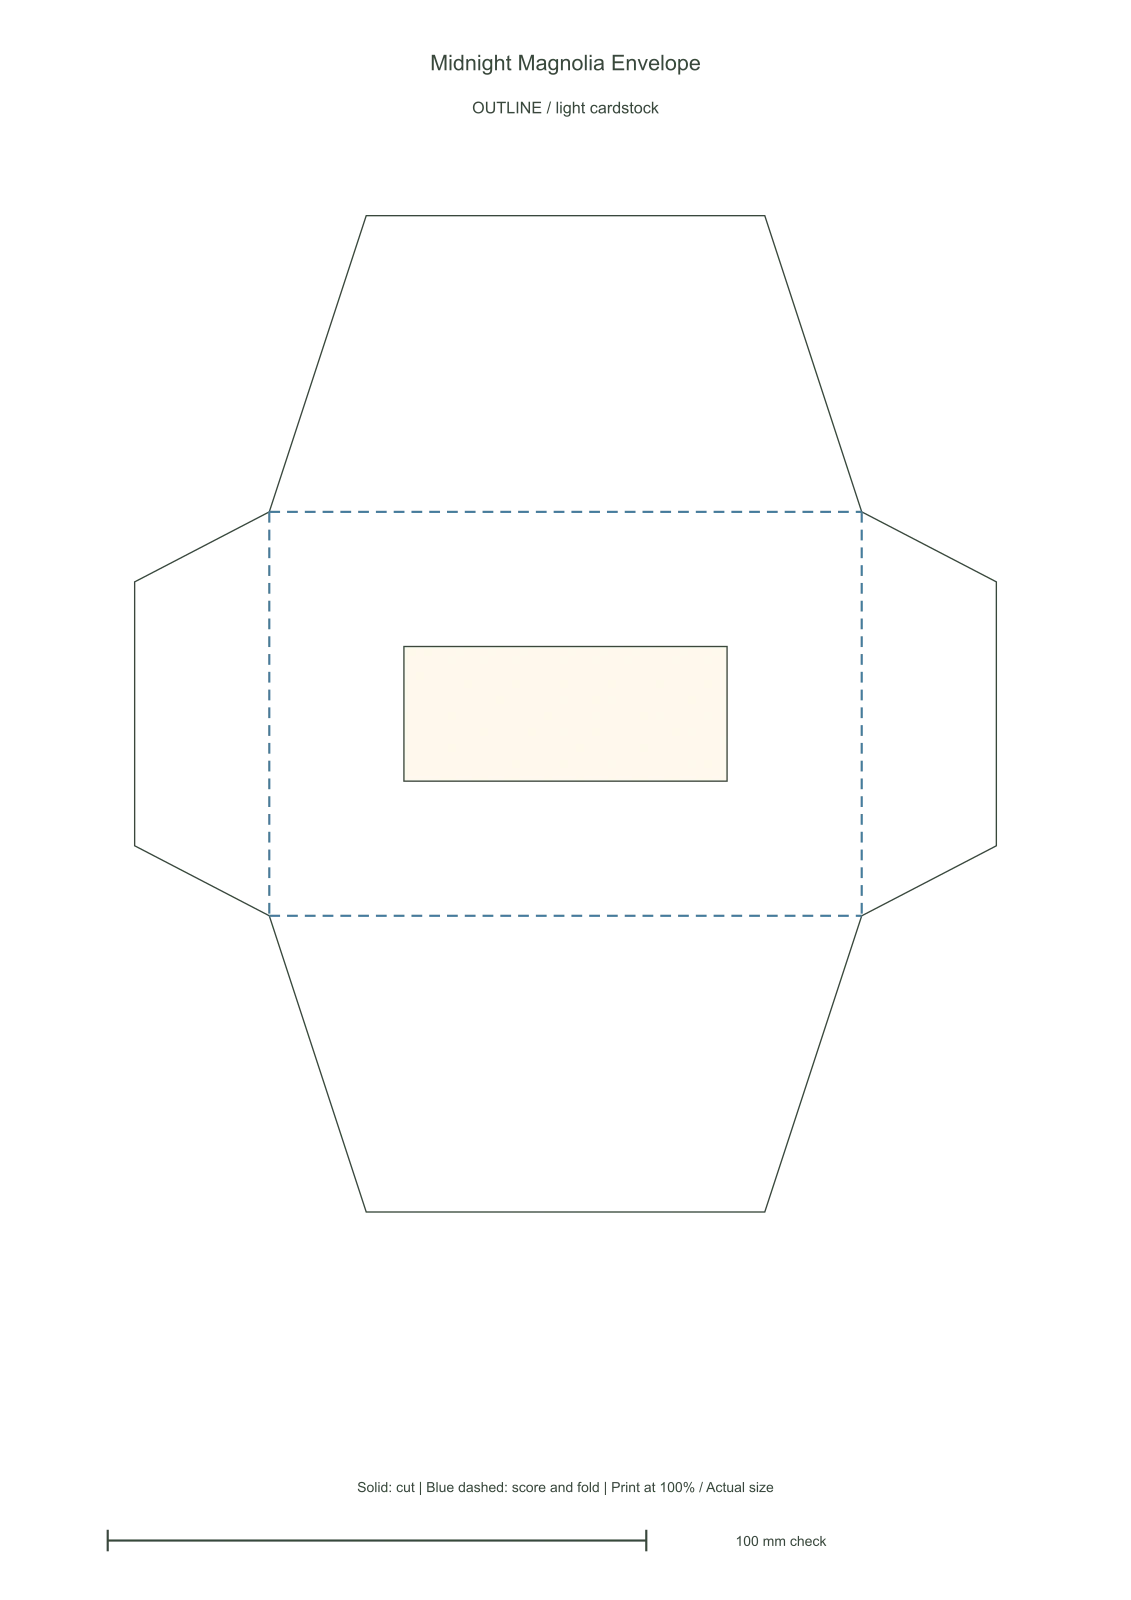
Imprimez les pièces en couleur sur du papier cartonné blanc, ou les contours sur du papier de couleur claire. Découpez ces pièces pour réaliser le projet.
Printable material sheets · 1 color + 1 outline page
Print at 100% / Actual size; turn off Fit to page. Check the 100 mm bar. Color page on white paper; outline page on light colored paper. Print only the required version.
Voir toutes les feuilles (2 pages)
Étapes illustrées
 1
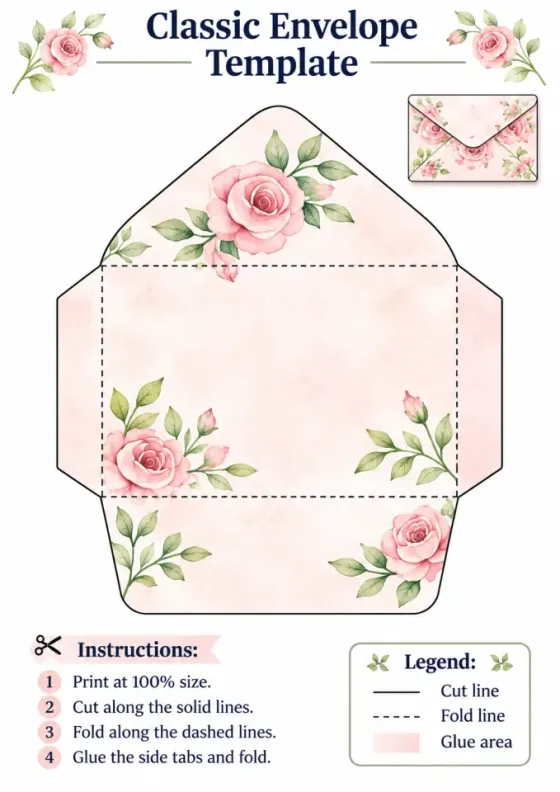
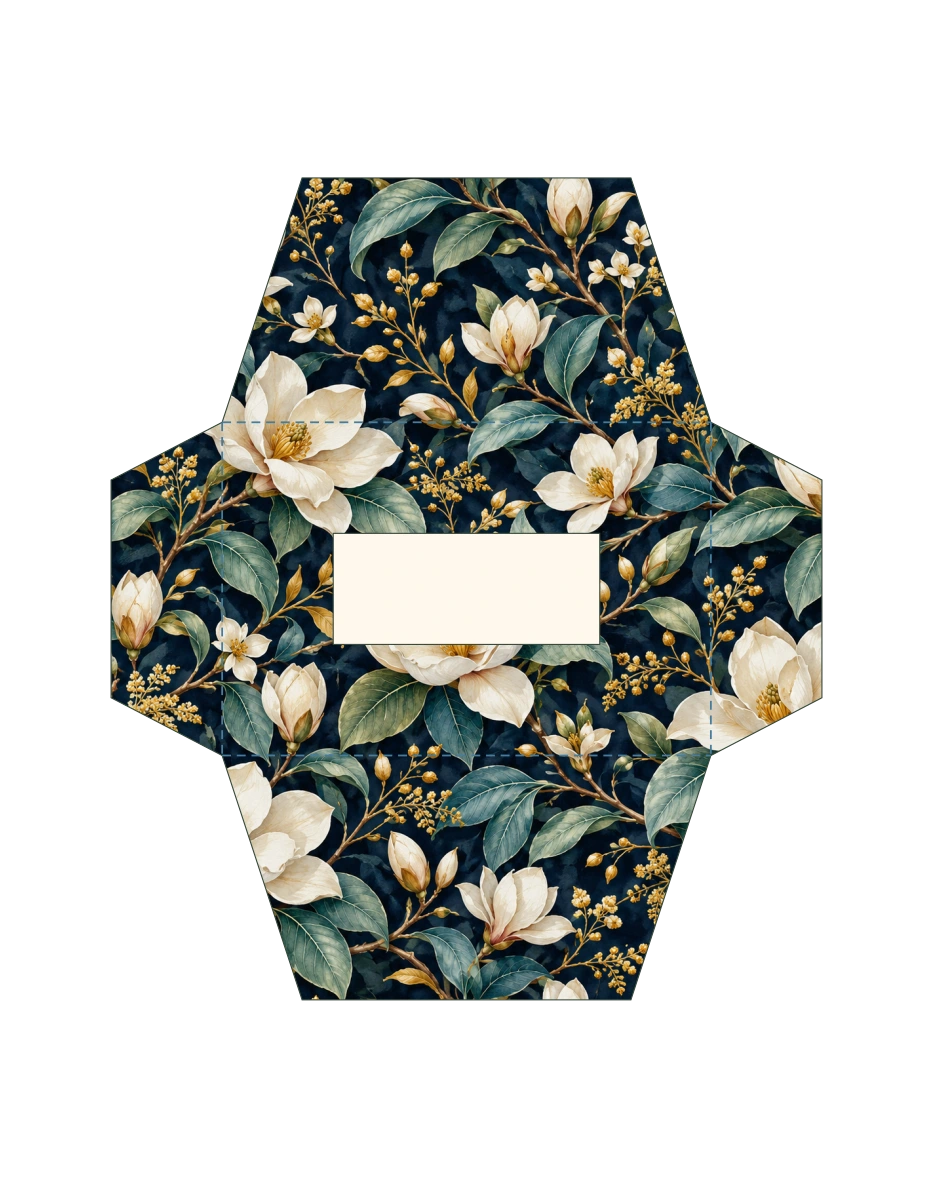
Print the color page at 100% and check the 100 mm bar. Cut the one continuous outer contour; keep the front, four flaps and blank writing panel connected.
 2
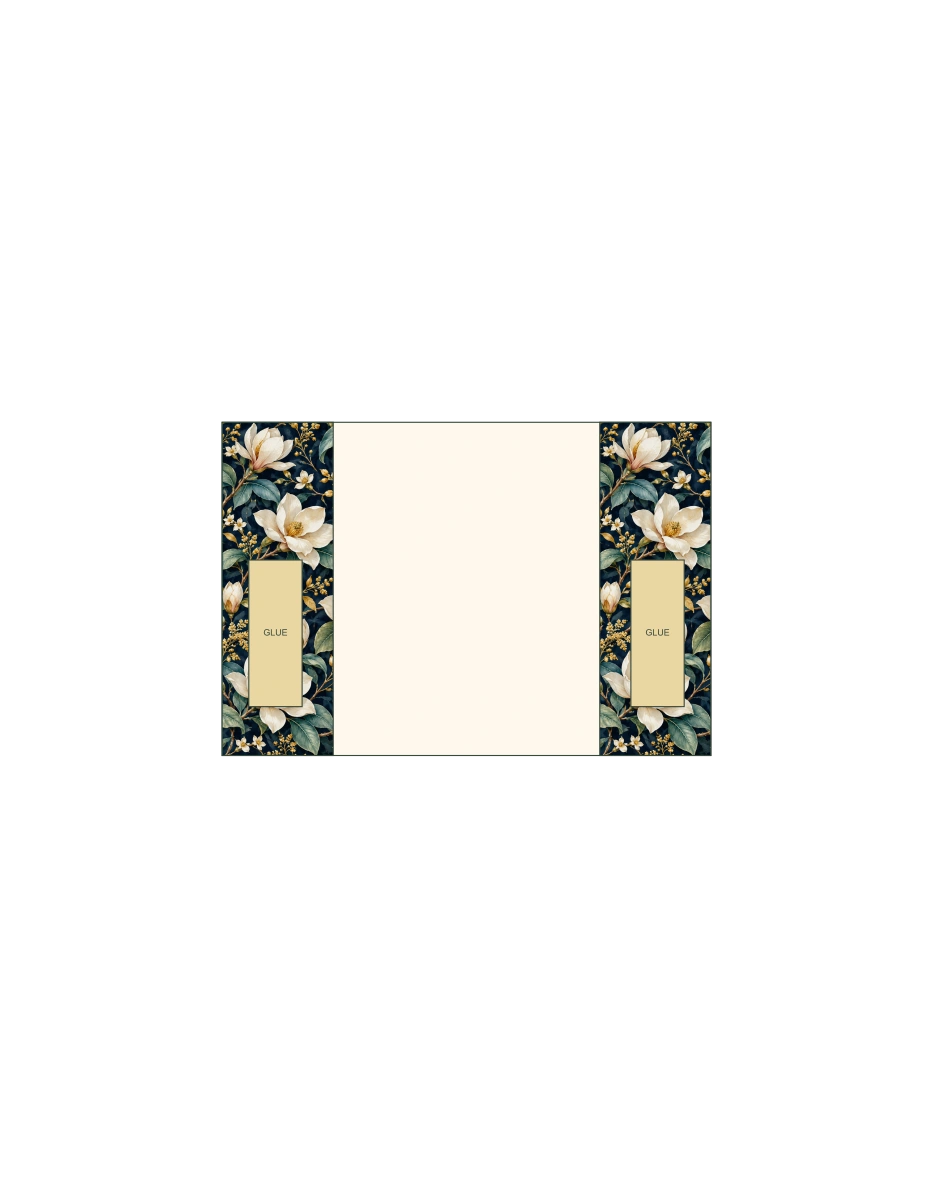
Score the blue dashed lines with a ruler and blunt tool. Place the patterned side down and fold both narrow side flaps inward. Apply a thin strip of glue only to the side areas where the lower flap will overlap.
 3
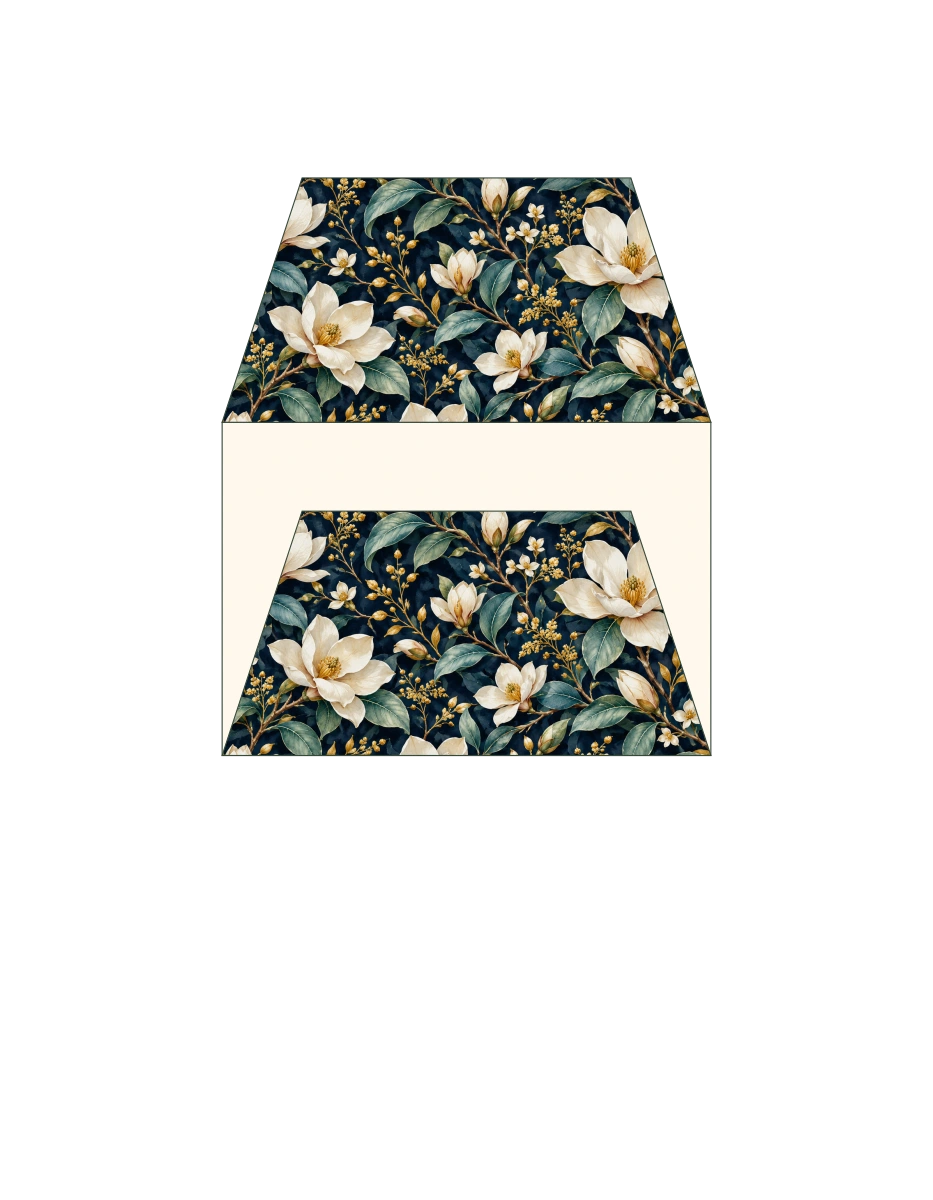
Fold the broad lower flap upward and press it onto the side flaps. Keep its upper edge open and keep glue away from the pocket opening. Let it dry before inserting a card smaller than 105 × 65 mm.
 4
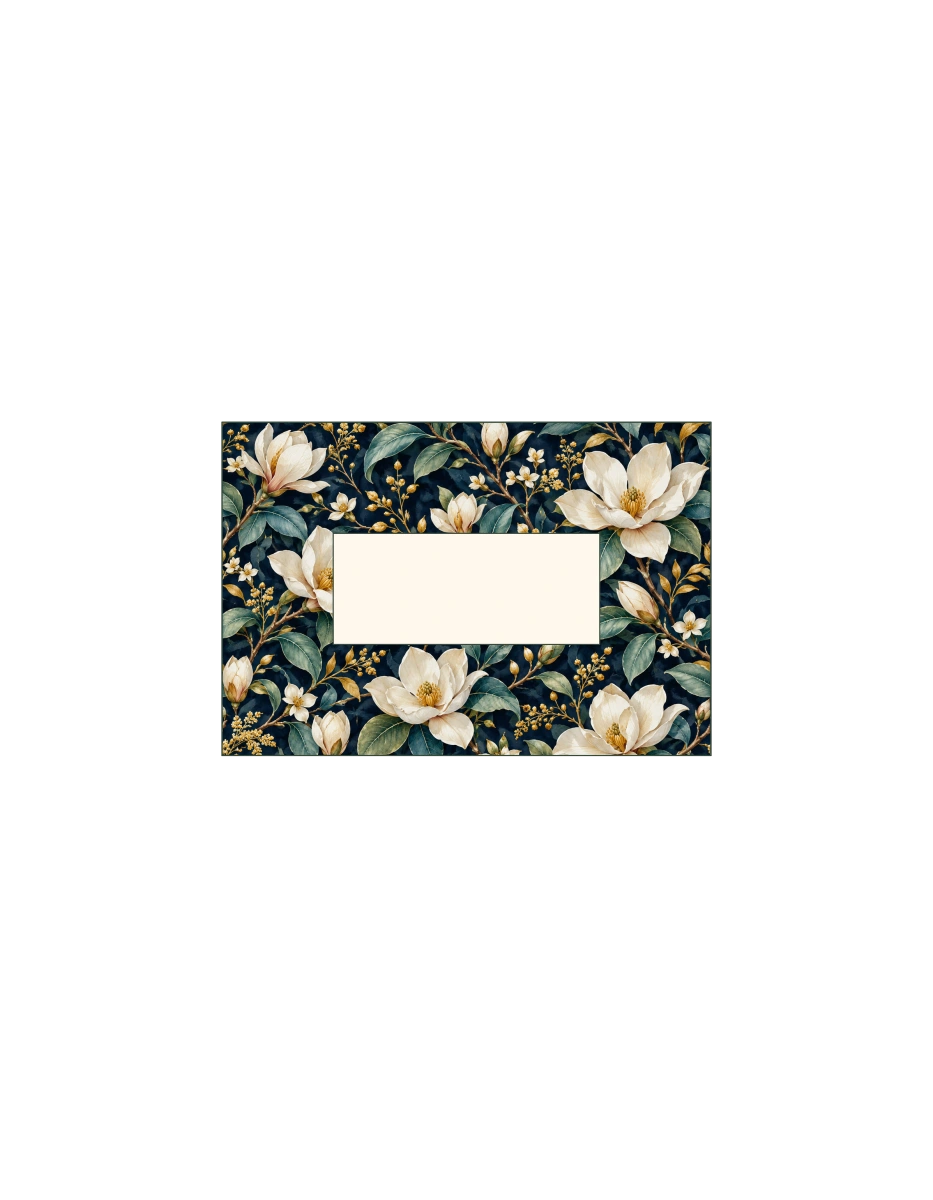
Fold the top flap down to close. Add a removable sticker or a tiny amount of glue only when you are ready to seal it. The blank front panel can be handwritten.
The finished image is an AI visualization. Follow the actual printable shapes and dimensions; this project has not been physically assembled.
DIY Art Pack · Personal, educational and commercial use